
Upholstery 101 (week 9)
Hello, and welcome back....in case you are new here...this is an on-going upholstery series. To start at the beginning, go here.
Today is the second to last post for the series......so let's jump in! This is what the chair looked like last time. Since then, I added lining to the other arm and seat bottom
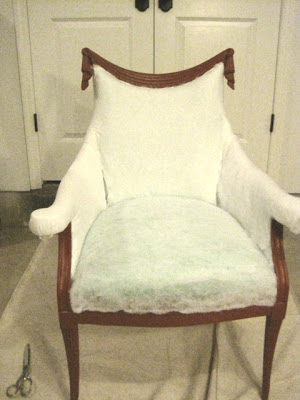


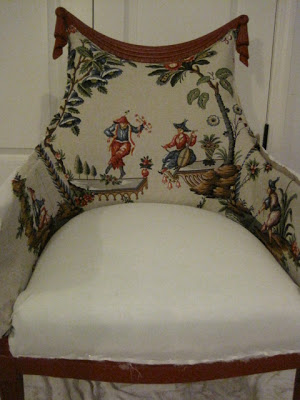
Today is the second to last post for the series......so let's jump in! This is what the chair looked like last time. Since then, I added lining to the other arm and seat bottom
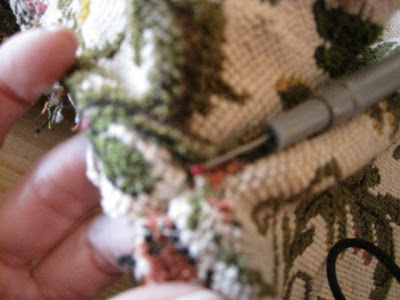
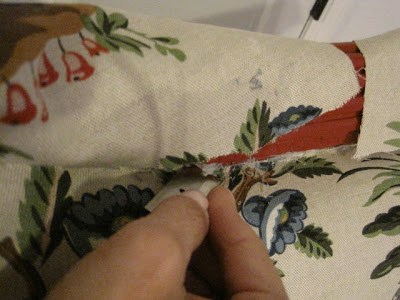
Now is the time to take out the old pieces that were saved
Using a small scissors, and a seam ripper
...open all the seams
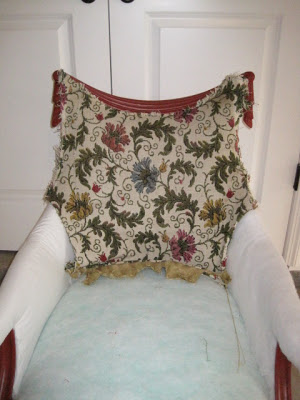
Here is the center back. I need to use this for a pattern. Remember how many times you have seen me trim everything....so, where there are no seams....along the top and the bottom, I will cut the new piece several inches longer. This gives extra fabric for pulling
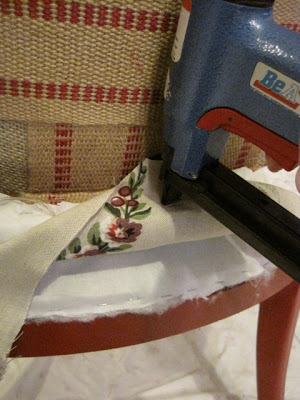
Here is an inside arm piece (I need 2, cut one face up and the other face down) and an arm piece (also 2 cut face up and face down)
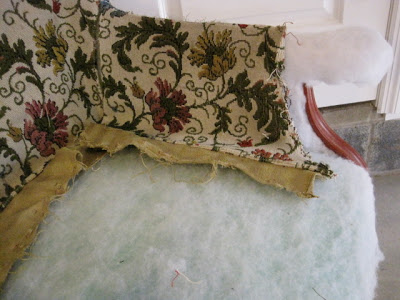
Learning from my last mistake, since I added extra padding to the chair, I want to lay the old pieces on the chair to see if I need to make further adjustment to them before cutting
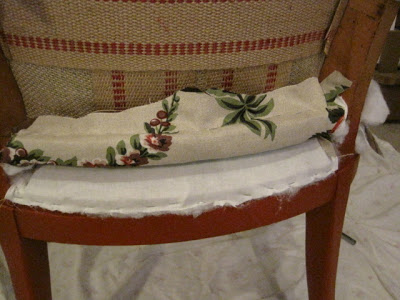
As you can see, the top and bottom of this piece need to be longer. I think the side seams are lining up nicely (always refer to your old photos if you can). For the inside side piece, I need to add length to the outside edge....for pulling and stapling
The arm piece is just a bit too thin...this was an easy prediction based on my previous post
After deciding how I wanted the pattern centered, I cut the back piece. Note, centering an image is a personal preference....I could have centered so many different options. I wanted to have the man, woman, and some of the foliage...if I raised the man and woman higher, I would have a lot of beige at the top of the chair
Keeping in mind, but not making yourself crazy, think about how the right and left pieces will connect (pattern and image). I wanted this fishing dude!
...and a different dude on the other side
Decide how much piping you want....you can use ready made...or make your own
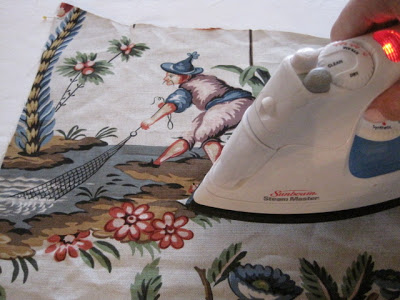
Truth be told, I tried to find ready made and I could not find a color that worked, so I made my own. The next step is an important one...press your fabric. If you try to press your fabric once it is on the chair...you could MELT the dacron batting...I have made that mistake!
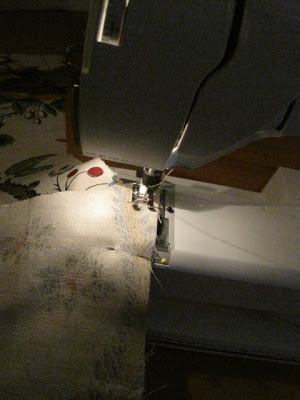
Sew the sides together
Lay it back on the chair, if you are happy with it...go on...if not, now is the time to make changes
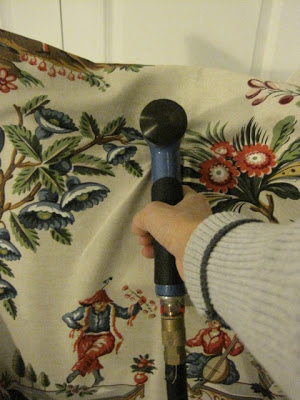
A few staples in the center top...keeping pattern layout in mind the entire time
I did a slight deviations from my usual (top, bottom, right, left, repeat), this time, I did an entire side first...
top down to where the seam is...went to the other side...top down to seam
Then, along the top
Trim the top (this is where all that extra fabric came in handy).
Now, I did the bottom back...adjusting tension where needed to keep the pattern aligned
Finished back (note, it was rolled up and over that wood support piece. The bottom seat will be pulled downward where you see the lining
Side arm, also pulled up and over the wood support.....bottom seat will be pulled downward over the lining
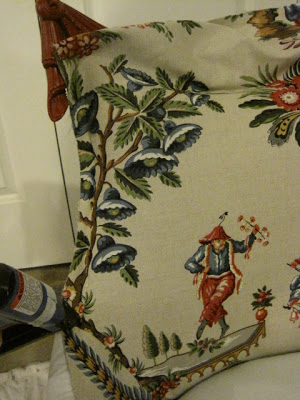
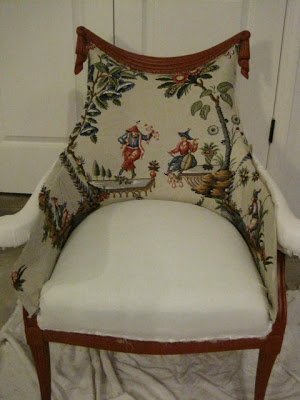
Here is a front view
My little fishing dude
This is a good view to see how many choices there are when you center a pattern...choose what works for you
Next time, the finale...I hope! I am going to be completely honest...I am still not sure how I am going to finish those arms...I can't wait to come back next week and find out!
Tomorrow is Thanksgiving. Have a wonderful and safe Holiday. If you are able, please try to bring something to your local food bank!