
Upholstery 101 (week 7)
Hello everyone! In case you are new, here, this is an on-going upholstery tutorial....to start at the beginning, go here.
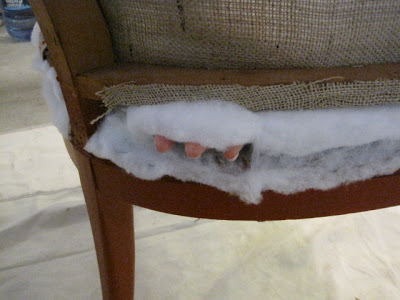
To refresh your memory, this is where we left off
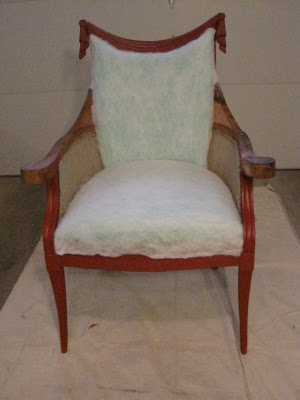
To build-up the center-back of the chair, I applied 2" foam following the same steps as the seat. This is what the chair looks like so far


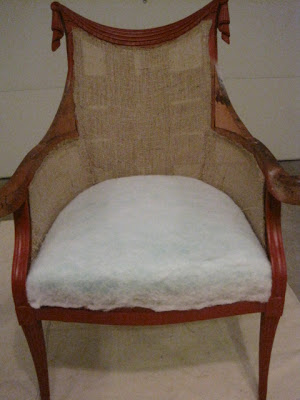
To refresh your memory, this is where we left off
To build-up the center-back of the chair, I applied 2" foam following the same steps as the seat. This is what the chair looks like so far
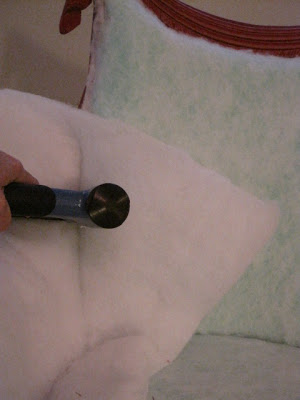
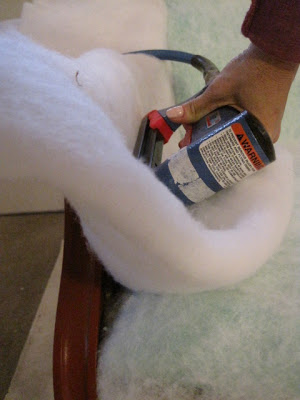
Now for the inside-sides and the arms....using a double layer of dacron (batting)
Tack it into place along the side of the center foam...making sure there is overlap everywhere (it is easy to trim, impossible to add more)
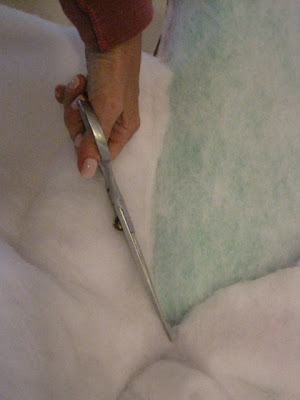
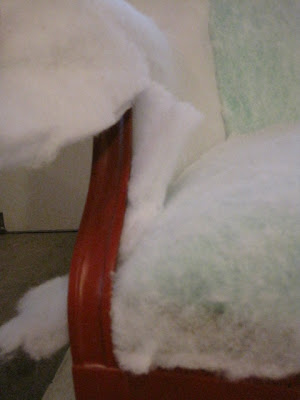
Trim off the extra where it meets the foam
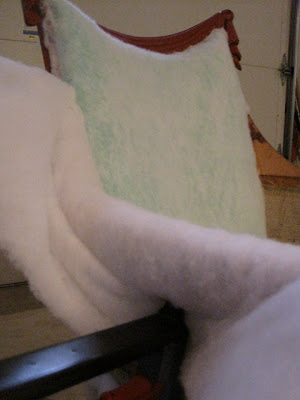
Next, tuck the bottom portion through the frame...
..and out the bottom-side
The front edge of the inside arm needs to be stapled
being extra careful not to nail into the finished frame portion, nail just before it
Here is what it looks like so far
Trim off the excess from the inside edge...now the shaped arm...tuck and fold while stapling under the arm
....work all the way up and down the arm...
....trim off excess
Take the bottom portion of the batting and pull it up around the frame and staple...trim off excess
Here is one arm complete
I will repeat all of this for the other arm. Hope to see you next week!
Oh, wait...come back tomorrow for a SUPER EXCITING post! Here is a hint....it won't be on this blog?