
Upholstery 101 (week 2) (Day 5 of 31)
Welcome back to my upholstery project. This is also day 5 of the challenge. For a list of all 31 days, go here
Last week, we stripped the chair, this week we will evaluate the sturdiness of the chair
Here are the tools I used this week
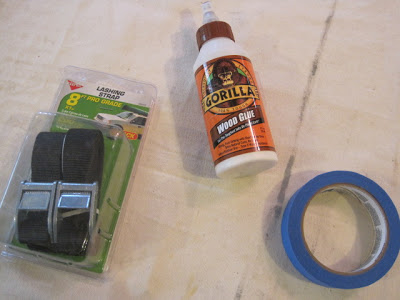 Strapping, the kind used to hold down "stuff" (with a clamp attached), wood glue, and blue tape (also a rubber mallet)
This is where we left off
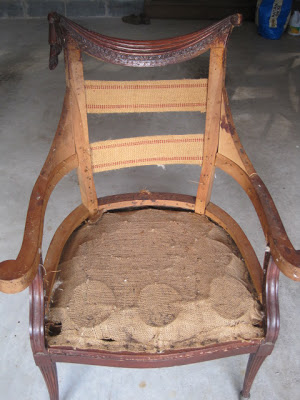
the chair is not sturdy, when I gently rock the frame...it wiggles. Joints are coming undone
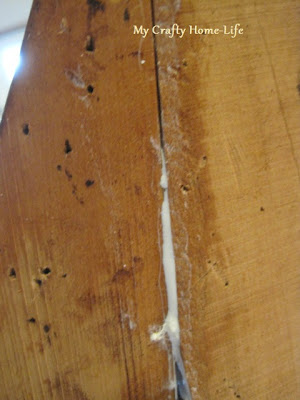
You can also see where it needs to be glued
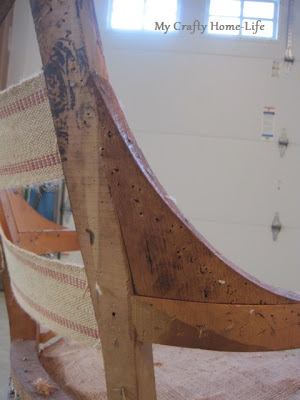 example, the right side looks good
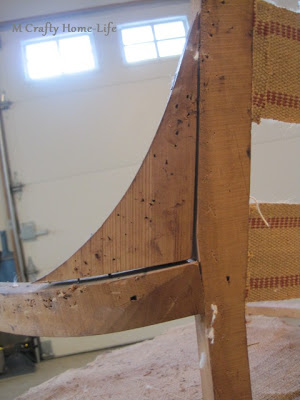 the left side has obvious gaps
Here are my tips for gluing, do what works for you...
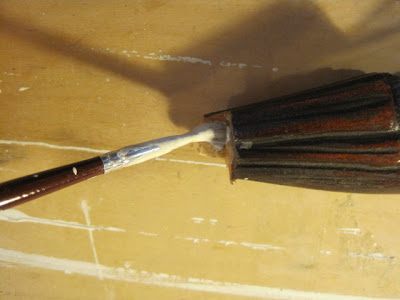
I like to put some glue on a piece of foil

using an old brush, apply the glue into all of the joints
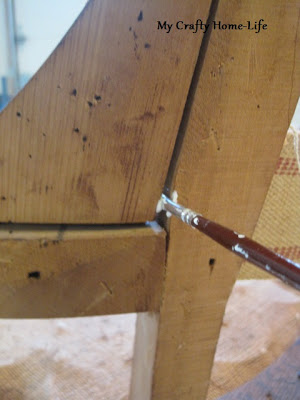
make sure to apply plenty of glue
 this is your chance, go for it
With a damp rag, wipe off the excess glue

Using a rubber mallet, or very gently with a hammer

 you will know you are successful when excess glue is forced out of the joint
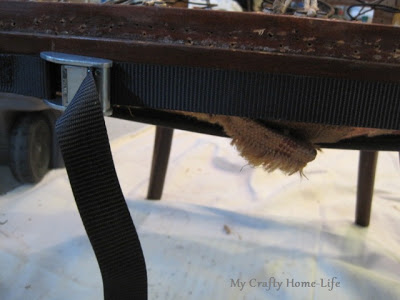
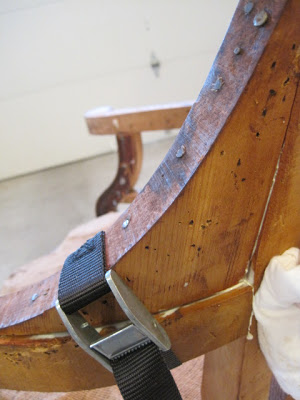 if necessary, use the clamp to hold the joint in place until the glue dries
when replacing broken off pieces, first chip off the old glue

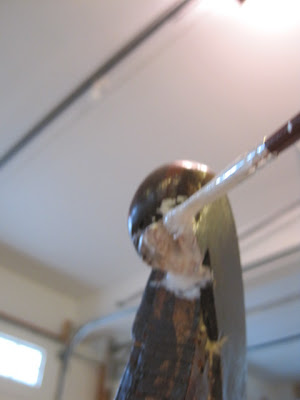

using the blue tape, hold the piece in place till dry

Last week, we stripped the chair, this week we will evaluate the sturdiness of the chair
Here are the tools I used this week
This is where we left off
the chair is not sturdy, when I gently rock the frame...it wiggles. Joints are coming undone
You can also see where it needs to be glued
Here are my tips for gluing, do what works for you...
I like to put some glue on a piece of foil
using an old brush, apply the glue into all of the joints
make sure to apply plenty of glue
With a damp rag, wipe off the excess glue
Using a rubber mallet, or very gently with a hammer
gently "encourage" the pieces back together
when replacing broken off pieces, first chip off the old glue
apply glue to the joint
also apply glue to the piece
make sure the piece has a tight fit squeezing out excess glue, wipe again
using the blue tape, hold the piece in place till dry
repeat the process on all joints needing reinforcement