Linda {Calling it Home} Linda {Calling it Home}

Hodge : Podge is here!... Guest Post

Hi Friends! I decided to take a week off of blogging. My kids thought I was getting a bit cranky. So, I invited some friends to come by and entertain you. If you don't know Barbara and her blog...today is your lucky day! I am thrilled to have 

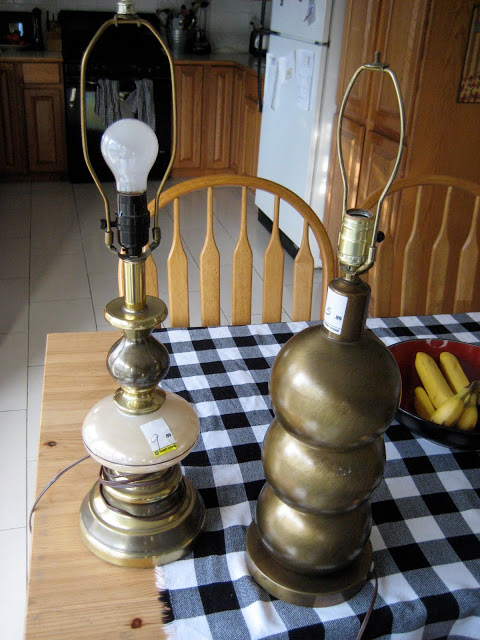
So glad Linda asked me to guest post while she is enjoying a little R&R. I know Linda loves a great DIY like I do, so I thought I'd dig something out of my blog's vault to share with you and get those creative juices flowing. Recently I participated in the One Room Challenge, the challenge that brilliant Linda created. Did you see what she did with her master bedroom? I was floored! As part of the challenge I tried to create a bit of glamour in the space using gold leaf.  I used the same method as I did when I silver leafed a thrift store lamp.  So I thought I'd share my tutorial on "How-to Silver Leaf"  You can use any type of leaf, silver, copper and gold.  Here is the lamp {on the right} that needed a bit of a pick-me-up!


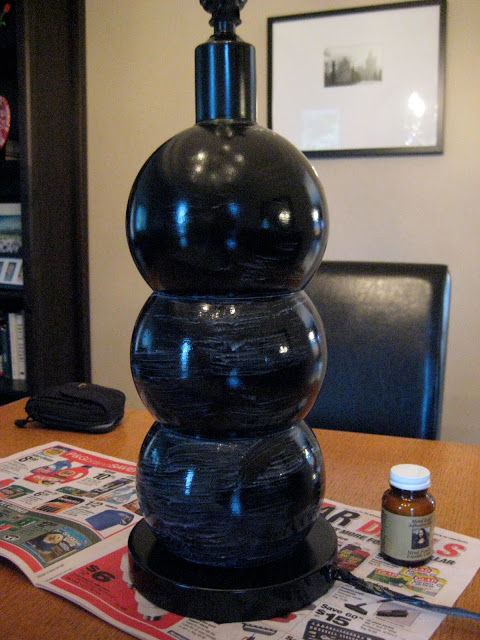
You need:  *Metal Leaf Adhesive size {I got mine at Michaels - if you use a coupon, it is much cheaper} *Metal leaf {also use a coupon!} *Smooth bristled brush to apply glue *Soft bristled brush to smooth silver leaf
I also spray painted my lamp black. I like the depth that black gives under the silver leaf.
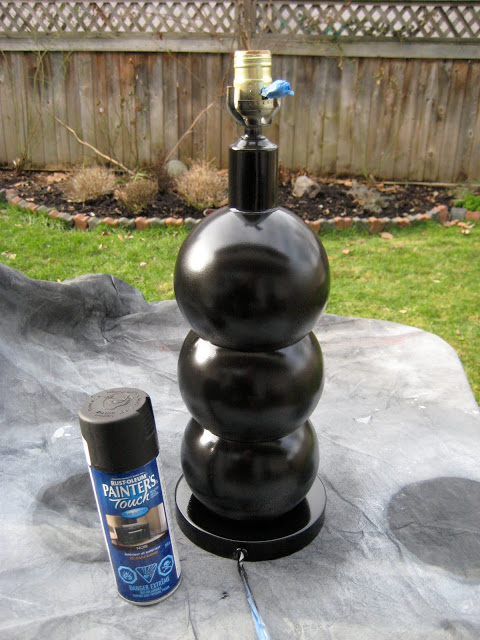

After I dried the lamp overnight I was ready to cover it in silver leaf.
 Before you start you need to shake the glue.  Using the smooth bristled paint brush apply the glue to the lamp base being careful not leave puddles and globs of glue.  I chose not to cover the bottom "plate" and the top "neck" of the lamp.The instructions said to wait about 60 minutes until the glue went from white to clear. It only took about 30 minutes. 

The next part was the fun part. You will need a CLEAN soft bristle brush. All my kids wanted to "help". This is the messy part as silver dust is everywhere. You take an individual silver leaf and lay it in the surface. With your brush smooth it out. 
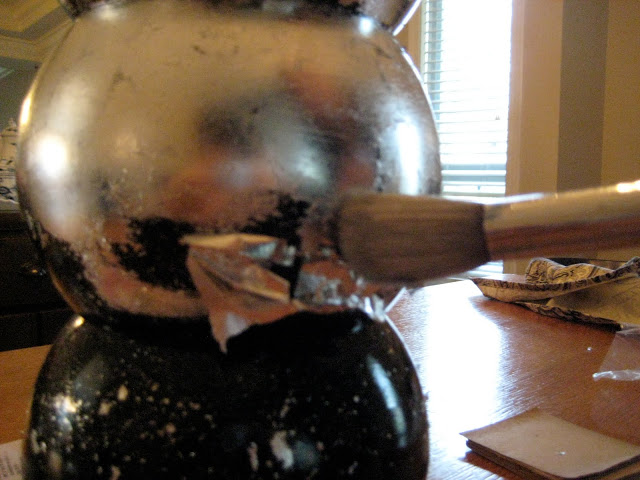

Take another leaf and lay it beside overlapping slightly. You might think to  yourself, "won't you see the edges of the leaf ?" This stuff is amazing, after laying down leaf upon leaf and brushing it out, they all blend together so nicely. If there are patches that need filling just take a small piece of the leaf (they are incredibly thin and easy to break apart) and lay it down. Brush it smooth with your brush. Silver leaf is VERY forgiving. 
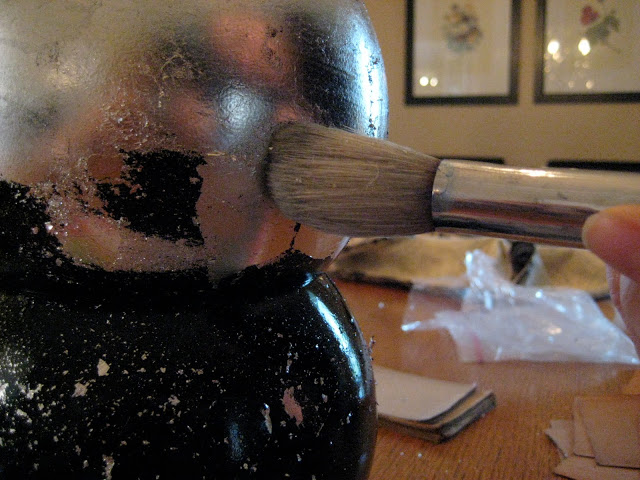

Once you have covered the whole object do a final sweep with your brush over the surface. At this point you can spray it with a laquer or varnish to seal it or just leave it alone. I love the whole aged and worn look so I chose not to seal it.
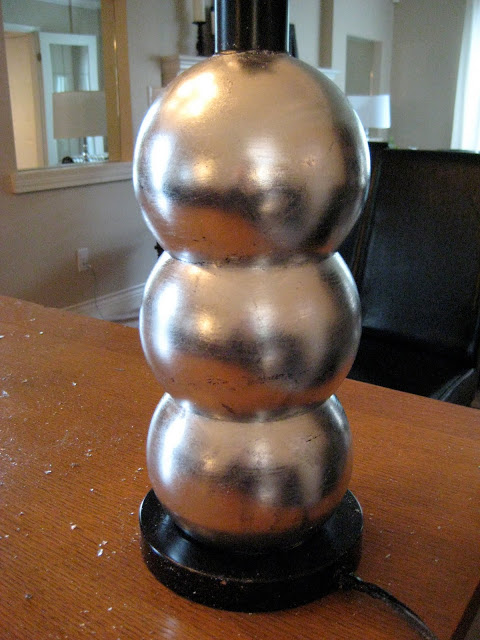
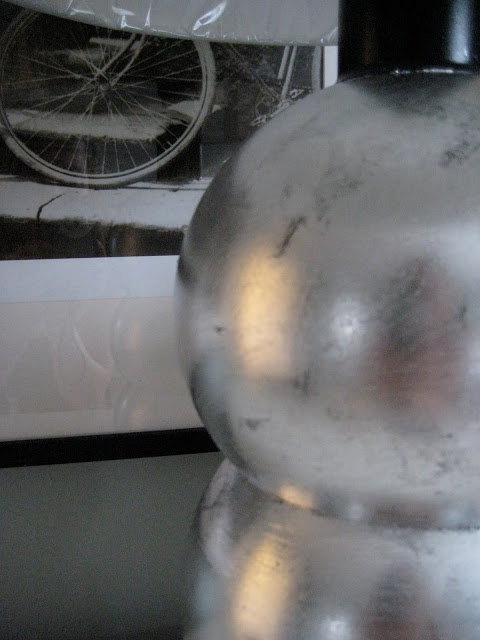

Easy peasy! If you want to see more DIY projects, don't forget to hop over to my blog! Thanks for having me here Linda!  XO Barbara

Come back anytime, Girlfriend!

Read More
Linda {Calling it Home} Linda {Calling it Home}

Friday's In the Garden.....Ferns

Hello friends! I still can't believe it's August. One more month and Fall gardening will be upon us. Look around your garden because Fall will be the time to transplant most of your perennials. For now, let's focus on Ferns. I love ferns, and if you are not familiar with them...they are perfect for shade gardens.

Source


Source


source

source
Ferns are also super easy to divide. Do you have any ferns in your garden?

Read More
Linda {Calling it Home} Linda {Calling it Home}

One Room Challenge...Week 6

Hello Friends. Today I am happy and I am sad. Happy that it is week 6 and I have a reveal for you. Sad, because I had the best time doing the One Room Challenge and will miss it....until next time! If you would like to start at the beginning...you can go here.

I want to thank Jennifer for designing the buttons we have all been using. I also want to thank her for some gorgeous prints. We are in negotiations on the price, and I will be telling you some secrets about her if I don't get a bill soon.


Now, I won't waste space typing...I'll just get to the part you want to see...PICTURES!

A quick review, it started like this


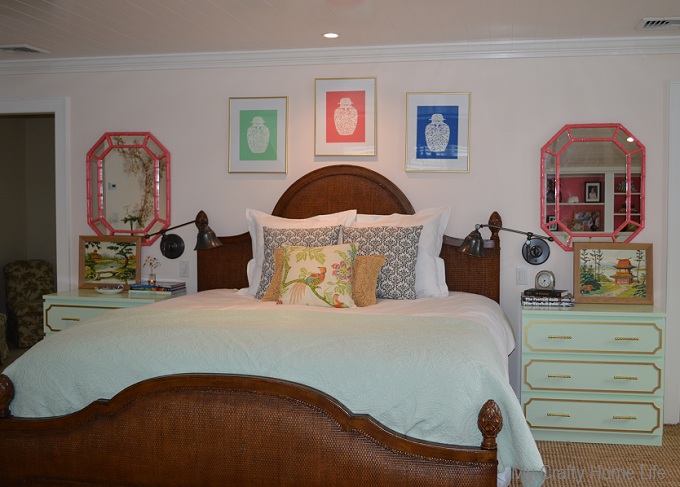
And now it looks like this


Do you recognize the pillow? 


It is the one I won from Everything LEB.

Remember this corner?


Now it looks like this


It started with the Ikea hacked built-ins


Uh, my babies when they were babies


close up on hardware


I didn't plan on doing a gallery wall, but after I pulled out all of my vintage paint by numbers...I thought it would look good as a grouping. You know how they say you can use craft paper...tape it to the wall...play with it...It DOESN'T work. You need to put 7 or 8 extra holes in the wall before you get it right....plan on it.


I framed the house portrait that Laura Trevey painted.


Remember this corner?


Now it looks like this


The wall hanging was another Ebay purchase. The other Ikea hack up close

 
The wide view (thanks Lisa)


And there is my rug on rug


And here is the chandelier with those cool light bulbs Beth mentioned
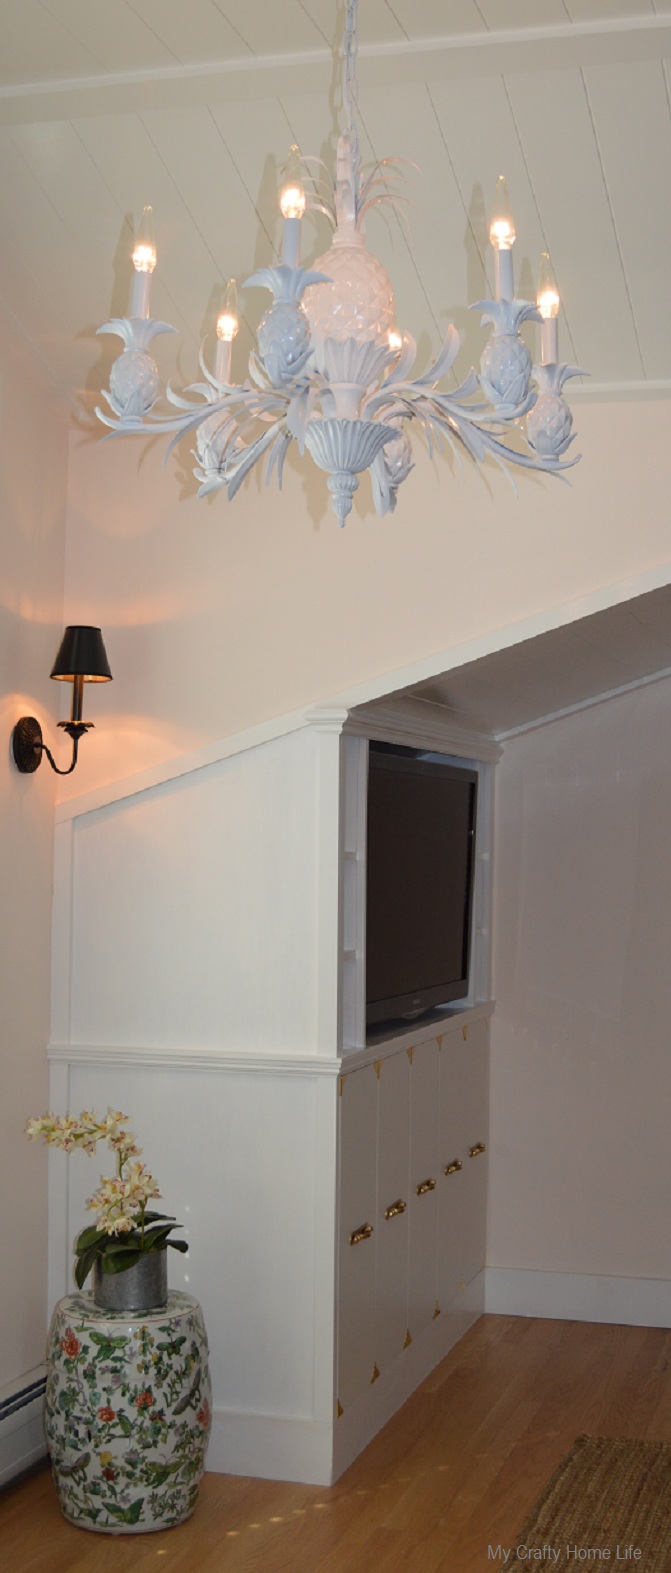

A simple shade for the sconces


My parting view

Thank you for coming back week after week to check on my progress. Your kind words and comments kept me going. The room could use a few more touches, and probably some editing, so be sure to check back from time to time. Now,I am so excited to see how everyone else did...aren't you? Let's go see

                       Chinoiserie Chic                        Nana Moon      
                   The Cottage Mix                       Nicole Scott Designs                               
           Design Indulgence                    Pawleys Island Posh                          

    Everything LEB                            The Pink Pagoda                  
                       Hodge:Podge                           Powell Brower Home                                    
  Kim Macumber Interiors                 The Pursuit of Style                 
    Lisa Mende Design                      Rue de Emily                         
                 Living Savvy                                Sadie + Stella                                    
         Mix & Chic                            Trapped in North Jersey     

Read More
Linda {Calling it Home} Linda {Calling it Home}

A Quick Game

While I run around like crazy today and tomorrow....getting ready for the big not quite as big as I would have liked reveal; I want to take a quick poll.
Source
I had two incidences that could be taken either way...so I'm asking you

Offensive or Not Offensive?

1. Rod came back to hang the television in my bedroom. He was examining all the detail work that I did when I trimmed out his Ikea hack cabinets. If you recall, I added wood to the back, put on a chair rail, added a small crown at the top, etc. He kept saying that I did a great job, he loved it, and he could not believe that a "woman" did this.

2. On a trip to a local hardware store, I was going up and down isles searching for MDF boards. I stopped and asked an employee who was hard at work stocking the shelves... I told him I wanted a 1 x 6, when in actuality I wanted an 11/16 x 6....my bad. He told me the next isle. I knew it was not there because I just left that isle. When I explained it again, he said "that's not a 1 x 6", and pointed me in the right direction. I thanked him, and while I was walking away....he said, "anytime baby". 

My reply to the second one....It's been years since anyone called me "Baby"!

So, what do you think? Do you find any of this offensive? What comments have you heard that could go either way?

Read More
Linda {Calling it Home} Linda {Calling it Home}

Friday's In the Garden....Succulents


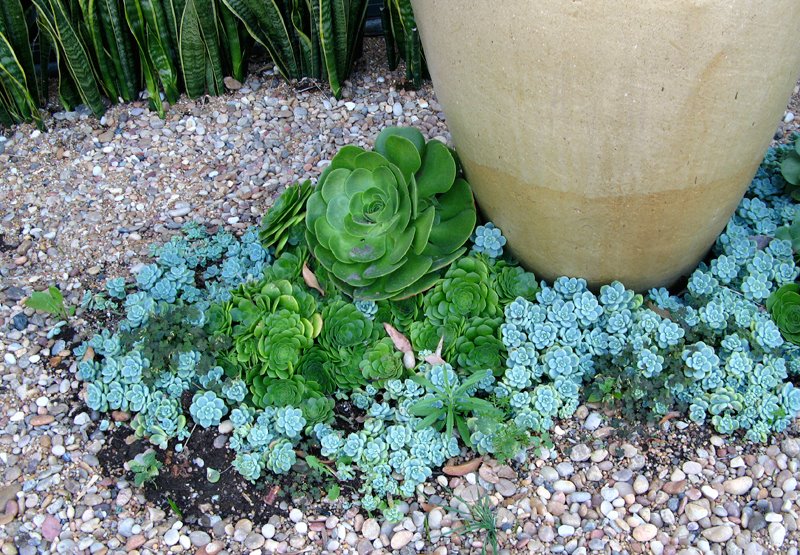
I don't think we have ever discussed succulents? In simple terms, succulents store water in their leaves and stems and even roots. They do really well outside...especially with the oppressive summer we have had. Depending on the variety, I can find many that will survive a winter in zone 6.


Sunset

unknown
Source
Source
Huntington Desert Garden
Source
Source
Have you ever experimented with succulents in your garden?
Read More
Linda {Calling it Home} Linda {Calling it Home}

The Little Black Door is Here!...Guest Post

I have a secret confession, Elizabeth and I share e-mails regarding cocktails....among other things. It is my pleasure to have a visit from
Hey My Crafty Home Lifers! I'm Elizabeth from little black door and I'm thrilled to be here with you today. Those of you that know me know that I like to do as much as I can to a room without having to spend the earth. A home feels better with some character, I think, and what better way to add character than with a little ingenuity and the occasional glue gun burn.  So I thought I would share some of my favorite DIY projects using as little dough as possible, or every better, things I already had on hand. These wrapping paper panels added a great focal point to my bedroom for practically nothing.
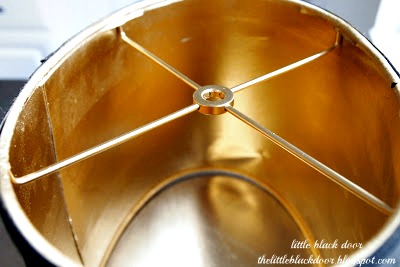
A can of gold metallic spray paint on some dingy old lamp shades from the basement and now I can read by disco-light.
Desperation and a bottle of bleach sometimes work out for the best. These monogramed shams were a successful experiment.
A $2 stool, picked up at the last minute, was spruced up with some left over spray paint and fabric. Rest your cute shoes on this sucker.
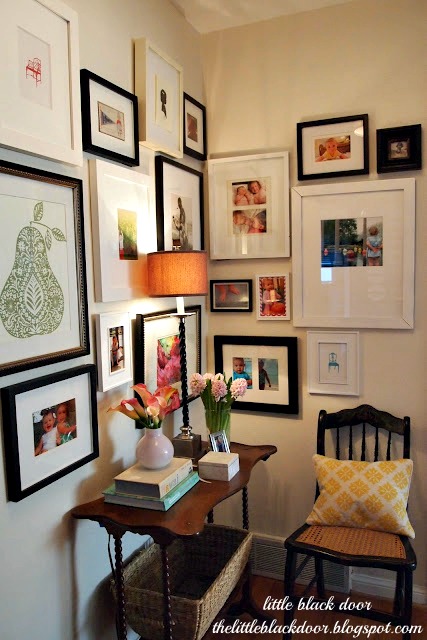
I corralled all of the odd ball frames I wasn't using from around the house and made a gallery wall for zero bucks.
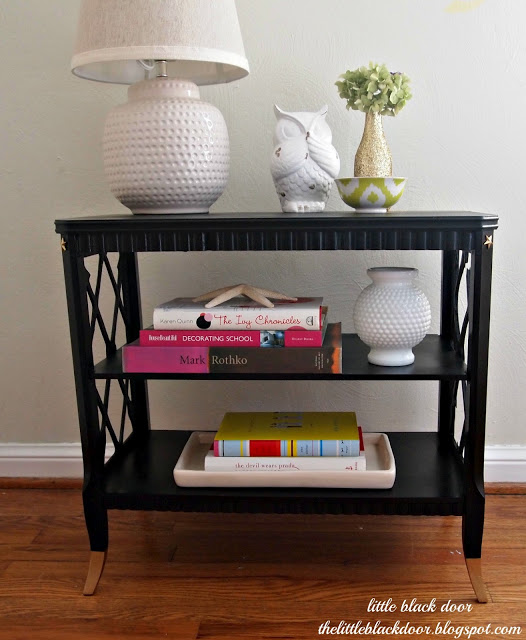
This table was a steal at an estate sale and with a coat of black paint and some gold dipped feet it is ready for the living room. Now I just need to give her twin the same treatment.
Make sure to take a second look at that ugly table in your basement or the sad little lamp at the garage sale. They can often become your favorite thing in a room! Thank you to the Lovely Linda for having me!

That is why I love Elizabeth! Thanks for coming by

Read More