
Upholstery 101 (week 11) The Finale!
Hello, and welcome back...in case you are new here...this is an on-going upholstery series. To start at the beginning, go here.
First, the chair
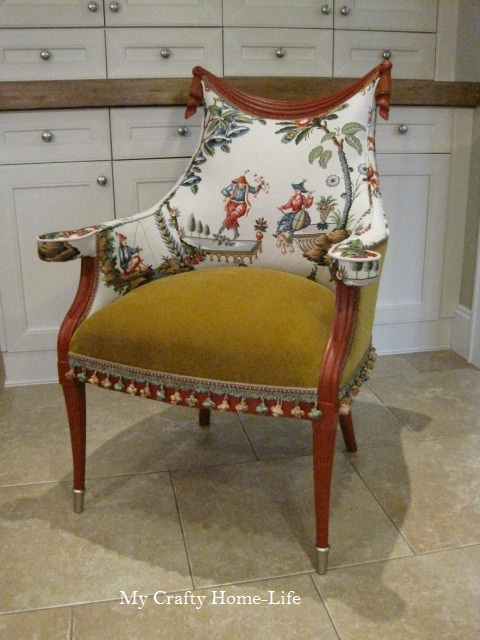
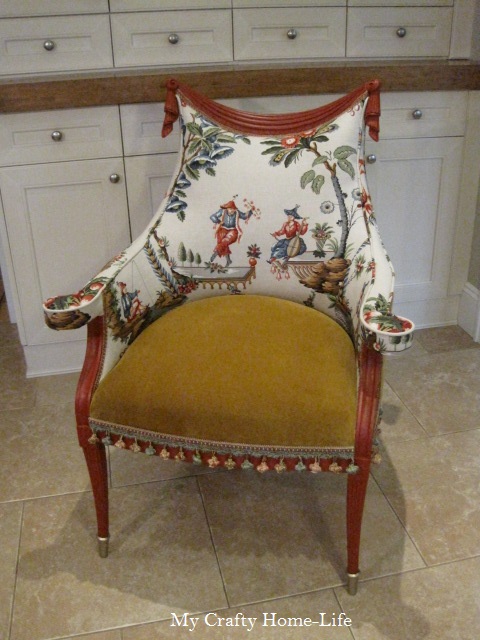
It's done! This is like skipping the meal, and going to dessert first...now here are my last steps
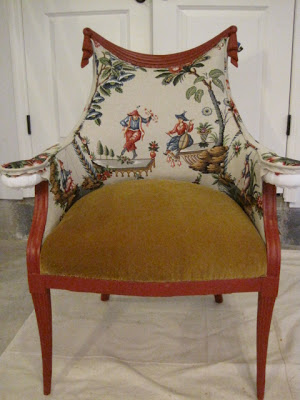
This is where I started
To finish the inside arms, I placed a strip of fabric, just like I did the top arm piece here

...using the cardboard strip again, make a fold on the left
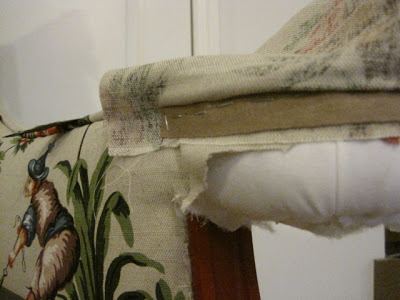
...and bring down
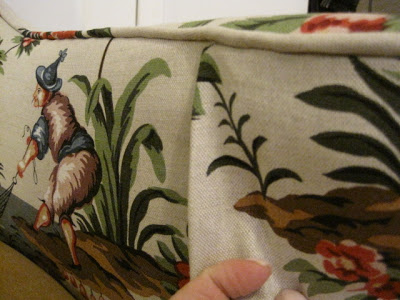
Just like the lining done here, fold and staple under the arm
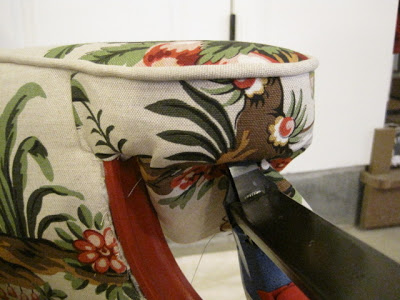
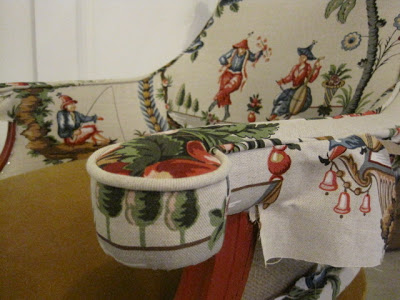
This is what it looks like. The other end will get covered with finished fabric
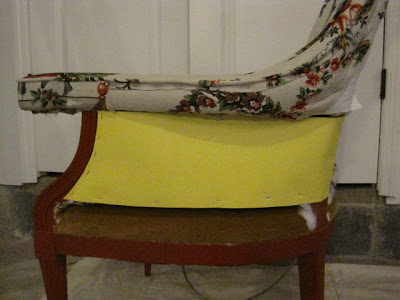
For the side, a light-weight piece of cardboard works great. I used yellow poster-board so that you could see it clearly....it doesn't matter...it won't show. Tack it in place. This keeps the batting in place.
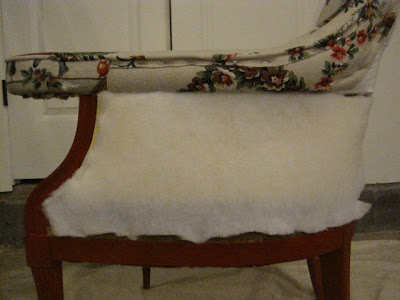
...I added a layer of batting, stapling under the arm...

...then flipping it into place, and tacking it all around
For the back of the chair...and to "finish piping"....this works great for pillows too...cut one end bluntly. Open the seam on the piping
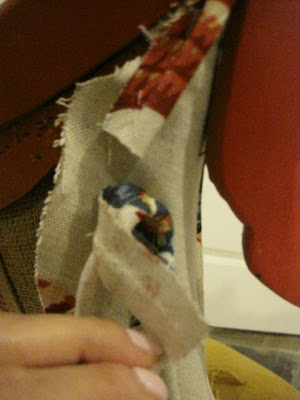
exposing the cording....leaving plenty of material, cut the cording to meet exactly with the blunt edge
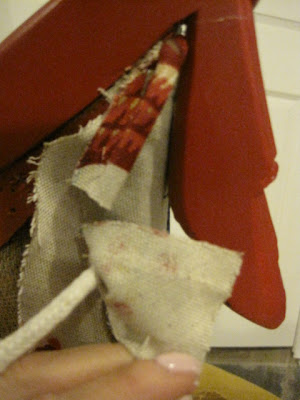
Fold under the extra material...

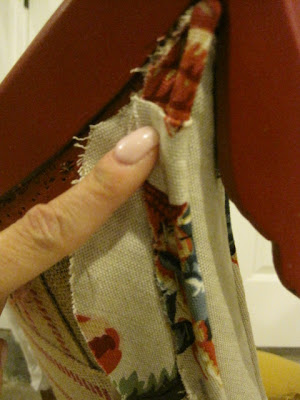
...and wrap it around the blunt edge piece. This is the most professional way to finish piping on a pillow, cushion....whatever! In this case, staple it into place
I used a light weight piece of foam for the back...tack, tack
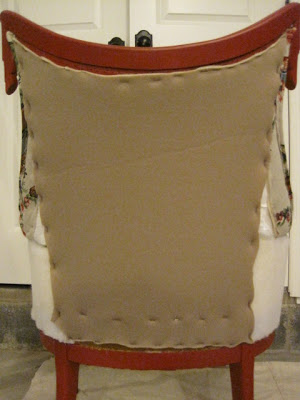
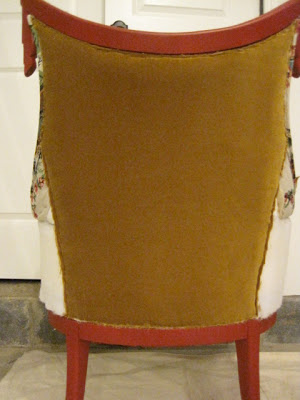
Keeping with my Mckenzie-Childs inspiration, I am using camel velvet for the back and sides. Like you have seen so many times, tack the top, bottom,
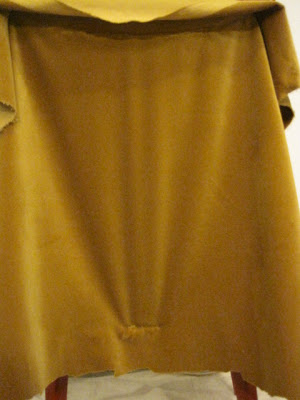
side to side...pulling at each point
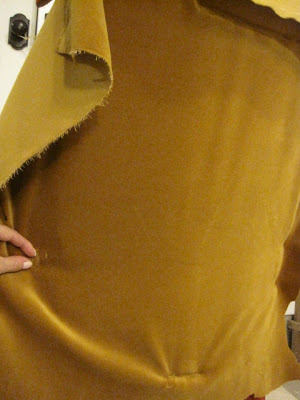 Trim
Trim
For the sides, with right sides together, I put a few pins in at the top to hold the fabric in place
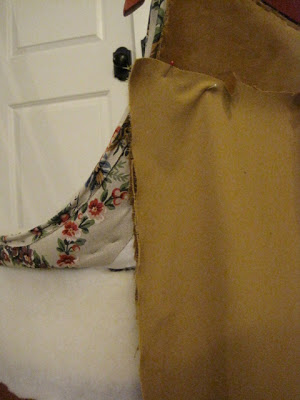
more cardboard stripping following the staple line (and covering all the top staples) that was made on the back piece
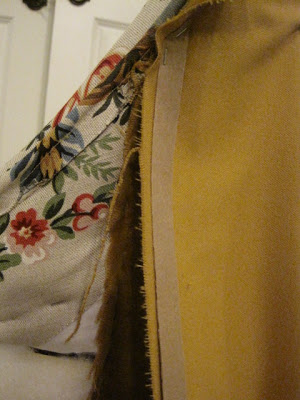
Staple all the way down, should look like stitches
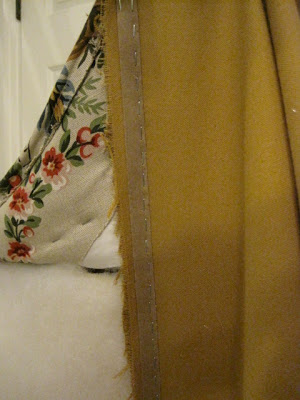
Fold over, to reveal the finished back seam
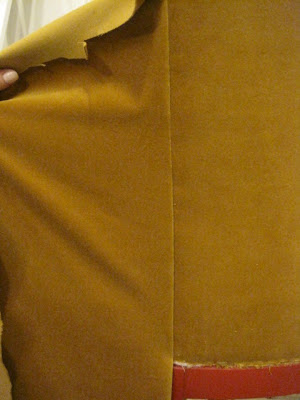
Working top and bottom, pull and staple
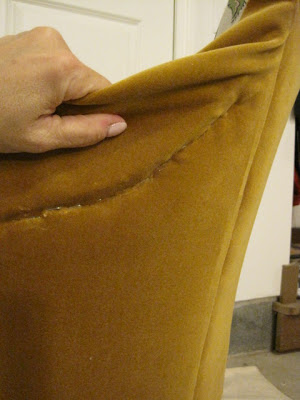
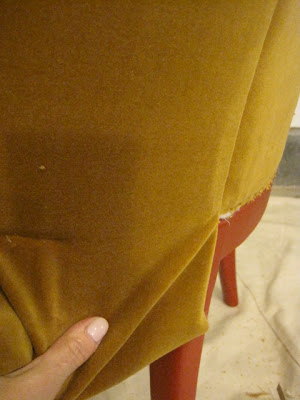
Keep pressure on the fabric to work out any wrinkles
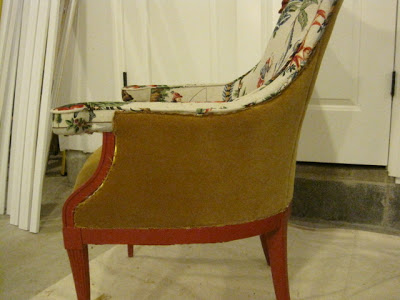
Trim...add whatever type fringe, gimp, or welting you desire...like I did in this post
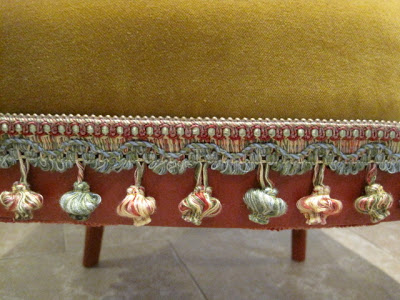
Make sure to hide all the staples, and embellish where it is needed
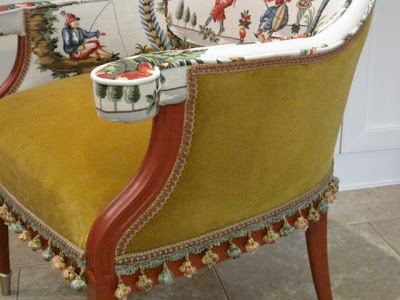
...and admire your results
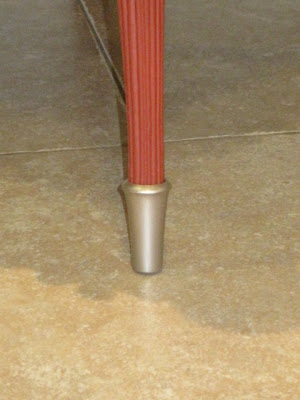
Especially those cute brass(?) feet Ididn't polish here

The end...Class is dismissed! Now I am onto my basement. What are you working on?
First, the chair
It's done! This is like skipping the meal, and going to dessert first...now here are my last steps
This is where I started
To finish the inside arms, I placed a strip of fabric, just like I did the top arm piece here
...using the cardboard strip again, make a fold on the left
...and bring down
Just like the lining done here, fold and staple under the arm
This is what it looks like. The other end will get covered with finished fabric
For the side, a light-weight piece of cardboard works great. I used yellow poster-board so that you could see it clearly....it doesn't matter...it won't show. Tack it in place. This keeps the batting in place.
...I added a layer of batting, stapling under the arm...
...then flipping it into place, and tacking it all around
For the back of the chair...and to "finish piping"....this works great for pillows too...cut one end bluntly. Open the seam on the piping
exposing the cording....leaving plenty of material, cut the cording to meet exactly with the blunt edge
Fold under the extra material...
...and wrap it around the blunt edge piece. This is the most professional way to finish piping on a pillow, cushion....whatever! In this case, staple it into place
I used a light weight piece of foam for the back...tack, tack
Keeping with my Mckenzie-Childs inspiration, I am using camel velvet for the back and sides. Like you have seen so many times, tack the top, bottom,
side to side...pulling at each point
For the sides, with right sides together, I put a few pins in at the top to hold the fabric in place
more cardboard stripping following the staple line (and covering all the top staples) that was made on the back piece
Staple all the way down, should look like stitches
Fold over, to reveal the finished back seam
Working top and bottom, pull and staple
Keep pressure on the fabric to work out any wrinkles
Trim...add whatever type fringe, gimp, or welting you desire...like I did in this post
Make sure to hide all the staples, and embellish where it is needed
...and admire your results
Especially those cute brass(?) feet I
The end...Class is dismissed! Now I am onto my basement. What are you working on?
Sarah Raven
I love gardening. I have been planning a Potager Garden for quite some time. I was certain that this Fall, I would be able to revamp my garden. Sadly, the weather and time did not agree. So, I am back to planning for next Spring. About 12 years ago, I discovered this book

The Bold & Brilliant Garden, by Sarah Raven. To this day, it is one of my very favorite and inspiring garden references. Sarah approaches her floral arrangements and gardening like a designer. Her designs are focused on scale, textue, colors and scent. I'm sure your local library has this!
Next came this book

The Cutting Garden, by Sarah Raven. This book tells you how to organize your garden so that you will always have beautiful flowers to bring inside.
...now, with the internet....you can just go to Sarah's page. She lives in England, so zoning for growth will be different. However, if you love to look at images like these



It is worth the click over. If you garden, where do you get your inspiration?
The Bold & Brilliant Garden, by Sarah Raven. To this day, it is one of my very favorite and inspiring garden references. Sarah approaches her floral arrangements and gardening like a designer. Her designs are focused on scale, textue, colors and scent. I'm sure your local library has this!
Next came this book
The Cutting Garden, by Sarah Raven. This book tells you how to organize your garden so that you will always have beautiful flowers to bring inside.
...now, with the internet....you can just go to Sarah's page. She lives in England, so zoning for growth will be different. However, if you love to look at images like these
It is worth the click over. If you garden, where do you get your inspiration?
Industrial Holiday Decorating...with Whimsy
Here is what I came home with

Although I could not tell you the intended use for most of this stuff….I will show you how I intend on using it...
First, spray prime all of it with this

Next, inspired by the peacock
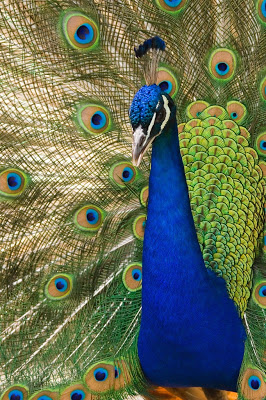
Here is my color pallet
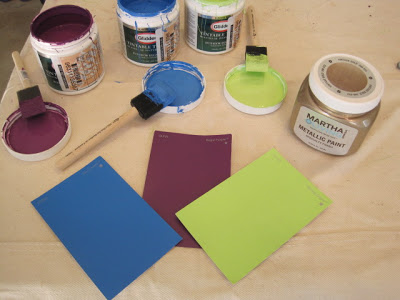
After everything is primed, start painting….and have fun! Remember, there are no rules in whimsy
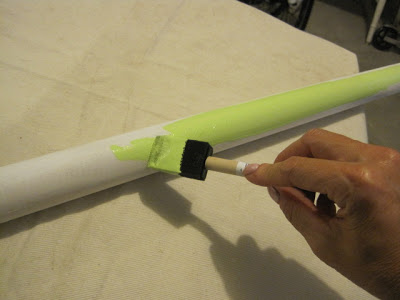
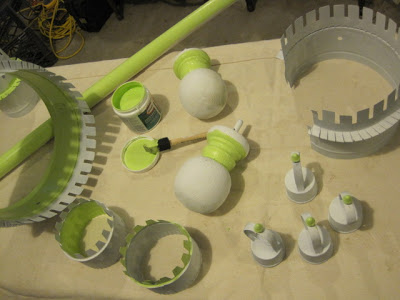
Shape the objects to your liking
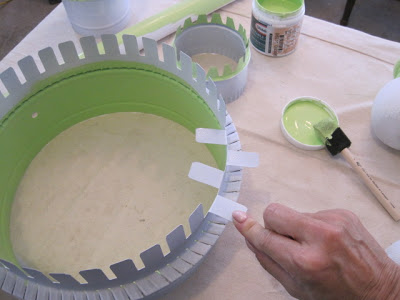
...paint some more
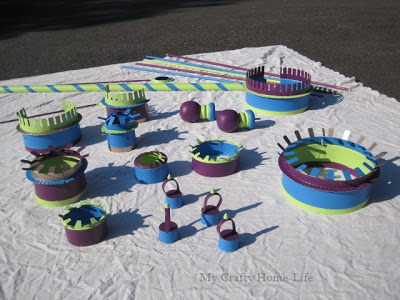
Once everything is to your satisfaction, give it a quick couple of coats
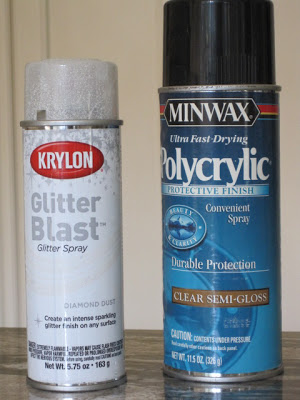
Spray glitter & sealer
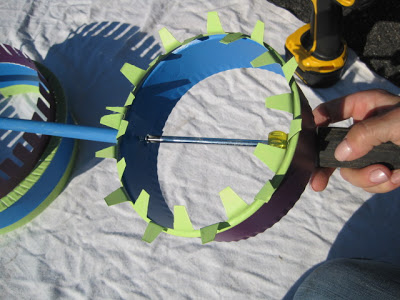
To assemble the industrial ornaments, pre-drill the dowel

...and sheet metal

Attach everything with screws
Then, style your window boxes
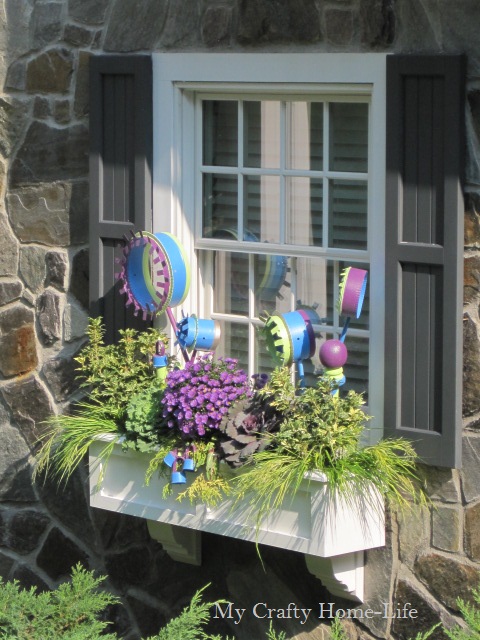

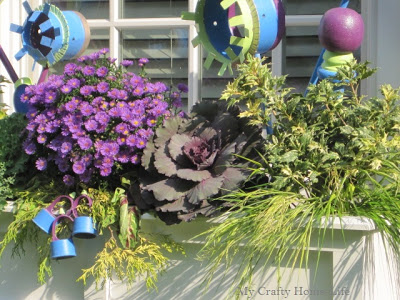
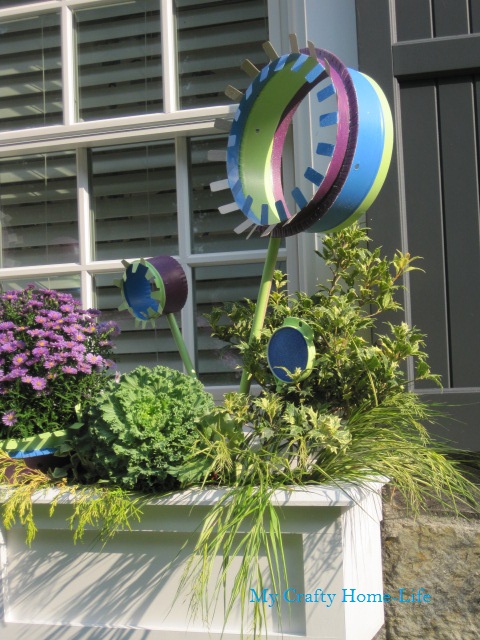
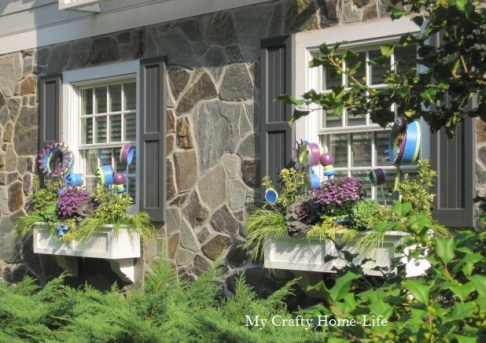
They are more "glittery" in person! Hope you have an Industrial Holiday Season!
Joining the Link Party at Serenity Now! ; Debbidoos
Joining the Link Party at Serenity Now! ; Debbidoos
How I Tried to Clean Brass!
I needed to clean the cute brass caps that fit on the feet of my chair. Actually, I am not positive that they are brass. Nonetheless, my friend, Grace, offered to clean them for me in exchange for an alteration done to her daughter's dress...deal! Yes, the barter system is alive and well.
Here is what the caps looked like
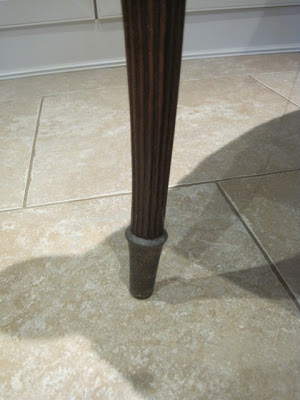
Grace was not sure how to clean them, and I thought I read something about CLR?

The dress took me no time to alter, and I have a feeling Grace worked a long time on the caps. This is what they looked like after she scrubbed them with CLR

Better than before...but still needed some work. Back to the internet...this time the magic potion was a mixture of equal parts; vinegar, salt & flour

Smear it on

and let it sit for an hour

rinse with water....and Ta Dah

Orangey-pink caps.....OK, repeat the process...let it sit ANOTHER hour

rinse with water

Better...but still not great. At this point, I am wondering what type of metal this is? Time to break out the Big-Guns

Two coats....and

Perfection! This is how Idon't clean brass! Do you know of a better way?
Here is what the caps looked like
Grace was not sure how to clean them, and I thought I read something about CLR?
The dress took me no time to alter, and I have a feeling Grace worked a long time on the caps. This is what they looked like after she scrubbed them with CLR
Better than before...but still needed some work. Back to the internet...this time the magic potion was a mixture of equal parts; vinegar, salt & flour
Smear it on
and let it sit for an hour
rinse with water....and Ta Dah
Orangey-pink caps.....OK, repeat the process...let it sit ANOTHER hour
rinse with water
Better...but still not great. At this point, I am wondering what type of metal this is? Time to break out the Big-Guns
Two coats....and
Perfection! This is how I
Favorite Things!
OK, It's "Favorite Things" Link party at The Nester....and I'm In....
Here are my Favorite Things Under $30
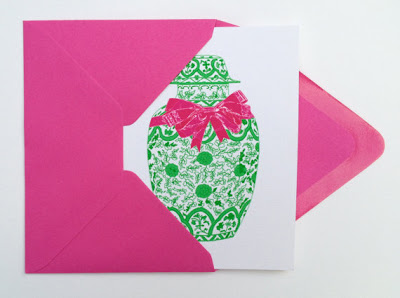
The Pink Pagoda Holiday Stationary, $20...available here



This wireless mouse. $29.99.... available here
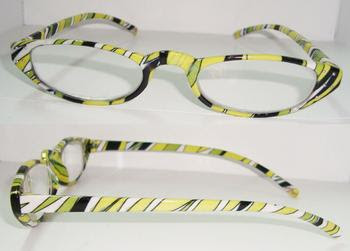
Fun "readers". $2.99...available here
Those are a few of my Favorite Things, what are some of yours?
Here are my Favorite Things Under $30
The Pink Pagoda Holiday Stationary, $20...available here
Truffle infused Honey, wonderful on cheese! $15...available here
Orange Ginger Scrub, smooth your skin. $16...available here
This wireless mouse. $29.99.... available here
Fun "readers". $2.99...available here
Those are a few of my Favorite Things, what are some of yours?
Upholstery 101 (week 10)
Hello, and welcome back...in case you are new here...this is an on-going upholstery series. To start at the beginning, go here.
Today will NOT be the last post....I don't know what I am doing I was not sure how to handle the arms, so this week was a lot of trial, and luckily not too many errors!
I decided to use Mackenzie-Childs as my upholstery influence for this chair. On the seat, and probably the back, I am using a camel colored velvet I had in my hoarding collection. Velvet fabric has a nap (a specific texture), and working with it is not hard, you just need to take the an extra step or two when you cut it. For more information on cutting fabrics with a nap, go here.
Jumping in...I placed a piece of the fabric loosely over the seat, tucking all around and making cuts like the lining

Using the piping that I made (now this is the part that I am experimenting...not sure how to finish the arms), I decided to staple it along the top inside edge of the chair. I started at the inside portion where the side fabric would also get stapled to the front side...
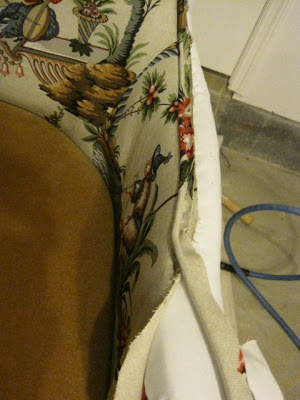

The staples do not need to be close together, this is only for holding the piping into position
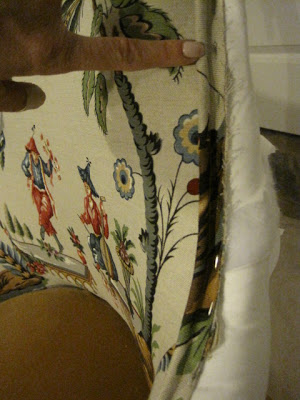
Here goes the next part of my experiment, I placed the arm piece long that same edge, folding it over (right sides together) along the inside arm. It is how you would put the pieces together with the piping sandwiched between if you could magically sew them while on the chair
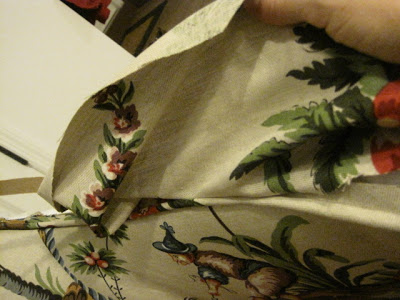
Using cardboard stripping (a common upholstery supply)
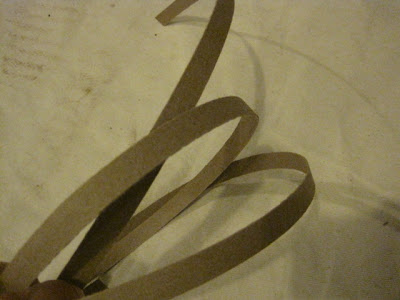
I placed the tack stripping along that seam (this is the magical sewing..only using staples) and stapled
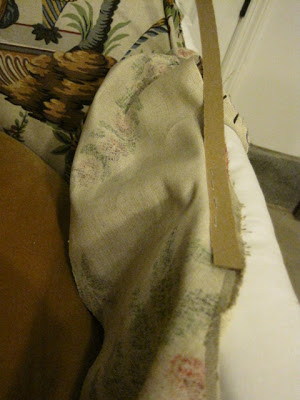
...making sure that the staples are close together, like stitches. When the fabric is folded back over, it looks like this
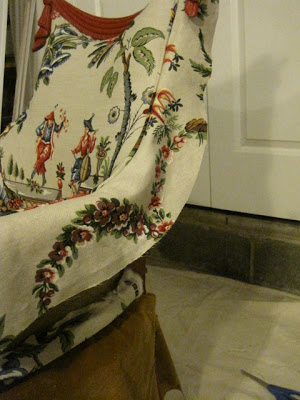
Once I folded the fabric over, I felt it could use a thin layer of foam/fabric (sold at most craft stores). I lightly tacked it in place (maybe a staple every 3" very close to the edge). I trimmed it while it was on the chair
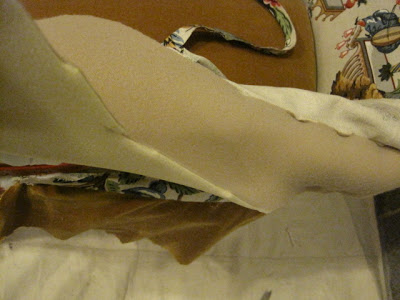
Now, back to the experiment...the rest of the arm. I could not keep applying the piping all the way around the arm in the same fashion....each piece covers the edges of the next piece...until you finish it with a gimp, double-welting, or fancy trim.
So I made a slit in the piping (careful not to cut into the finished roll) where the inside arm starts around the circle of the arm...I also slit the fabric at the same place
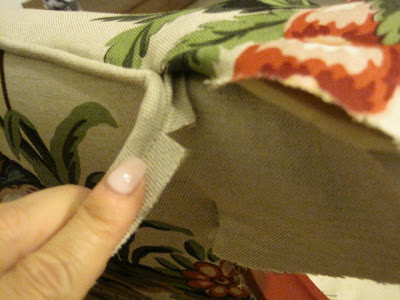
Now I am stapling the fabric and piping down the onto the side of the arm (no longer under).

When you examine these photos, you can see that it would not have been possible to tuck it all under, the way the inside piece was done
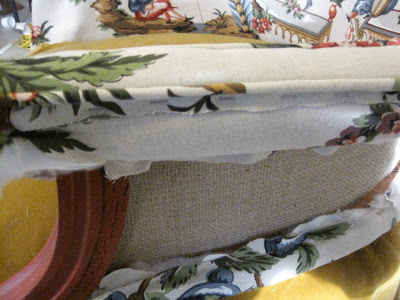
Also, note that the piping was tacked along the edge. Again, this is to hold it in place...more staples to come. Moving onto the seat....you have seen me do this many times....just like the seat in the Tobi Fairley chair...and then cutting when you are done

A few staples in the front to hold it
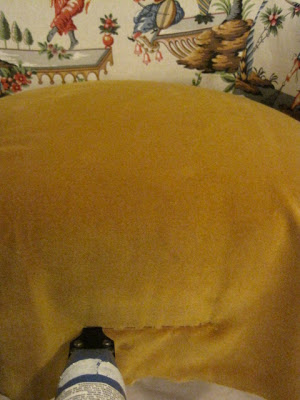
CORNERS ON THE FRONT.... This is the difficult part....I promise you will get better with practice!!! Remembering that the staples you put in may need to be re-positioned from time to time....working from the front center out....pull the fabric at a downward angle toward the arm....
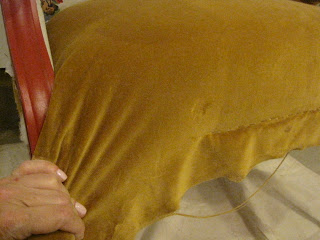
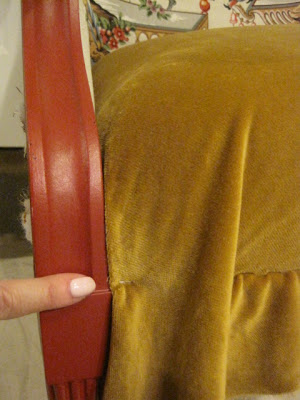
At the arm, tuck under and trim off unseen bulky fabric and fold and tuck until you have a fold that you are happy with...I like this fold, and can adjust the rest of the front
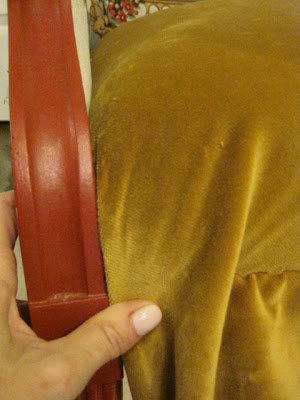
So I tacked it into position
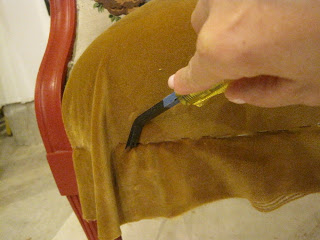
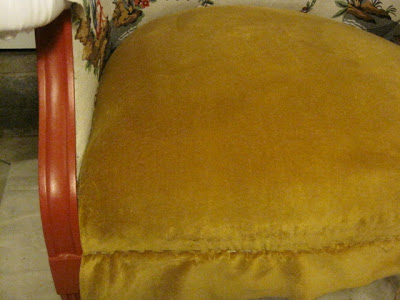
This is where you can see the nap of the fabric, it needs to be brushed out...the marks are not permanent. Here is the chair with a finished corner...you can predict how the other corner will get worked, and maybe re-worked!
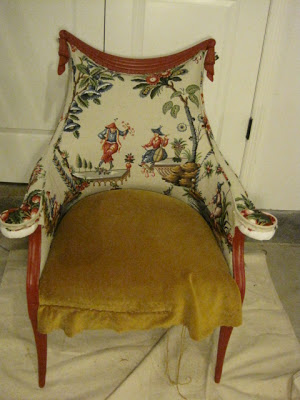
I want to point out that the circular ends of the arms are charming, and commanding for your attention....I tried to cut the fabric for the arms with this in mind. I wanted both circles to have red berries and similar patterns on them. If you have a project that has a prominent feature, try to cut out your fabric with that feature in mind.
Hope to see you next Wednesday for what MUST be the Finale! Is anyone trying this at home?
Today will NOT be the last post....
I decided to use Mackenzie-Childs as my upholstery influence for this chair. On the seat, and probably the back, I am using a camel colored velvet I had in my
Jumping in...I placed a piece of the fabric loosely over the seat, tucking all around and making cuts like the lining
Using the piping that I made (now this is the part that I am experimenting...not sure how to finish the arms), I decided to staple it along the top inside edge of the chair. I started at the inside portion where the side fabric would also get stapled to the front side...
...I stopped at the top tassel
Here goes the next part of my experiment, I placed the arm piece long that same edge, folding it over (right sides together) along the inside arm. It is how you would put the pieces together with the piping sandwiched between if you could magically sew them while on the chair
Using cardboard stripping (a common upholstery supply)
I placed the tack stripping along that seam (this is the magical sewing..only using staples) and stapled
...making sure that the staples are close together, like stitches. When the fabric is folded back over, it looks like this
Once I folded the fabric over, I felt it could use a thin layer of foam/fabric (sold at most craft stores). I lightly tacked it in place (maybe a staple every 3" very close to the edge). I trimmed it while it was on the chair
Now, back to the experiment...the rest of the arm. I could not keep applying the piping all the way around the arm in the same fashion....each piece covers the edges of the next piece...until you finish it with a gimp, double-welting, or fancy trim.
So I made a slit in the piping (careful not to cut into the finished roll) where the inside arm starts around the circle of the arm...I also slit the fabric at the same place
Now I am stapling the fabric and piping down the onto the side of the arm (no longer under).
When you examine these photos, you can see that it would not have been possible to tuck it all under, the way the inside piece was done
Also, note that the piping was tacked along the edge. Again, this is to hold it in place...more staples to come. Moving onto the seat....you have seen me do this many times....just like the seat in the Tobi Fairley chair...and then cutting when you are done
CORNERS ON THE FRONT.... This is the difficult part....I promise you will get better with practice!!! Remembering that the staples you put in may need to be re-positioned from time to time....working from the front center out....pull the fabric at a downward angle toward the arm....
At the arm, tuck under and trim off unseen bulky fabric and fold and tuck until you have a fold that you are happy with...I like this fold, and can adjust the rest of the front
So I tacked it into position
Going back and removing (be careful not to scratch that painted frame) some of the previous staples, re-position and pull the fabric in the opposite direction to work out any wrinkles until it is smooth.
This is where you can see the nap of the fabric, it needs to be brushed out...the marks are not permanent. Here is the chair with a finished corner...you can predict how the other corner will get worked, and maybe re-worked!
I want to point out that the circular ends of the arms are charming, and commanding for your attention....I tried to cut the fabric for the arms with this in mind. I wanted both circles to have red berries and similar patterns on them. If you have a project that has a prominent feature, try to cut out your fabric with that feature in mind.
Hope to see you next Wednesday for what MUST be the Finale! Is anyone trying this at home?