
Deck the Door
Like the rest of this year, the Holiday Season is moving along! As usual, I have great big crafting plans...that I almost never find the time to do! I found some fun inspirational ways to deck out the front door...and maybe this will be the year?
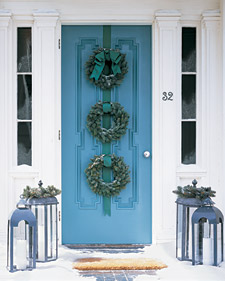
Now this won't take long...the tutorial is here
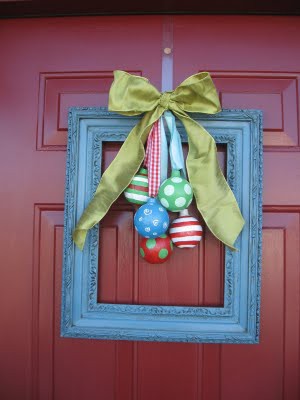
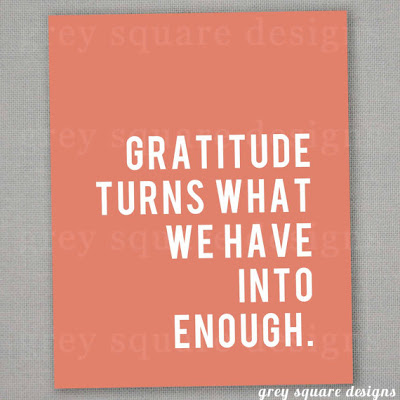
I love being square....the tutorial is here
This is super fun whimsy
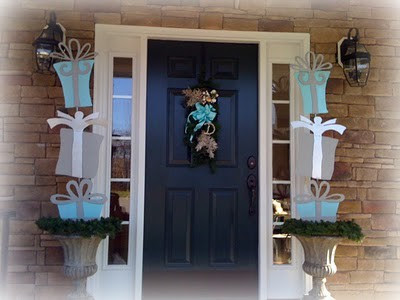
There isn't a tutorial for that package topiary....but the Two Junk Chix ladies rocked it when they made this
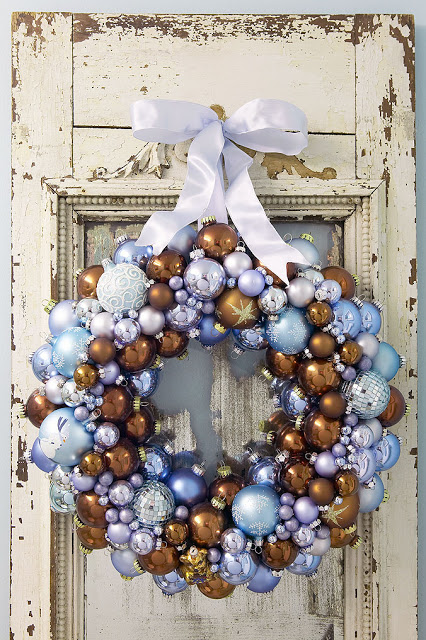
This wreath has been pinned and repinned on pinterest an impressive amount...and the tutorial is here.
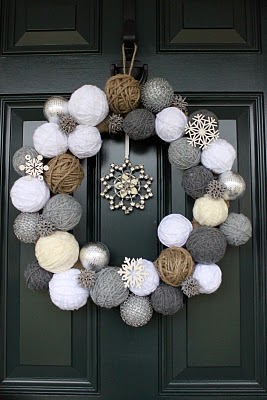
I think this is my favorite
...and the tutorial for this one is here. How are you decking your halls?
Now this won't take long...the tutorial is here
 |
| Source |
 |
| Source |
This is super fun whimsy
 |
| Source |
There isn't a tutorial for that package topiary....but the Two Junk Chix ladies rocked it when they made this
This wreath has been pinned and repinned on pinterest an impressive amount...and the tutorial is here.
I think this is my favorite
 |
| Source |
Cyber Monday
In a few words....I'M IN! Hopefully, today is the day...the day to get a ton of shopping done, at great bargain prices? Black Friday is not my thing.
I love to shop on-line. In fact, I have shared my on-line shopping for Missoni on-line; fabric on-line; Outdoor rugs on-line; Upholstery Supplies on-line; and wall decals on-line with you.
I usually check everything at home on my computer, before I ever head out to the stores. I could probably quote most major retailers return policies....what does all of this mean? I think I can spot a good deal when I see one. Here are a few things I am on the hunt for
A television for the basement
 I have purchased a few televisions from Tiger Direct in the past....they will match any advertised price! I'll hunt around, and end up there....although "they say" electronics may drop further.....as Christmas approaches?


I love to shop on-line. In fact, I have shared my on-line shopping for Missoni on-line; fabric on-line; Outdoor rugs on-line; Upholstery Supplies on-line; and wall decals on-line with you.
I usually check everything at home on my computer, before I ever head out to the stores. I could probably quote most major retailers return policies....what does all of this mean? I think I can spot a good deal when I see one. Here are a few things I am on the hunt for
A television for the basement
Justin Bieber perfume
....no comment, it's on her list!
For me, the only practical one in this house...Turtlenecks!
"Guess I'm a Turtleneck-Kind-of Gal!"
I would love to know what and WHERE you will be cyber-ing on Monday?



Upholstery 101 (week 9)
Hello, and welcome back....in case you are new here...this is an on-going upholstery series. To start at the beginning, go here.
Today is the second to last post for the series......so let's jump in! This is what the chair looked like last time. Since then, I added lining to the other arm and seat bottom
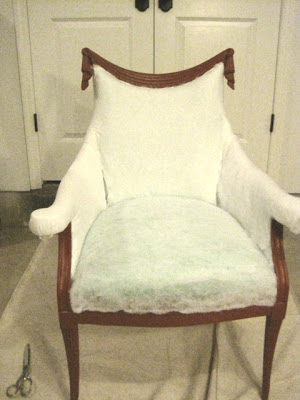




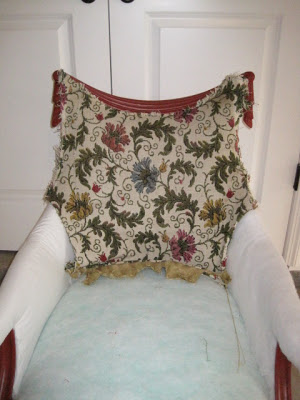



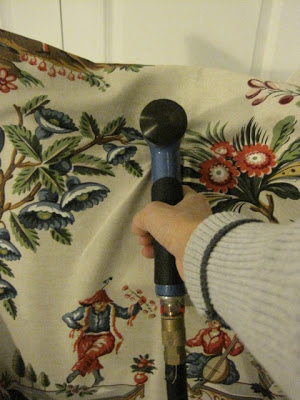

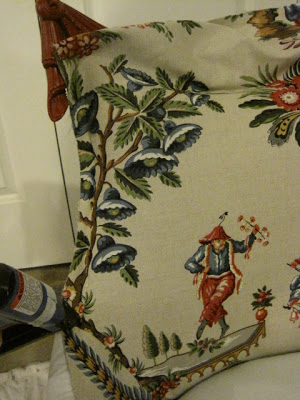

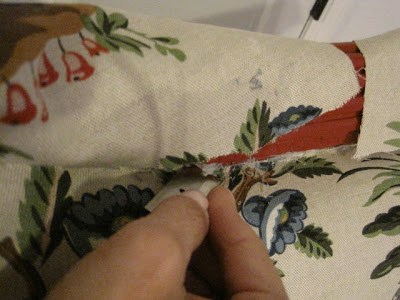
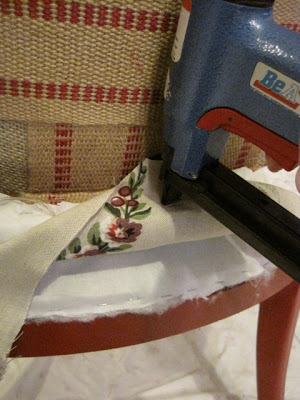

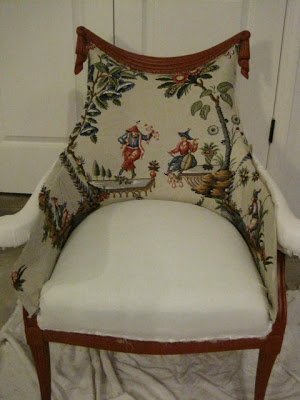

Today is the second to last post for the series......so let's jump in! This is what the chair looked like last time. Since then, I added lining to the other arm and seat bottom
Now is the time to take out the old pieces that were saved
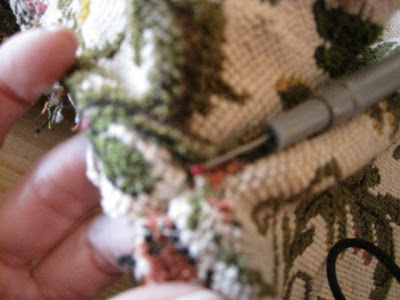
Using a small scissors, and a seam ripper
...open all the seams
Here is the center back. I need to use this for a pattern. Remember how many times you have seen me trim everything....so, where there are no seams....along the top and the bottom, I will cut the new piece several inches longer. This gives extra fabric for pulling
Here is an inside arm piece (I need 2, cut one face up and the other face down) and an arm piece (also 2 cut face up and face down)
Learning from my last mistake, since I added extra padding to the chair, I want to lay the old pieces on the chair to see if I need to make further adjustment to them before cutting
As you can see, the top and bottom of this piece need to be longer. I think the side seams are lining up nicely (always refer to your old photos if you can). For the inside side piece, I need to add length to the outside edge....for pulling and stapling
The arm piece is just a bit too thin...this was an easy prediction based on my previous post
After deciding how I wanted the pattern centered, I cut the back piece. Note, centering an image is a personal preference....I could have centered so many different options. I wanted to have the man, woman, and some of the foliage...if I raised the man and woman higher, I would have a lot of beige at the top of the chair
Keeping in mind, but not making yourself crazy, think about how the right and left pieces will connect (pattern and image). I wanted this fishing dude!
...and a different dude on the other side
Decide how much piping you want....you can use ready made...or make your own
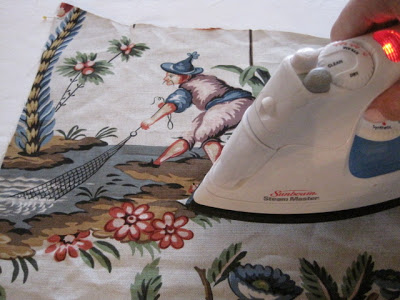
Truth be told, I tried to find ready made and I could not find a color that worked, so I made my own. The next step is an important one...press your fabric. If you try to press your fabric once it is on the chair...you could MELT the dacron batting...I have made that mistake!
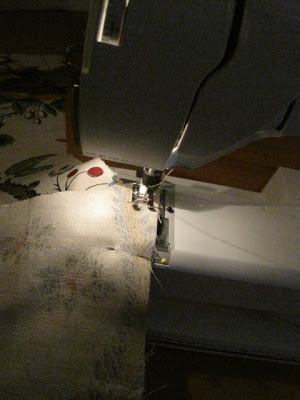
Sew the sides together
Lay it back on the chair, if you are happy with it...go on...if not, now is the time to make changes
A few staples in the center top...keeping pattern layout in mind the entire time
I did a slight deviations from my usual (top, bottom, right, left, repeat), this time, I did an entire side first...
top down to where the seam is...went to the other side...top down to seam
Then, along the top
Trim the top (this is where all that extra fabric came in handy).
Now, I did the bottom back...adjusting tension where needed to keep the pattern aligned
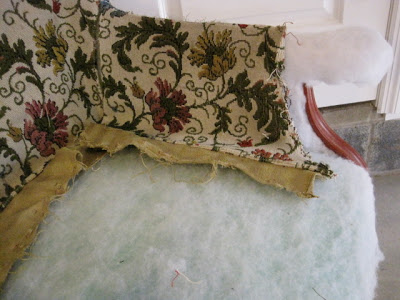
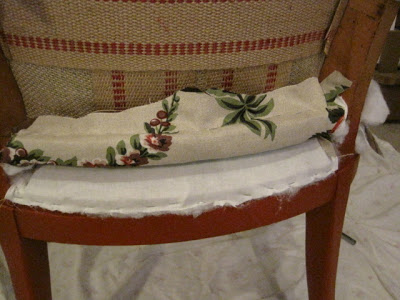
Finished back (note, it was rolled up and over that wood support piece. The bottom seat will be pulled downward where you see the lining
Side arm, also pulled up and over the wood support.....bottom seat will be pulled downward over the lining
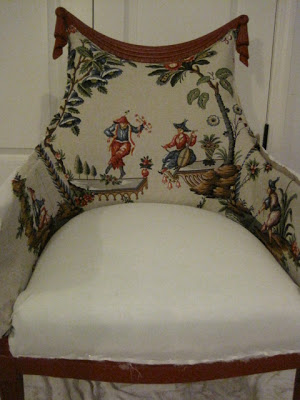
Here is a front view
My little fishing dude
This is a good view to see how many choices there are when you center a pattern...choose what works for you
Next time, the finale...I hope! I am going to be completely honest...I am still not sure how I am going to finish those arms...I can't wait to come back next week and find out!
Tomorrow is Thanksgiving. Have a wonderful and safe Holiday. If you are able, please try to bring something to your local food bank!
Save Your Five Dollars
Many of my friends can't sew. No judgement, they just never cared to learn. In fact, many of the people in my area take garments to the dry cleaners for sewing. This is a great resource for hemming, alterations, and garment repair in general.
When I found out that the dry cleaners charges five dollars to sew on ONE button....I had to share this quick refresher with you. Case in point, my husband's blazer

That has one loose shank button. A shank button is raised with that metal loop under it. It is super easy to sew because....you can't see the stitches when you are done!

Here is what you will need

Scissors, a needle and thread (if you want it to go super fast, use upholstery thread). Cut off the button, remove the old threads, and thread the needle

Here is my time-saving tip, I double the thread BEFORE I thread the needle. That way, there are 4 strands of thread....fewer stitches, extra strength. Don't forget to knot the end of the thread

Starting from the top-side of the garment (everything will be covered by the button when you are finished), Push the needle into and then back out of the small perforated holes from before

Pull the thread all the way through until the knot stops you. Then, slip the needle through the shank (make sure the image on the button, if there is one, is facing the correct direction) and repeat the first step going along side of your previous stitches

Pull the thread to secure


When I found out that the dry cleaners charges five dollars to sew on ONE button....I had to share this quick refresher with you. Case in point, my husband's blazer
That has one loose shank button. A shank button is raised with that metal loop under it. It is super easy to sew because....you can't see the stitches when you are done!
Here is what you will need
Scissors, a needle and thread (if you want it to go super fast, use upholstery thread). Cut off the button, remove the old threads, and thread the needle
Here is my time-saving tip, I double the thread BEFORE I thread the needle. That way, there are 4 strands of thread....fewer stitches, extra strength. Don't forget to knot the end of the thread
Starting from the top-side of the garment (everything will be covered by the button when you are finished), Push the needle into and then back out of the small perforated holes from before
Pull the thread all the way through until the knot stops you. Then, slip the needle through the shank (make sure the image on the button, if there is one, is facing the correct direction) and repeat the first step going along side of your previous stitches
Pull the thread to secure
Repeat once or twice more.....now THIS is how you get your button to stand proud and not fall over...wind your thread around your stitches several times...like you were winding a yo-yo...and then lock that in by slipping the needle into the winding threads and back through that huge loop to make a knot...one more knot for good luck!
Your shank button should stand at attention! Now go get a pumpkin spice late with the five dollars you saved!
A Basement Series...Really?
Today is cold, and clearly the early stages of winter. I am missing gardening. It reminds me of my very first post, gardening in my mind. That's the strange fun thing about blogging, you can see if you actually finished started any of your projects, or if you have stumble across a better idea! I know that I am constantly changing my vision...only to find, that usually, I still LOVE my original inspiration. Sound familiar?
If there is one project area of my home that needs immediate attention, it would be my basement. My basement is small but super functional....it is the sewing/craft room....video game/friends over room....fort making/puzzle building room......etc.....This last Spring, our basement flooded! It was the second time in 12 years. Time to install a drainage system with a sump pump
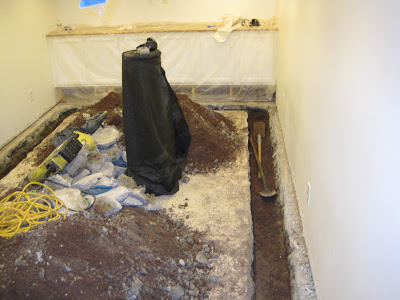
Obviously, this was done by a professional crew

The built-in's that I installed a few years ago were spared because I built them on a 2x4 platform off the concrete floor, everything else....was wet
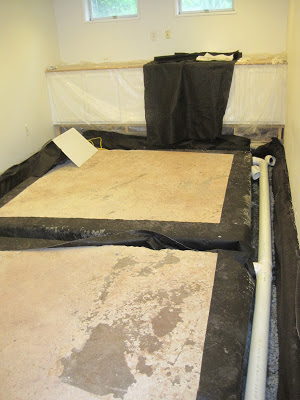
A couple of months ago, I started lining up my "Inside ideas" pictures to help keep myself busy so winter would feel like it was moving faster! For self motivation, I have decided to invite you into my basement. Since my upholstery project will be finished soon....I will try to keep my basement project moving along by posting weekly updates (it forces me to stay on track).
*****Update - Faux Crown Molding in the Basement*****
Do you have a room in your home that you close the door and avoid at all costs?
If there is one project area of my home that needs immediate attention, it would be my basement. My basement is small but super functional....it is the sewing/craft room....video game/friends over room....fort making/puzzle building room......etc.....This last Spring, our basement flooded! It was the second time in 12 years. Time to install a drainage system with a sump pump
Obviously, this was done by a professional crew
The built-in's that I installed a few years ago were spared because I built them on a 2x4 platform off the concrete floor, everything else....was wet
A couple of months ago, I started lining up my "Inside ideas" pictures to help keep myself busy so winter would feel like it was moving faster! For self motivation, I have decided to invite you into my basement. Since my upholstery project will be finished soon....I will try to keep my basement project moving along by posting weekly updates (it forces me to stay on track).
*****Update - Faux Crown Molding in the Basement*****
Do you have a room in your home that you close the door and avoid at all costs?