
Wine Cozy
I can't believe that Thanksgiving in one week away...yikes....I need to get busy! We are going to my friend's home, and among other things...I am bringing wine. I don't have an artful way of wrapping the wine bottle. In my hunting for ideas....I found this fantastic tutorial from Bits & Pieces
Stacy will show you how to turn this sweater into this
Hop on over for the full tutorial.....now, what am I presenting drinking for Thanksgiving? Well, today is Thursday, so let's go see what Don thinks....
Every Thursday, Don, Kim's husband (from Kim Macumber Interiors), reviews a bottle or two....of wine, and tells us all about it! Today it is all about wine pairing for Thanksgiving. How do I know that...other than the fact that I read Kim's blog? Because, Don takes requests!! Have you ever wondered who, what, when or where with wine....ask him.
Do you do anything crafty or creative for Thanksgiving?
 |
| Bits & Pieces |
Stacy will show you how to turn this sweater into this
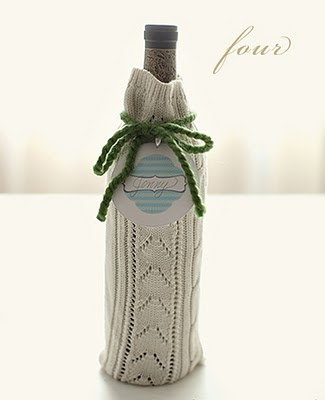 |
| Bits & Pieces |
Hop on over for the full tutorial.....now, what am I
 |
| Kim Macumber |
Every Thursday, Don, Kim's husband (from Kim Macumber Interiors), reviews a bottle or two....of wine, and tells us all about it! Today it is all about wine pairing for Thanksgiving. How do I know that...other than the fact that I read Kim's blog? Because, Don takes requests!! Have you ever wondered who, what, when or where with wine....ask him.
Do you do anything crafty or creative for Thanksgiving?
Upholstery 101 (week 8)
Hello, and welcome back....in case you are new here....this is an on-going upholstery series. To start at the beginning, go here.
Today's post is all about trial and error....spoiler alert....you will be able to learn from a mistake that I am about to make!
This is what the chair looked like last time

I added batting to the other arm, and this is what the chair looks like now
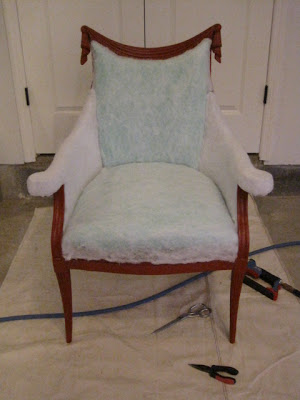
I want to add the lining. Looking back at the original chair, this is how the lining looked
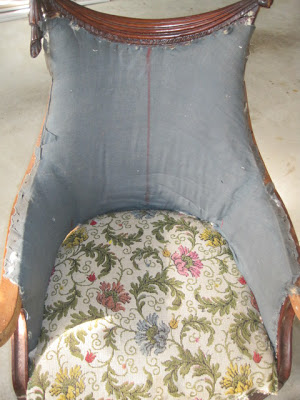
It was one piece. However, you will also notice that the arms don't have any batting on them, and mine do! Also, take note that the lining is stapled to the top of the arms.....I have padding on my new arms....
Place the lining over the chair, working on the bias for extra give

A few staples center top

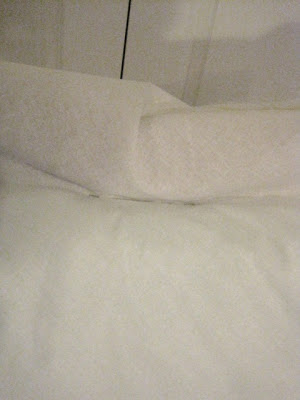
A slit to ease and trim lining into shape

Tuck the lining in the same way the batting was done


Make an ease cut so that the lining can be tucked around the frame

....like this

Here is the alteration from the original, I pulled the lining over the padded arms
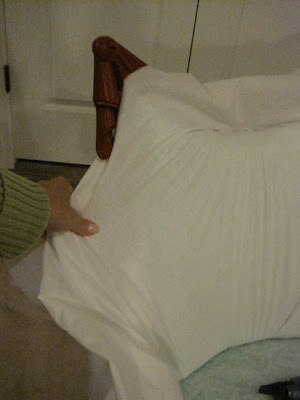
Staple around the back, just like the batting was done
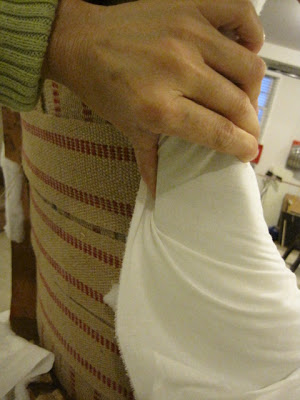
Shape the top of the chair, working out all of the folds

Staple along the top, trim off the excess

AND TOO MUCH PRESSURE, the lining has ripped! If I stapled along the top of the arm, this probably would not have happened. However, I wanted padded arms. The lesson for me is that when an alteration is made (like dominoes) ....be prepared to alter the steps that follow

This lining can't be done in one piece. Follow the natural line of the chair, I cut the lining
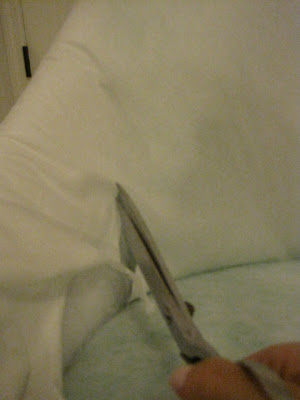
Cut the other side to match
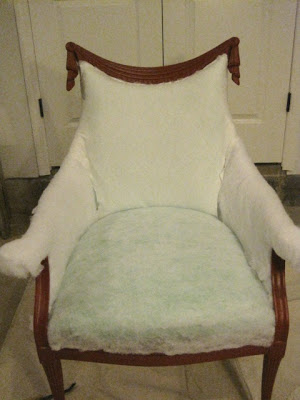
Drape a new piece over the arm

Cut, tuck, trim

For the end of the arm, it is just a series of pleats and folds all stapled to the bottom of the arm

Here is what the chair looks like now
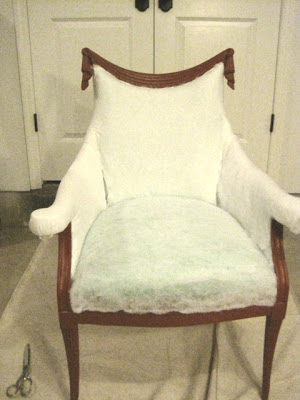
I need to do the other arm and the seat.....however, trust me, when you start to make mistakes....it is time to take a break and walk away for today! I hope you learned something...I know I did. See you next Wednesday!
Today's post is all about trial and error....spoiler alert....you will be able to learn from a mistake that I am about to make!
This is what the chair looked like last time
I added batting to the other arm, and this is what the chair looks like now
I want to add the lining. Looking back at the original chair, this is how the lining looked
It was one piece. However, you will also notice that the arms don't have any batting on them, and mine do! Also, take note that the lining is stapled to the top of the arms.....I have padding on my new arms....
Place the lining over the chair, working on the bias for extra give
A few staples center top
A slit to ease and trim lining into shape
Tuck the lining in the same way the batting was done
Make an ease cut so that the lining can be tucked around the frame
....like this
Here is the alteration from the original, I pulled the lining over the padded arms
Staple around the back, just like the batting was done
Shape the top of the chair, working out all of the folds
Staple along the top, trim off the excess
AND TOO MUCH PRESSURE, the lining has ripped! If I stapled along the top of the arm, this probably would not have happened. However, I wanted padded arms. The lesson for me is that when an alteration is made (like dominoes) ....be prepared to alter the steps that follow
This lining can't be done in one piece. Follow the natural line of the chair, I cut the lining
Cut the other side to match
Drape a new piece over the arm
Cut, tuck, trim
For the end of the arm, it is just a series of pleats and folds all stapled to the bottom of the arm
Here is what the chair looks like now
I need to do the other arm and the seat.....however, trust me, when you start to make mistakes....it is time to take a break and walk away for today! I hope you learned something...I know I did. See you next Wednesday!
Winter Window Boxes
It"s Winter Window Box time! I love looking at window boxes, and I am lucky enough to have two boxes. In the summer, I always have a great debate (with myself) for color combinations. I will share with you, that my window box plants are so much happier because of the drip irrigation I installed.
This year, Fall came and went fast....other than mums....I did not do the Fall Window Boxes I was planning.
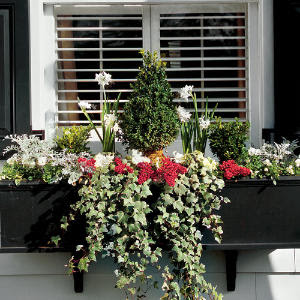
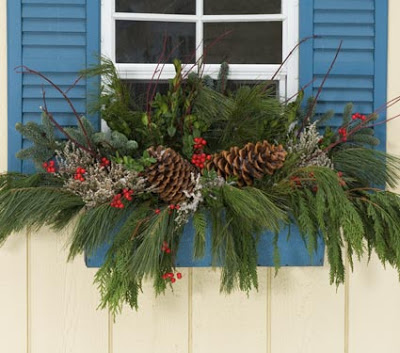
So, I'm am going to plan and dream for winter with these inspirational images
 |
| Source |
 |
| Source |
 |
| Source |
 |
| Source |
 |
| Source |
 |
| Source |
 |
| Source |
Do you have a favorite? What is your window box style?
I have a crazy fun post coming later this month for "out of the box" Holiday Window Boxes! Please join me, e-mail me your favorite picture(s) of Holiday planters, boxes or front porches.... and I will share them with everyone!
I am Hooked on Hooked on Houses!

I'm sure the blog, Hooked on Houses is nothing new to any of you....and like most of you, I am hooked!
It is no secret that I have a love for all things Hampton's, and all things Nantucket! In fact, IN MY MIND, my home is the Nantucket beach house....that I will never have. So, naturally, when I saw the commercials for the television show Revenge

...and found out that it takes place in the Hampton's.....I was all in!
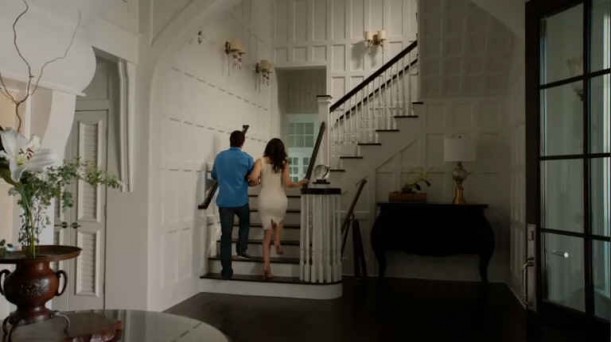
Back to Hooked on Houses, I don't know how Julia does it, she manages to have posts on every show or movie I have ever wanted a closer look at! Here are photo's from her site that are of the television set, Revenge
 |
| Hooked on Houses |
Another image
 |
| Hooked on Houses |
...and just for fun, because I told you that Julia has EVERY home I could think of.....check out a very old set that is now so chic
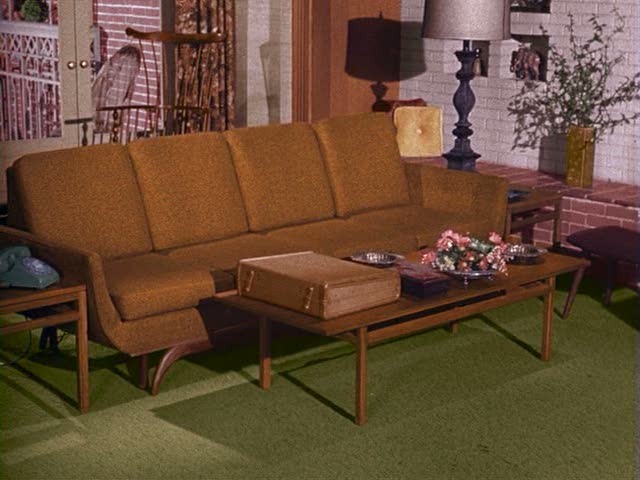 |
| Bewitched |



Upholstery 101 (week 7)
Hello everyone! In case you are new, here, this is an on-going upholstery tutorial....to start at the beginning, go here.
To refresh your memory, this is where we left off
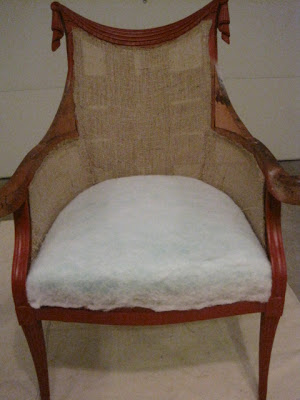
To build-up the center-back of the chair, I applied 2" foam following the same steps as the seat. This is what the chair looks like so far
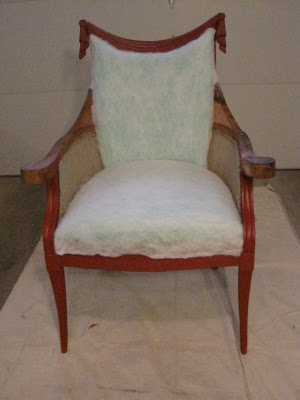





To refresh your memory, this is where we left off
To build-up the center-back of the chair, I applied 2" foam following the same steps as the seat. This is what the chair looks like so far
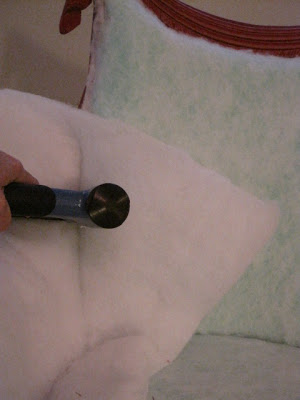
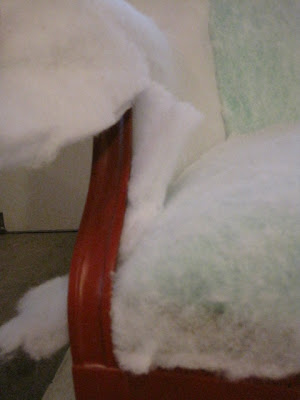
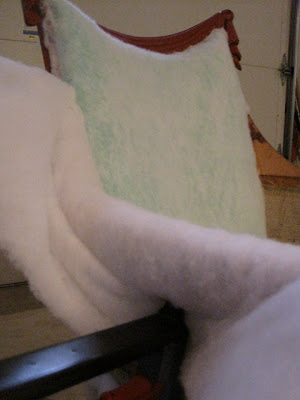
Now for the inside-sides and the arms....using a double layer of dacron (batting)
Tack it into place along the side of the center foam...making sure there is overlap everywhere (it is easy to trim, impossible to add more)
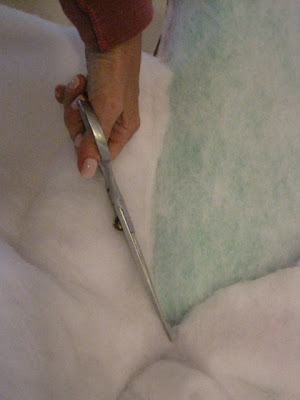
Trim off the extra where it meets the foam
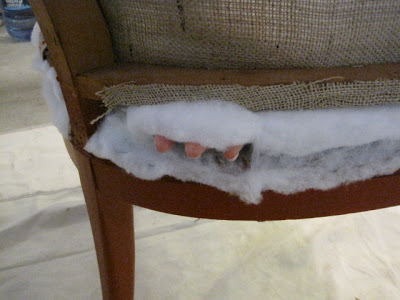
Next, tuck the bottom portion through the frame...
..and out the bottom-side
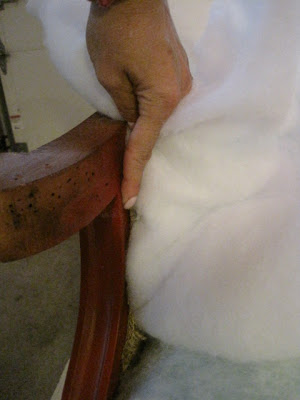
The front edge of the inside arm needs to be stapled
being extra careful not to nail into the finished frame portion, nail just before it
Here is what it looks like so far
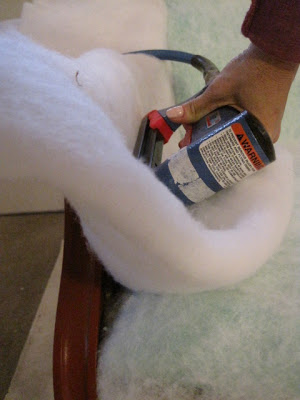
Trim off the excess from the inside edge...now the shaped arm...tuck and fold while stapling under the arm
....work all the way up and down the arm...
....trim off excess
Take the bottom portion of the batting and pull it up around the frame and staple...trim off excess
Here is one arm complete
I will repeat all of this for the other arm. Hope to see you next week!
Oh, wait...come back tomorrow for a SUPER EXCITING post! Here is a hint....it won't be on this blog?