
Project Update & Free Supplies
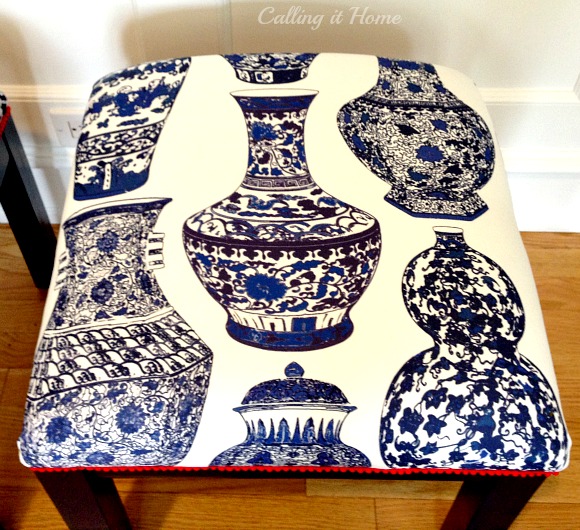
I finally finished
. I am in a garage organizing mode, and I was not going to trip over this thing one more time. How's that for motivation. Since it isn't mine, I made an
top in a style that would suit my friend.
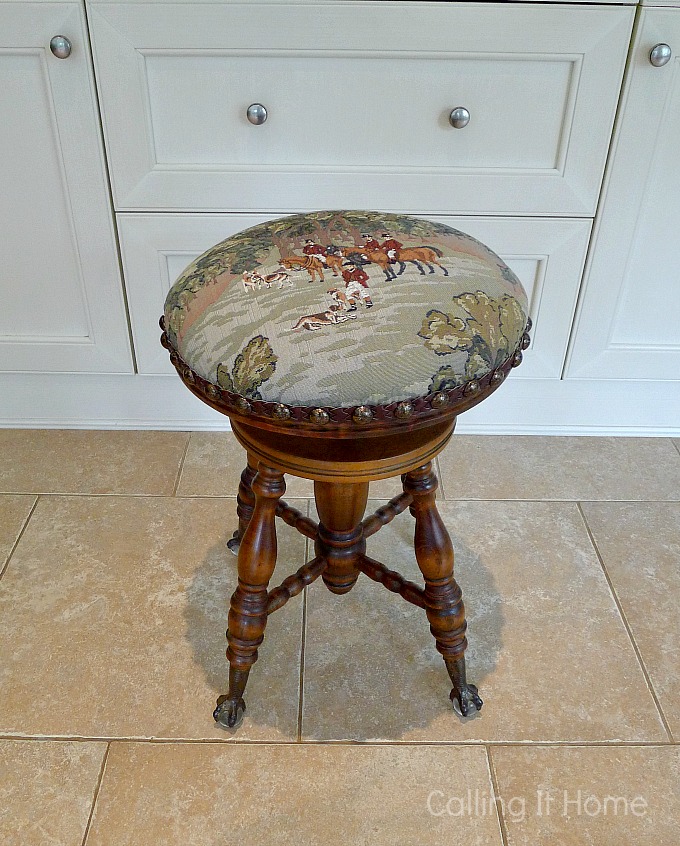
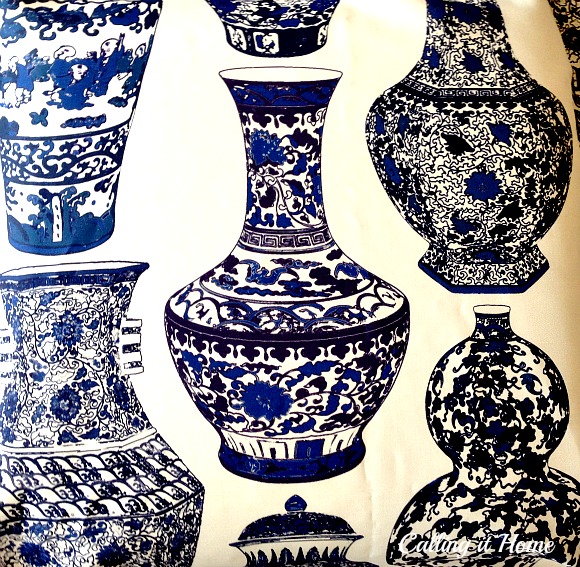
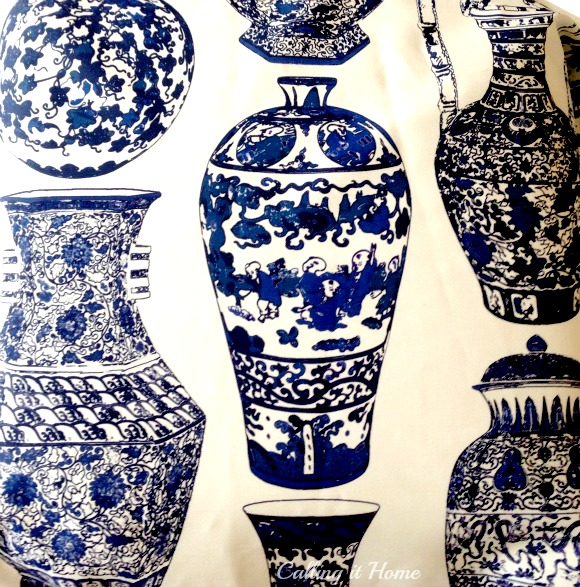
I used a remnant piece of tapestry that I knew my friend would love.

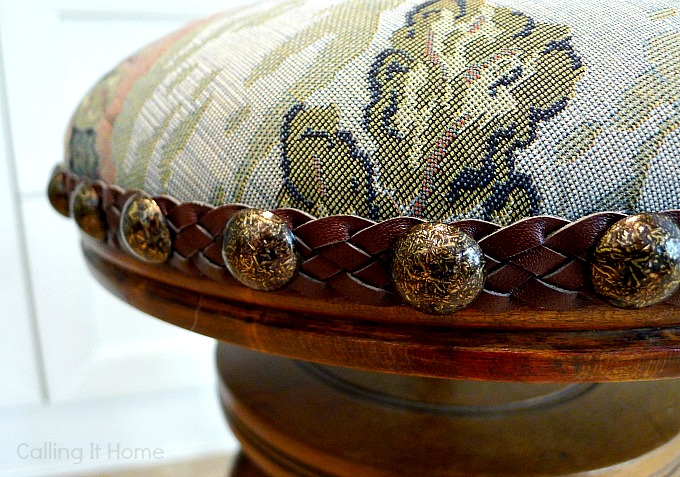
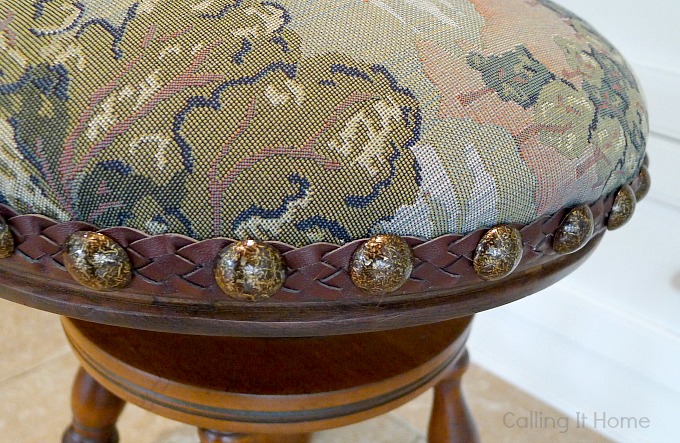
I finished it with antique gold
nailheads
for extra interest.
Now that this project is over, I have decided to clean out some of my supplies...
.
and you can have them, if you want. This stool used 33
nailheads
, so I made packages of 40. I also have too many cord cleats and plastic rings for roman shades. And about 500 drapery hooks.

If you would like any of the supplies, just leave a comment...
.
first come, first served basis (one bag of
nailheads
per person). Please make sure I have your email address. This is for the US and Canada, only.
I'll be pinning the stool to my
...leave your
ID if you want to be a
pinner
.
Enjoy the last full weekend of August...wow, did I just type that :(


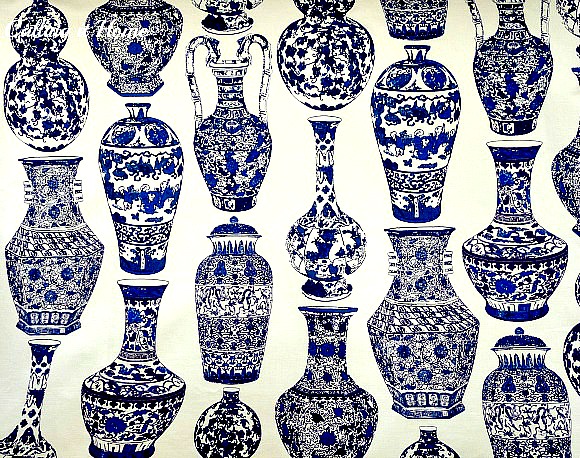
A Moment of Blue & White Silence


Silly Boys!
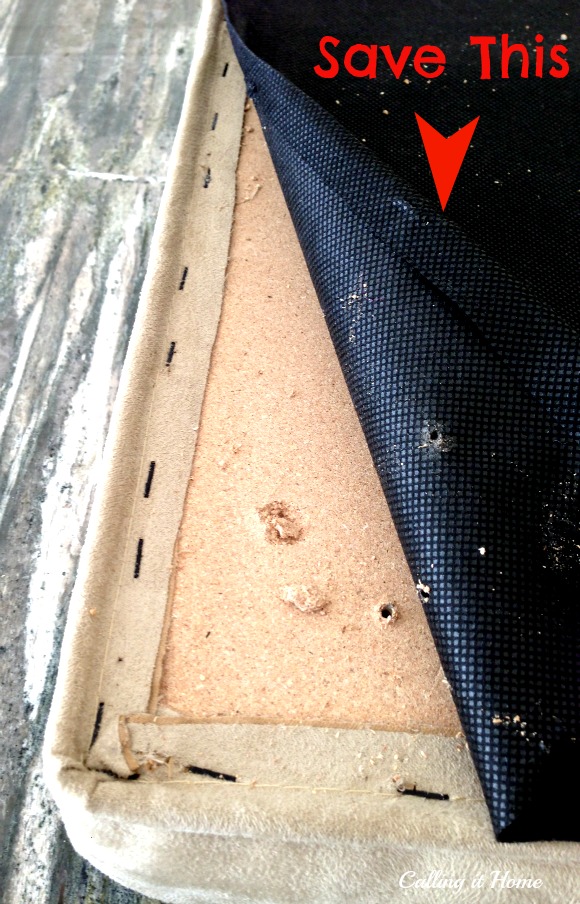
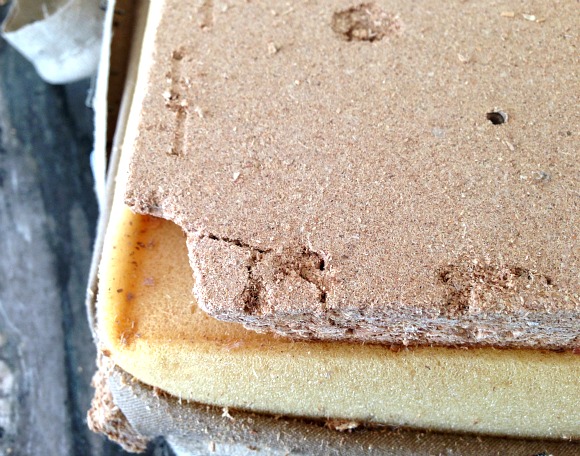
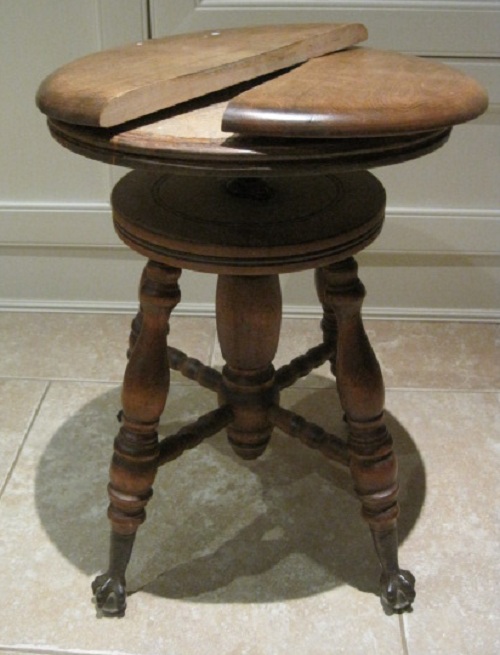
Last week, my friend dropped by with this little stool. She asked, "can you save her?"


Dining Chairs, a tip...and some Thank You's!
Before I tell all of you about my dining chair make over, I want to give a huge thank you to Serenity Now and Craptastic for featuring my china hutch. It made my weekend!
Now, onto my dining chairs for the One Room Challenge. I love vintage chairs, like most of you (I read all of your profiles). However, vintage sets usually only have 4 side chairs and 2 head chairs. Today, most of us want 6 side chairs and 2 head chairs. This is the best tip I have ever received.....vintage head chairs are the SAME SIZE as their matching side chairs....only they have arms. What does that mean? If you remove the arms, and patch the holes, you will have 6 side chairs! Hello Craigslist.
Disclaimer, pictures were taken long before I blogged.
Potential side chairs

This is what the set looked like when I bought it from a neighbor.


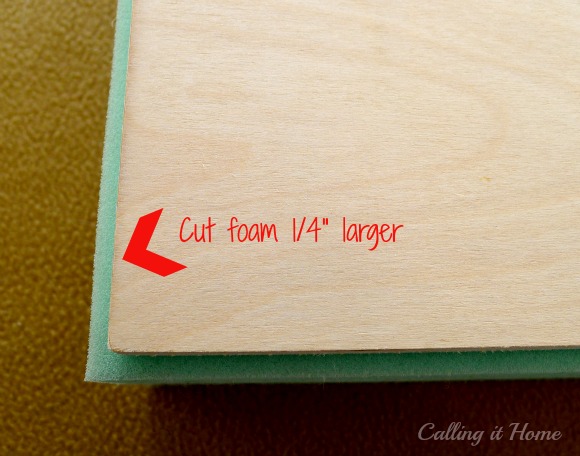
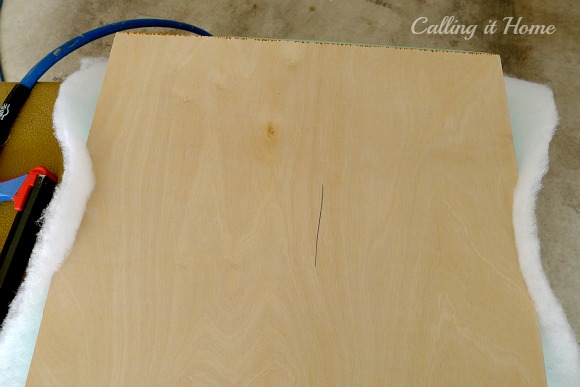
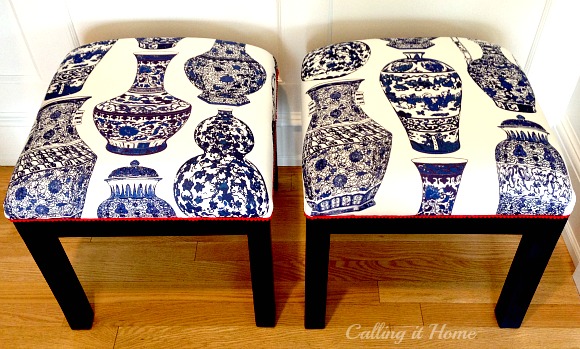
The various stages of the painting process. I cut a 1/4" thick piece of wood for the center and upholstered both sides. Now, they look like this

6 side chairs. In the beginning of the One Room Challenge, I showed you the head chairs that need to be reupholstered. Now, aren't vintage dining sets get a whole lot more appealing?
***Linking to***
Project Queen
A Bowl Full of Lemons
My Uncommon Slice
Kammy's Korner
Debbiedoo's
DIY Home Sweet Home
Funky Junk
Serenity Now
2805
Chic on a Shoestring
Miss Mustard Seed
Common Ground
French Country Cottage
My Romantic Home
Saved by Suzy
Semi Home-Made Piping
Several packages of wide bias tape (the less folds, the better)
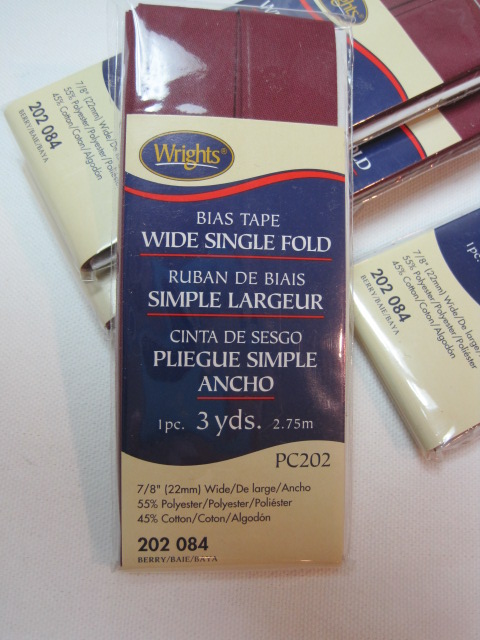
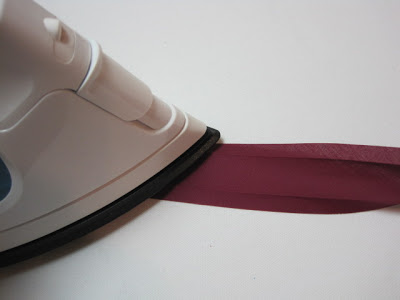
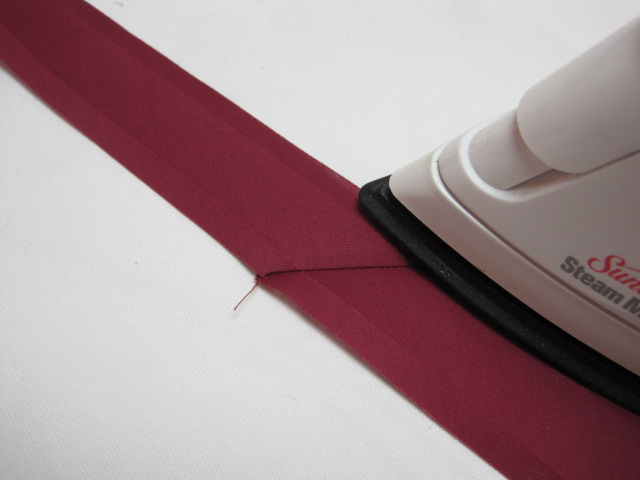
Press open all the bias tape. Note, be careful with your iron setting. There is a high polyester content, so keep it low.
To make one continuous length of piping, you will need to join all the strips together. Bias tape (hence the name) is cut on a bias, so you will need to sew the strips together on the bias. This will alow the strips to have some give and also keep your seams less bulky. With right sides together, and allowing an overhang on both pieces, sew along the white line (corner to corner)
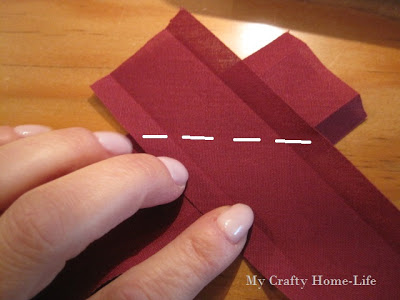
Remember to take a few stitches backward so your stitches will be locked in place
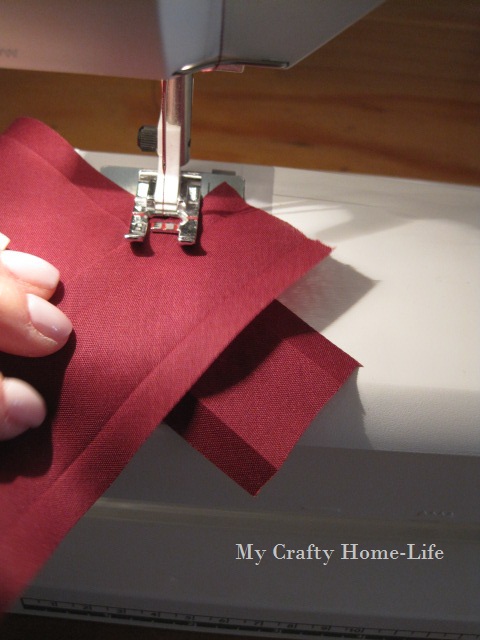

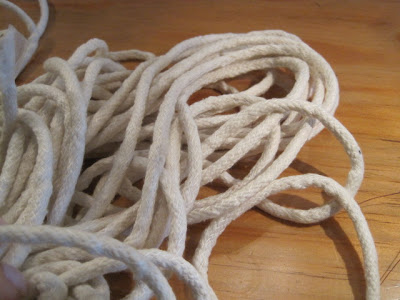
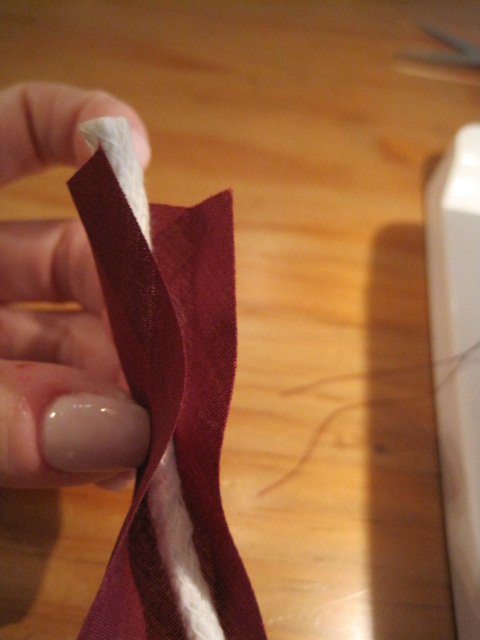
Place the cording inside the bias tape and fold over
Using a zipper foot, position the needle of the sewing machine as close to the cording as possible
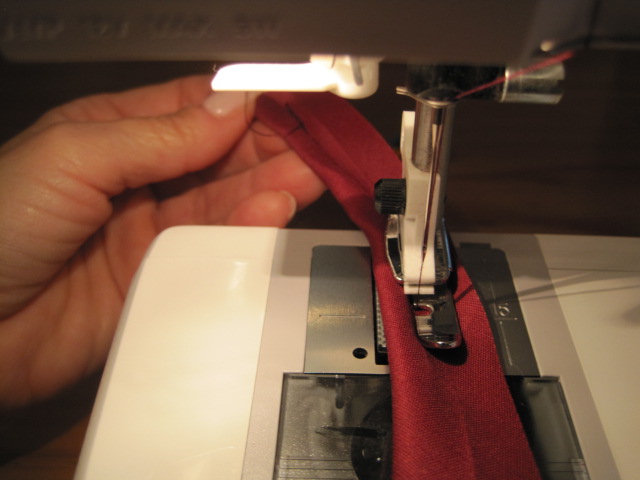
Here is the trick to getting it tight; give a slight pull on the bias tape while sewing. You will need to pull from the top (behind the needle) as well as the bottom. This slight stretch of resistance will give you a nicer finished product.
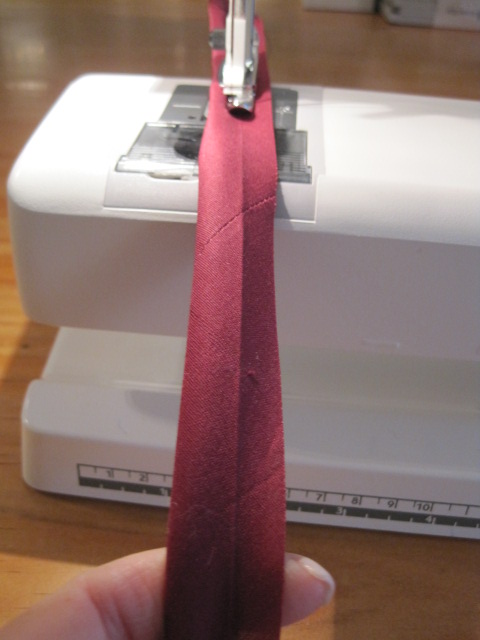
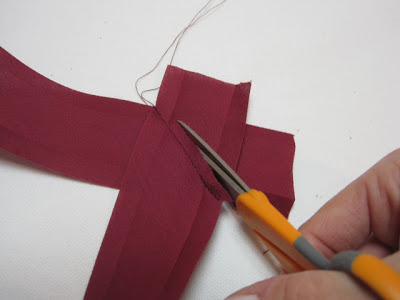
13 yards later
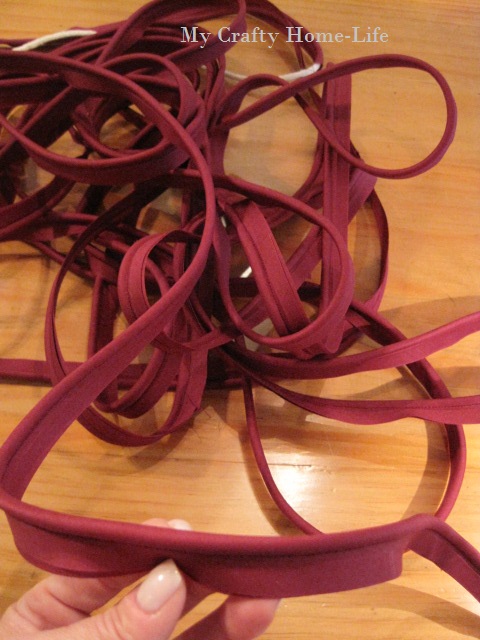
You have piping the color and width you wanted. Now think of all the fun things you can do with contrast piping. Are you tackling any projects before the New Year?
***Linking to Addicted 2 Decorating***
Upholstery 101 (week 10)
Today will NOT be the last post....
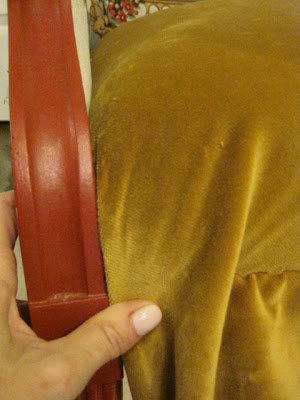
I decided to use Mackenzie-Childs as my upholstery influence for this chair. On the seat, and probably the back, I am using a camel colored velvet I had in my
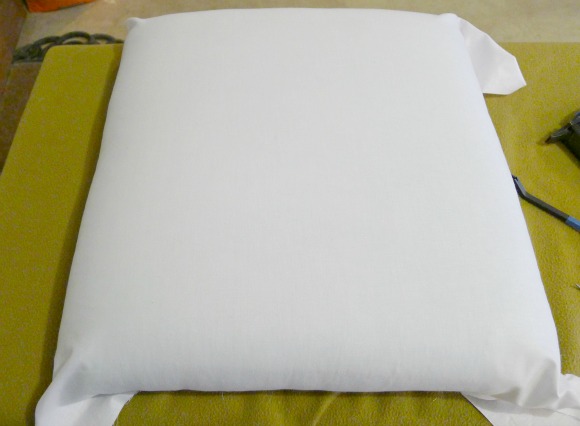
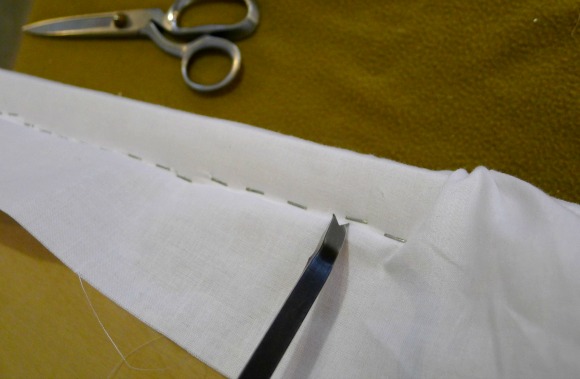
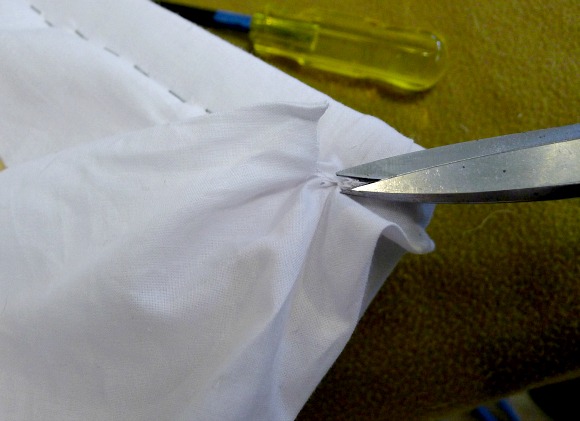
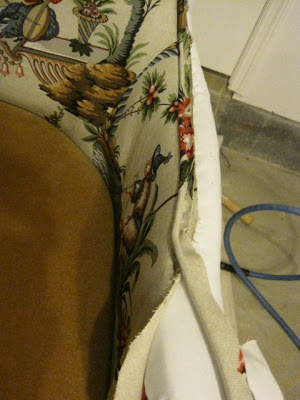
Jumping in...I placed a piece of the fabric loosely over the seat, tucking all around and making cuts like the lining

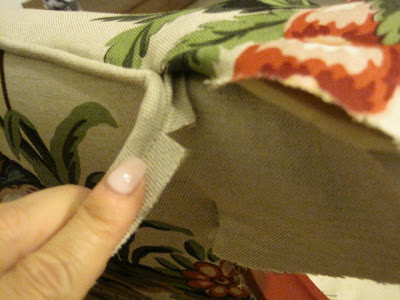
Using the piping that I made (now this is the part that I am experimenting...not sure how to finish the arms), I decided to staple it along the top inside edge of the chair. I started at the inside portion where the side fabric would also get stapled to the front side...

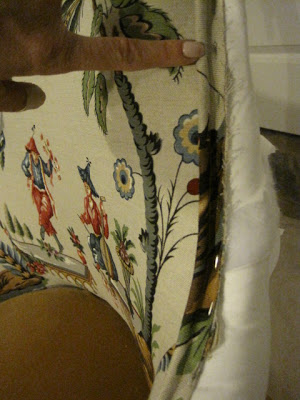
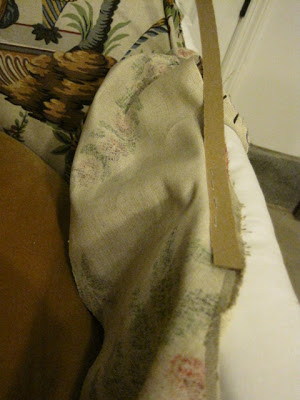
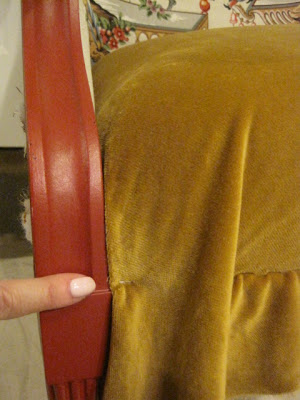
Here goes the next part of my experiment, I placed the arm piece long that same edge, folding it over (right sides together) along the inside arm. It is how you would put the pieces together with the piping sandwiched between if you could magically sew them while on the chair
Using cardboard stripping (a common upholstery supply)
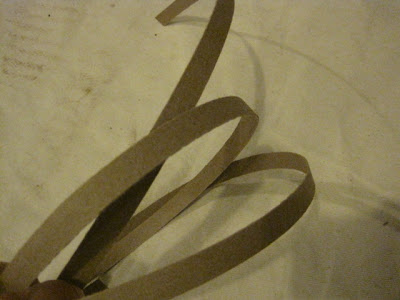
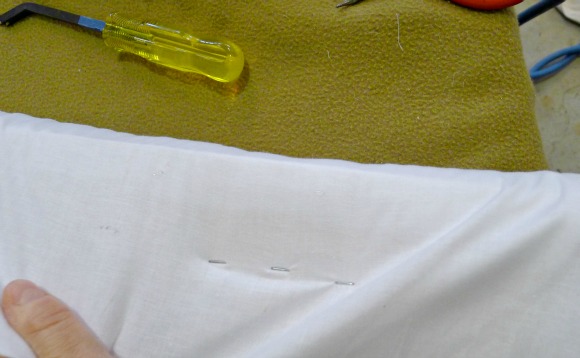
I placed the tack stripping along that seam (this is the magical sewing..only using staples) and stapled
...making sure that the staples are close together, like stitches. When the fabric is folded back over, it looks like this
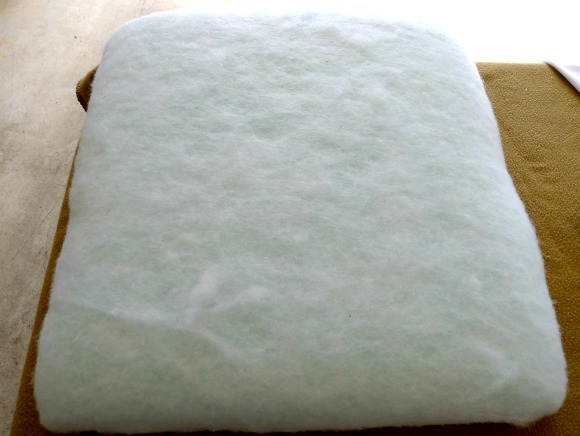
Once I folded the fabric over, I felt it could use a thin layer of foam/fabric (sold at most craft stores). I lightly tacked it in place (maybe a staple every 3" very close to the edge). I trimmed it while it was on the chair
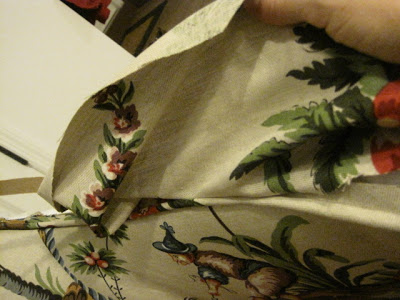
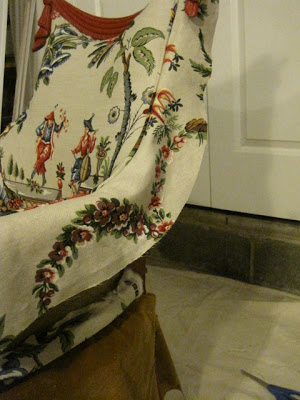
Now, back to the experiment...the rest of the arm. I could not keep applying the piping all the way around the arm in the same fashion....each piece covers the edges of the next piece...until you finish it with a gimp, double-welting, or fancy trim.
So I made a slit in the piping (careful not to cut into the finished roll) where the inside arm starts around the circle of the arm...I also slit the fabric at the same place
Now I am stapling the fabric and piping down the onto the side of the arm (no longer under).

When you examine these photos, you can see that it would not have been possible to tuck it all under, the way the inside piece was done
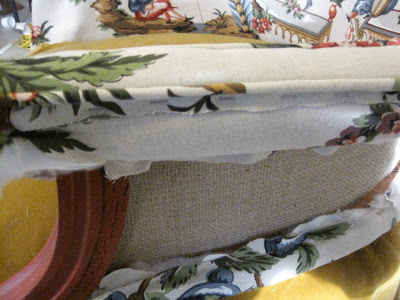
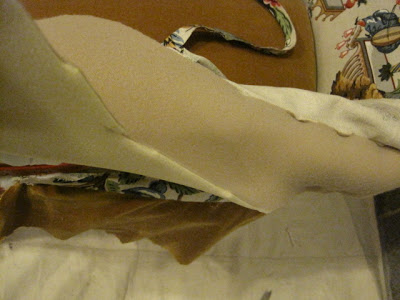
Also, note that the piping was tacked along the edge. Again, this is to hold it in place...more staples to come. Moving onto the seat....you have seen me do this many times....just like the seat in the Tobi Fairley chair...and then cutting when you are done

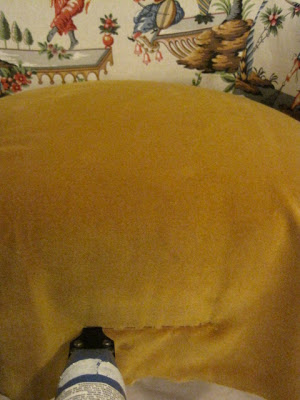
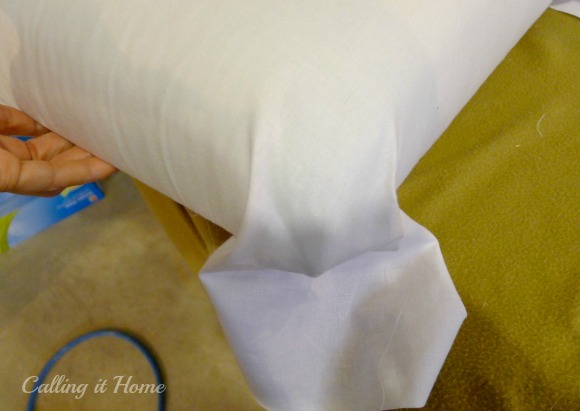
CORNERS ON THE FRONT.... This is the difficult part....I promise you will get better with practice!!! Remembering that the staples you put in may need to be re-positioned from time to time....working from the front center out....pull the fabric at a downward angle toward the arm....
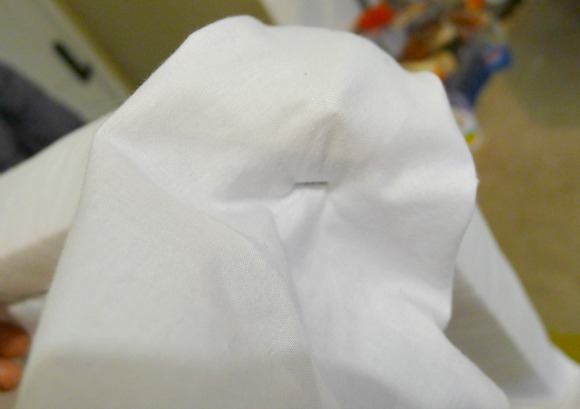
At the arm, tuck under and trim off unseen bulky fabric and fold and tuck until you have a fold that you are happy with...I like this fold, and can adjust the rest of the front
So I tacked it into position

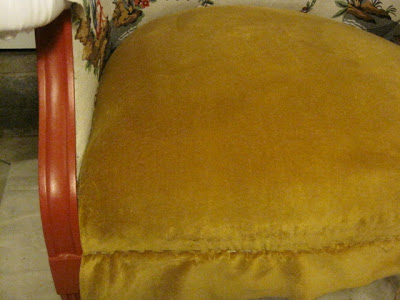
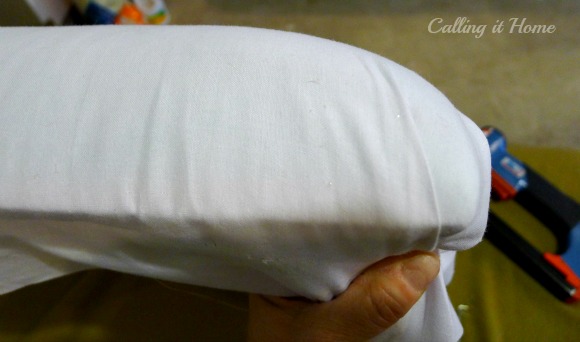
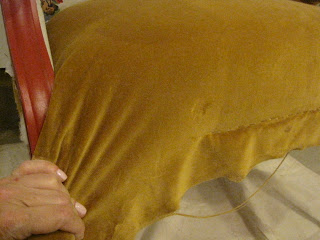
This is where you can see the nap of the fabric, it needs to be brushed out...the marks are not permanent. Here is the chair with a finished corner...you can predict how the other corner will get worked, and maybe re-worked!
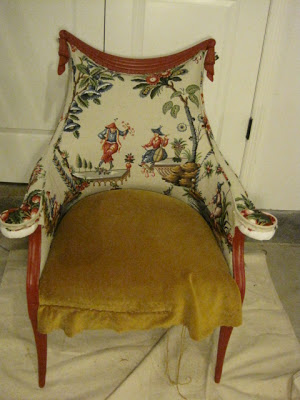
I want to point out that the circular ends of the arms are charming, and commanding for your attention....I tried to cut the fabric for the arms with this in mind. I wanted both circles to have red berries and similar patterns on them. If you have a project that has a prominent feature, try to cut out your fabric with that feature in mind.
Hope to see you next Wednesday for what MUST be the Finale! Is anyone trying this at home?