
Lantern Color?
Hi everyone. I need your help! Yesterday, when the "One Room Challenge" was announced, I introduced you to my dining room. As I mentioned, I want to change the color of my lanterns.......only, I don't know which color to choose. This is where you come in....please tell me which color your like!
Here is some information about the client....me! I don't like "matchie - matchie". I like pieces that will look good in a room, but will be fine when the room changes...new paint color, etc. I am willing to take a risk (I think), but usually don't like "loud" things either. Not an easy client, or as my husband would say, "you try living with her".
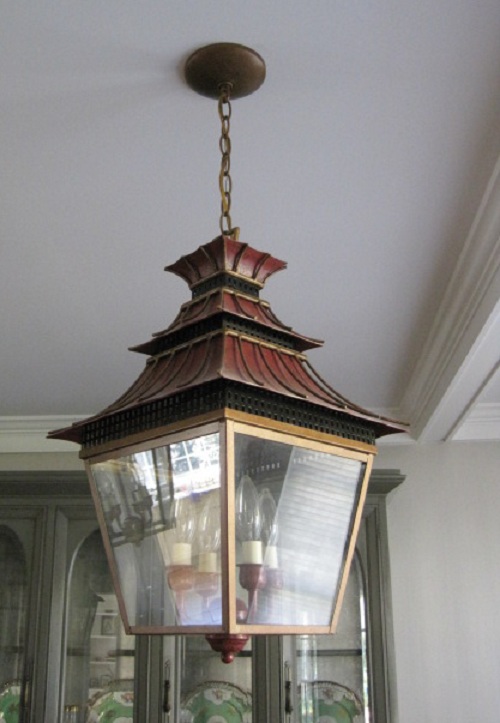
Here is my lantern (dust and all)
Here are some of the choices...feel free to suggest any additional color AND do you like the ribs gold?
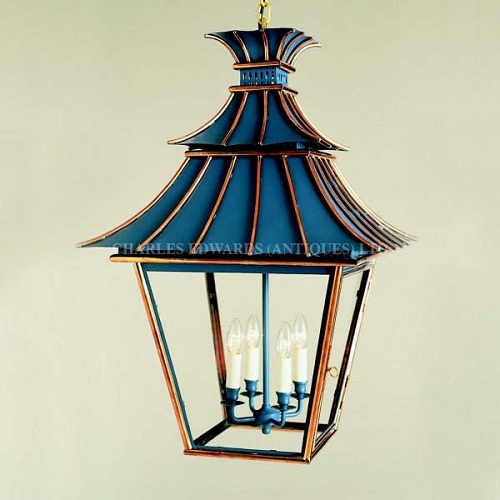 |
| (1) |
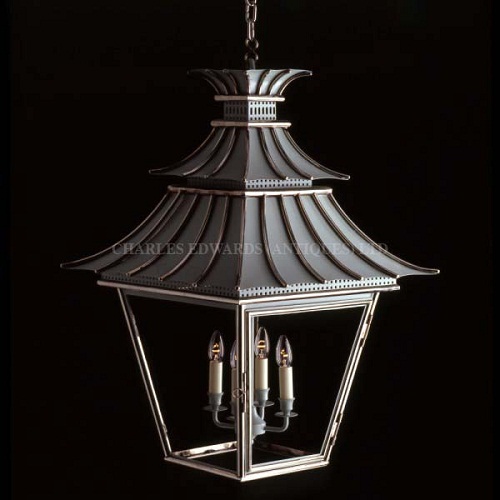 |
| (2) |
 |
| (3) |
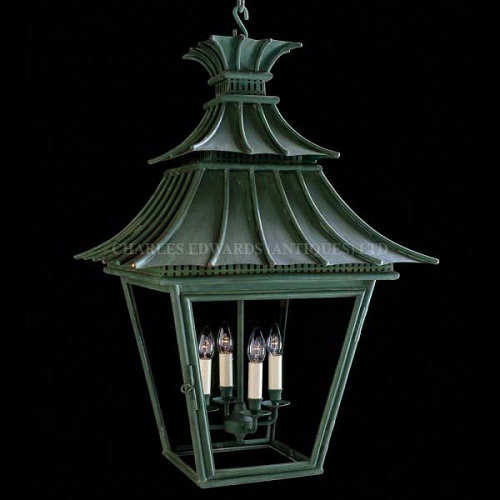 |
| (4) |
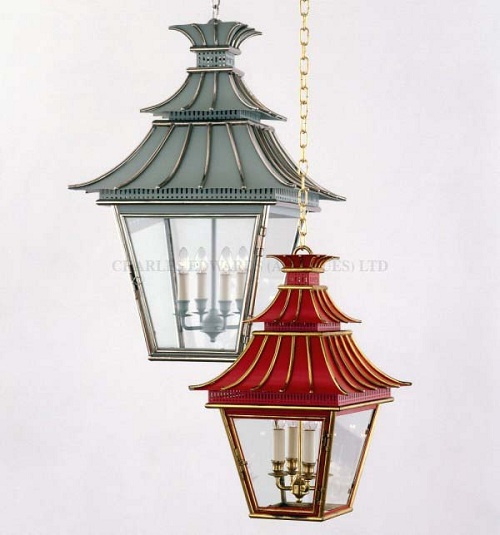 |
| (5) All lantern images, other than mine, are from here |
Can you see why this is so hard? Maybe not? What is your favorite color for my room? Thank you so much for your help...I know I can count on you!
The One Room Challenge!
Week 2, go here; ,Week 3, go here; Week4, go here, Week 5, go here, The Finale, go here.
And voila....the challenge was born. One room... until, or in this case, in just 6 weeks!! 15 bloggers, I like to call us the "Freshman 15", are in on this challenge. Each Wednesday, we will all be posting updates on our rooms. In addition to that, there will probably be all sorts of planning, DIY-ing, and mistakes along the way. At the bottom of each Wednesday's post, you can find a link to the other participants. I hope you stick with us for this crazy adventure.
My One Room - If you are a regular reader of my blog, then this will be no surprise... it is the first up on my Home Goals.....my dining room.
Some of the pictures were taken long before I blogged, so I apologize for the poor quality.

This is our dumping room. Unfortunately, it is the first room that you see when you enter my home. I am so tired of making excuses for it. Here are my thoughts (welcome to my brain)
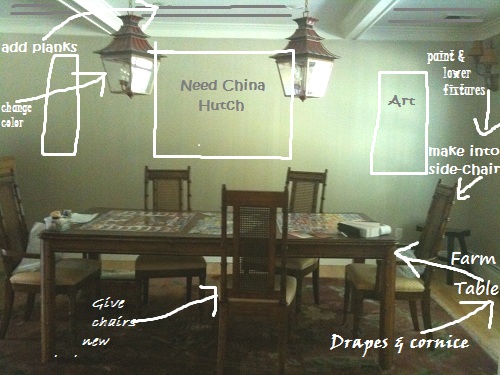
About a year ago, I painted my china hutch and added that. 8 months ago, I found head-chairs that need to be reupholstered. 4 months ago, I found a farm table on Craigslist....here is what it looks like now
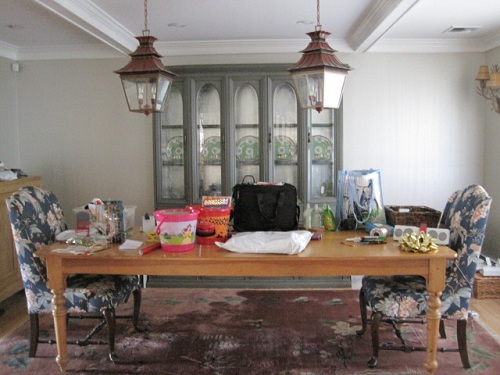
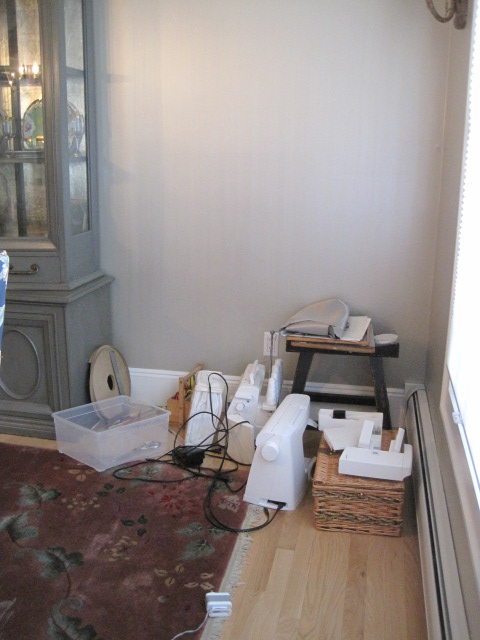
It is still a dumping ground. This corner holds all my basement "stuff" while it was out of commission
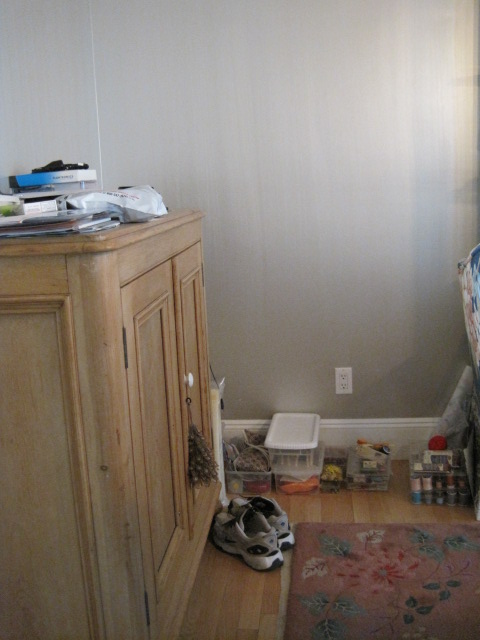
This corner is where my husband puts all his "stuff" when he gets home (and more sewing "stuff")
This corner has fabric clutter

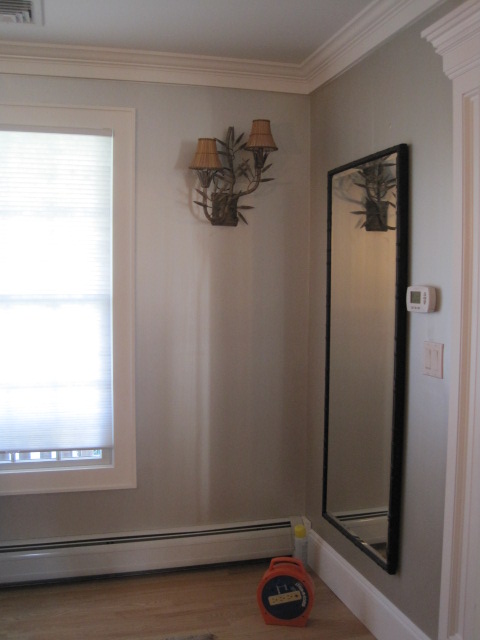
This corner is not that bad (this sconce has to be lowered)...What window treatment?
This is my list (in no particular order)
Fix the color of the china hutch...it is too light and blends into the wall (I love the wall color)
Put planks on the ceiling under the crown molding
Change the color of the pagoda lanterns
Find artwork to flank the hutch
Reupholster all the dining chairs
Drapes & cornice
Lower the sconces and paint them
Paint the mirror frames
Swap the pine cabinet for open shelves
Now be sure to check out all the other rooms! For week 2 go here
Saved By Suzy Nicole Scott Designs
Dutch.British.Love Kim Macumber Interiors
Trapped in North Jersey Rue de Emily
The Pink Pagoda refreshed designs
Nana Moon Shop Taylor Morgan
insideways House Four
Living Savvy (A Lifestyle Thing)
Stylized China
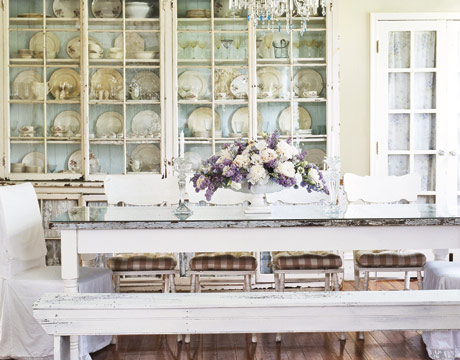
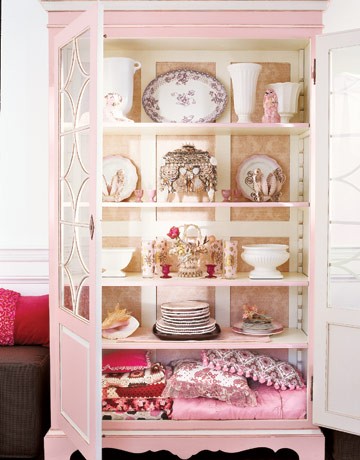
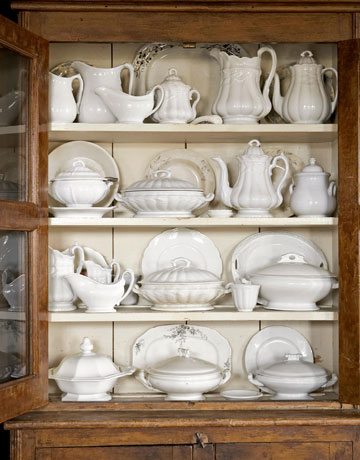
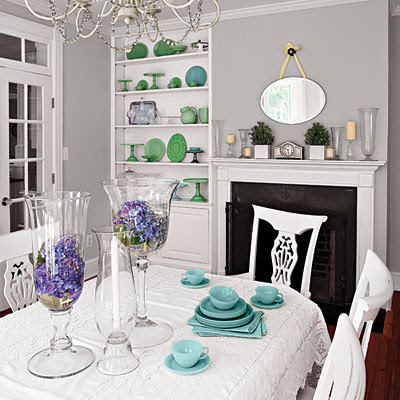
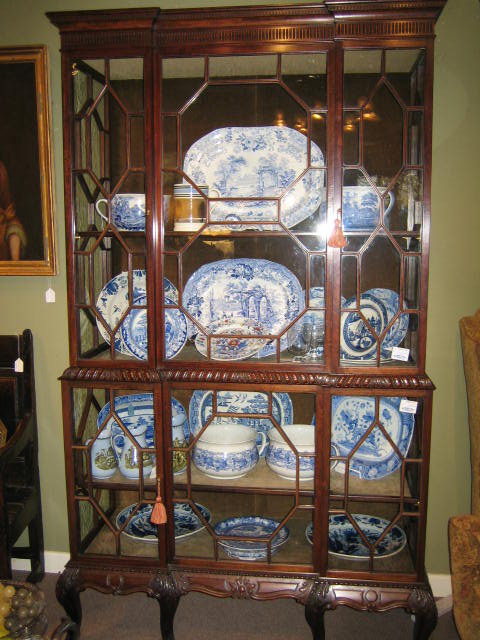
I have been working on my china hutch. As I mentioned in this post, I am not happy with the finish so more tweaking is in order (pictures to come). In the mean time...until the stain is dry...I thought I would get some ideas on how to style a hutch. Styling a hutch or bookcase is a true art. I am so envious of all the people who make it look so effortless.....I am not one of them. Here are some china collections that I find inspirational.
 |
| Country Living |
 |
| Lexington |
 |
| Country Living |
 |
| Country Living |
 |
| Southern Living |
 |
| via |
Do you display your china? Is it stylized?
Simple Centerpieces & Pinterest
This is a post about a simple centerpiece and a pin...from pinterest. This is the centerpiece. It is from My Heart's Desire.
I cannot take credit for any of it. I liked it, and I pinned it......8 weeks ago. That's it! I have not made one like it and I did not blog about it....until now. Why am I telling you any of this? Everyday I receive approximately 6 e-mails from pinterest telling me that it has been repinned. In fact, as I write this, it has been repined 74 times! So, I thought I would find more simple centerpieces that inspire me.
OK, this takes a bit of work, but it is so cute!
Do you have a favorite? What do you use for a simple centerpiece?
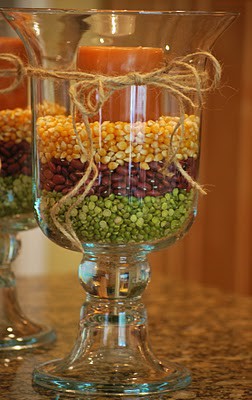 |
| My Heart's Desire |
I cannot take credit for any of it. I liked it, and I pinned it......8 weeks ago. That's it! I have not made one like it and I did not blog about it....until now. Why am I telling you any of this? Everyday I receive approximately 6 e-mails from pinterest telling me that it has been repinned. In fact, as I write this, it has been repined 74 times! So, I thought I would find more simple centerpieces that inspire me.
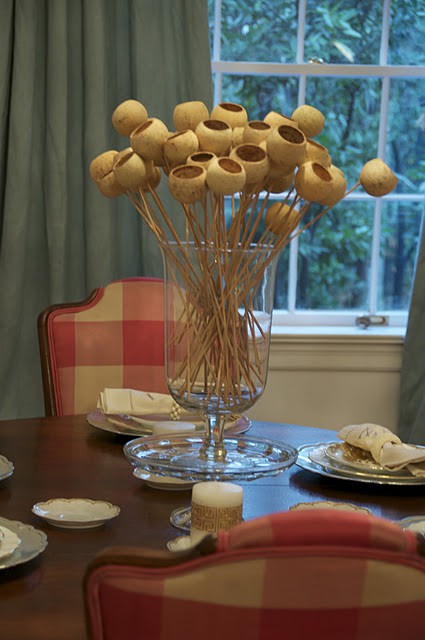 |
| A Flair For Vintage Decor |
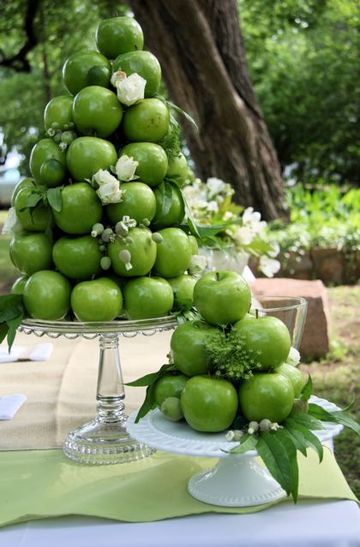 |
| Via |
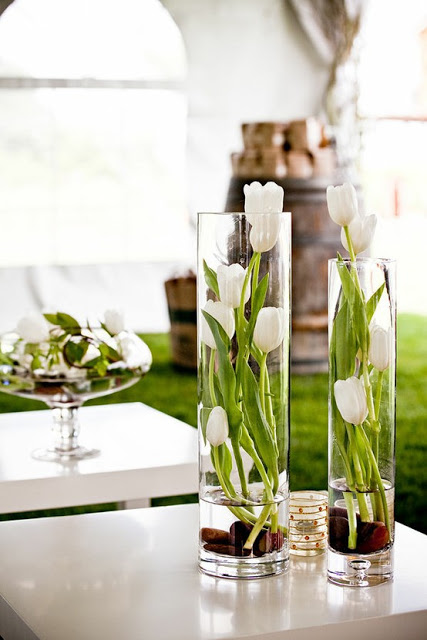 |
OK, this takes a bit of work, but it is so cute!
 |
| Via |
Do you have a favorite? What do you use for a simple centerpiece?
Coastal Wall Clock - DIY
I have been trying to put all the finishing touches in the basement. I saved the old clock, but wanted to give it a fresh look. I found this image on Pinterest, and thought....clock!
Here is my interpretation of that
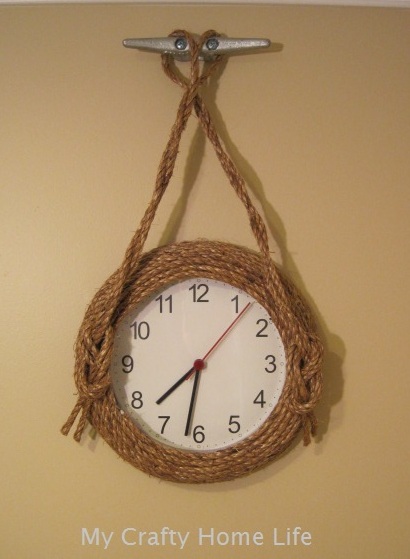





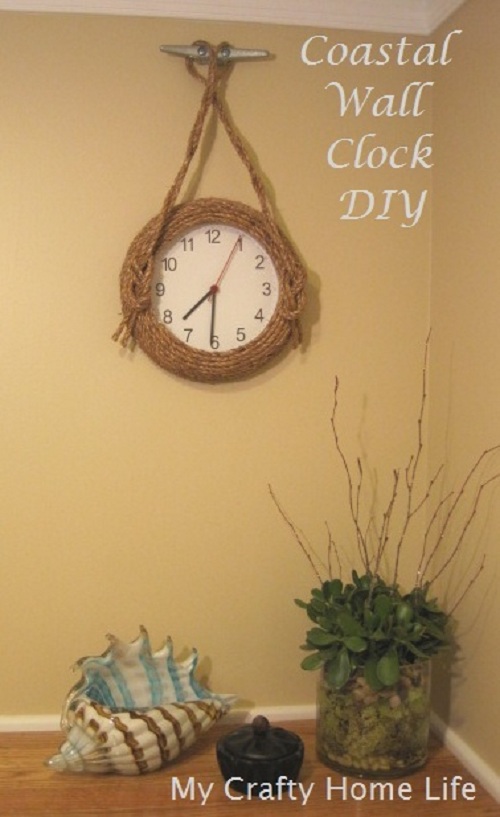
I love the way it came out! Have you ever made anything you found on Pinterest? I am linking this to The Stucco Bungalow Pinterest Party. Pop on over and see what everyone did.
*** Other Links****
Addicted 2 Decorating
Inspiration Friday
The DIY Showoff
Funky Junk Interiors
French Country Cottage
Chic on a Shoestring
Raising Oranges
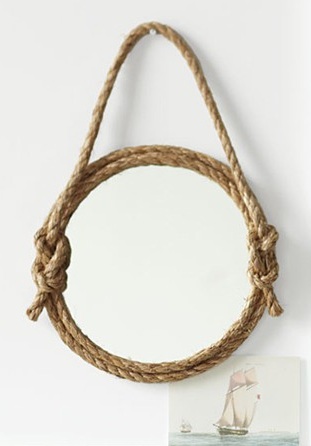 |
| Martha Stewart via Apartment Therapy in Pinterest |
Here is my interpretation of that
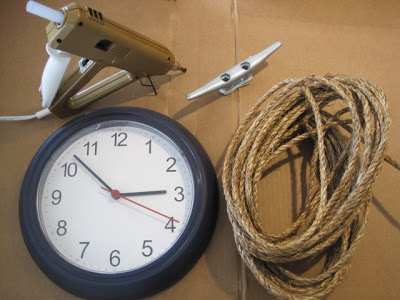
Here is how I did it. Starting with the supplies
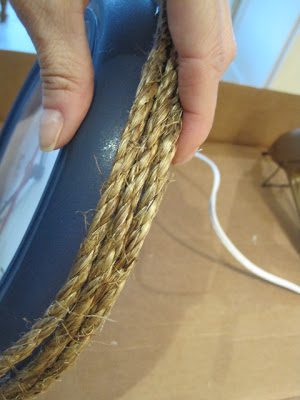
I ran a bead of hot glue along the bottom edge and applied the rope
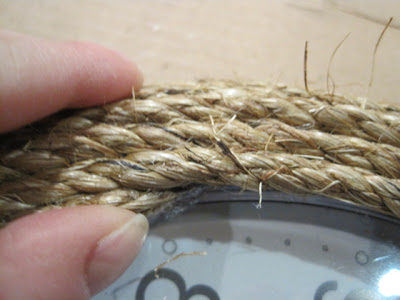
Keeping the rope tight against the next row....keep going
When you reach the end, cut the rope on a diagonal
Tuck the end in so that it is hidden
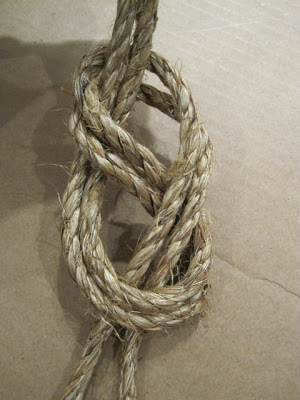
This is a close-up of the knot
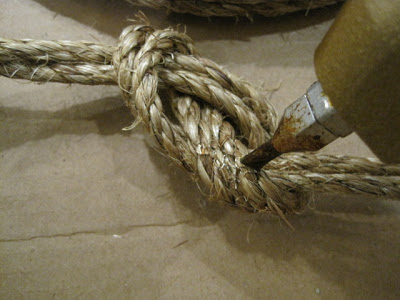
Tighten it up and apply hot glue to the back
Attach it to the front. I thought the middle was a good spot
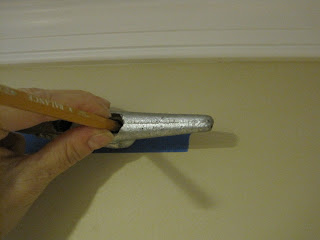
It is a good idea to install the cleat before you decide how long your rope should be. Mark the wall with a pencil (note that the holes in the cleat are not level with each-other) for both holes
I like to use blue painters tape when I make marks....just in case. Drill holes
Tap in anchors
Remove painters tape, and attach cleat
When you have decided the best length for your clock, repeat the knot for the other side..attach...hang
I love the way it came out! Have you ever made anything you found on Pinterest? I am linking this to The Stucco Bungalow Pinterest Party. Pop on over and see what everyone did.
*** Other Links****
Addicted 2 Decorating
Inspiration Friday
The DIY Showoff
Funky Junk Interiors
French Country Cottage
Chic on a Shoestring
Raising Oranges
I Love a Hack
Hack : to cut or sever with repeated irregular or unskillful blows
I am a huge fan of Ikea Hackers! I follow them on Twitter, read the blog, and google images all the time. As you can see on my sidebar, I am a hacker, and proud of it! Here are a few hacks that I find inspirational
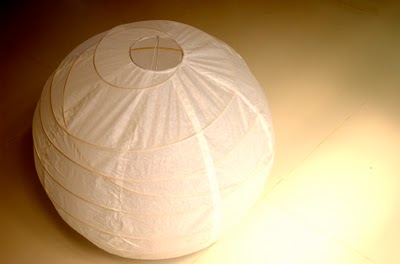
A Chinese inspired light
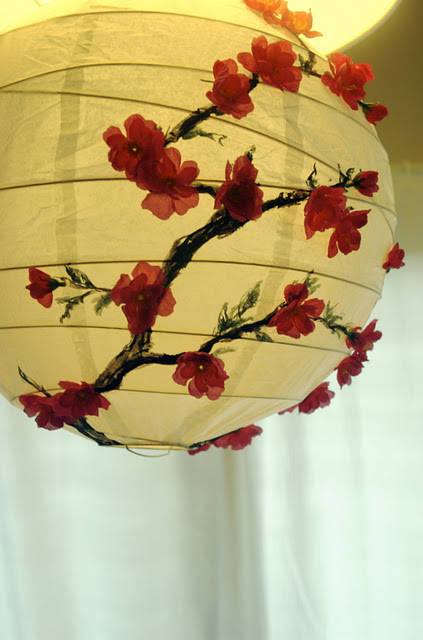
It started like this
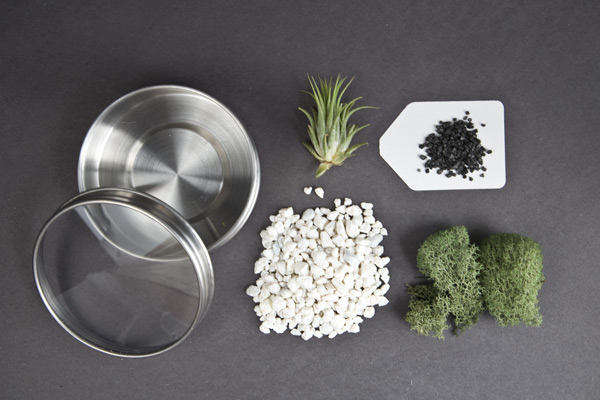
Wall terrariums
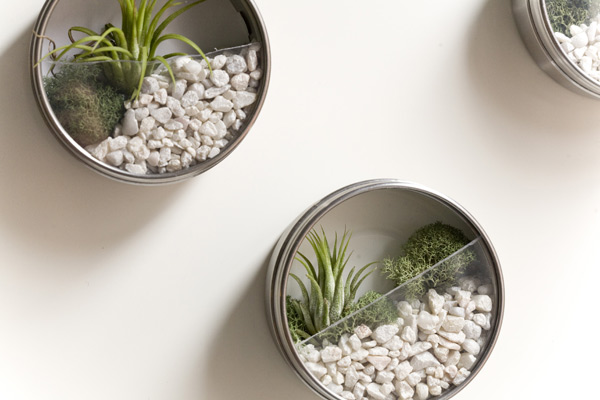
It started like this
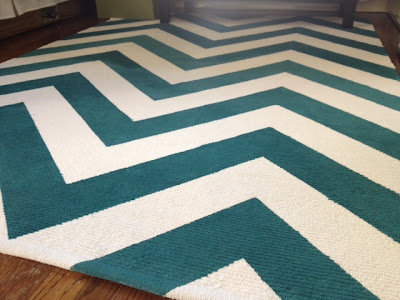
A DIY Chevron rug
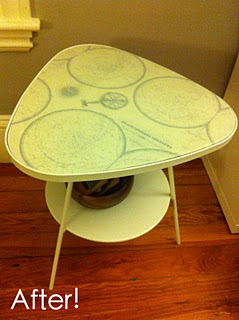
My bloggie buddie Jen's table
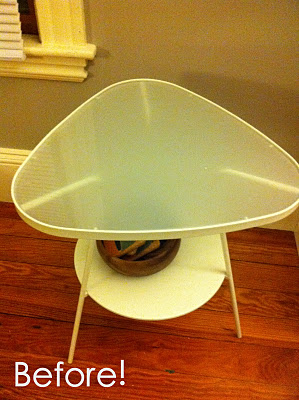
That started like this
As I mentioned in my Home Goals, I need to install built-ins in my masteter bedroom...so another hack is in my future. Is there a hack in your future? Are you a hacker?