
Making Piping
....continuing with the challenge, this is day 22 of 31....for all 31, go here
I don't believe in reinventing the wheel. There are so many good tutorials on how to make piping. This video series is my favorite. She is extremely thorough! She has over 100K views! She can do a much better job explaning all of it and showing you....If you prefer a step-by-step in pictures, go here
After making a perfect square, and one cut on the bias (if you don't know how to get to this point, go here), mark the fabric
Cut the fabric
Lay out the strips together
Join the strips together
I am extremely impressed with her speed. I am a much slower sewer. Did this help you? Would you try it?
I don't believe in reinventing the wheel. There are so many good tutorials on how to make piping. This video series is my favorite. She is extremely thorough! She has over 100K views! She can do a much better job explaning all of it and showing you....If you prefer a step-by-step in pictures, go here
After making a perfect square, and one cut on the bias (if you don't know how to get to this point, go here), mark the fabric
Cut the fabric
Lay out the strips together
Join the strips together
Insert the cording and sew the fabric. Note, I do not have a piping foot. I use a zipper foot...it works just fine!
I am extremely impressed with her speed. I am a much slower sewer. Did this help you? Would you try it?
Go, Dog. Go!
....continuing with the challenge, this is day 21 of 31.....for all 31, go here
All of this, reminds me of my favorite childhood book
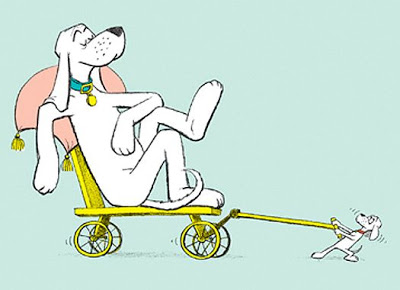
the dogs were "living the life" in
Do you have a favorite pet bed? Do you ever reference childhood books for inspiration?
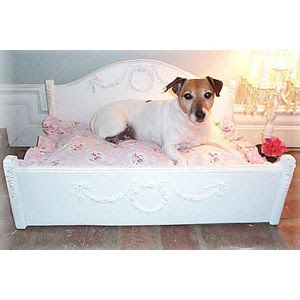
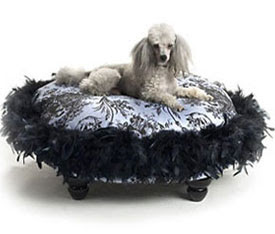
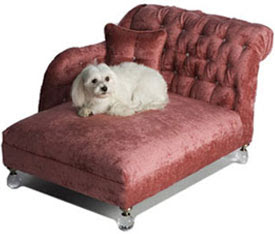
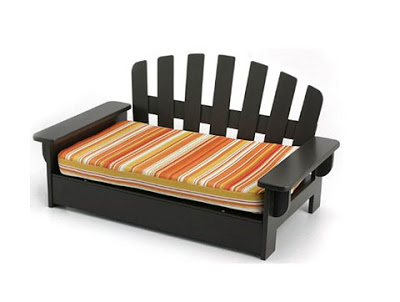
Are our pets are living better than us? Check out these upholstered pet beds, and tell me what you think
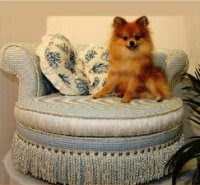 |
| Source |
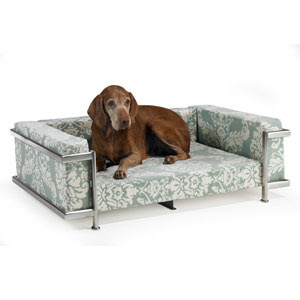 |
| Source |
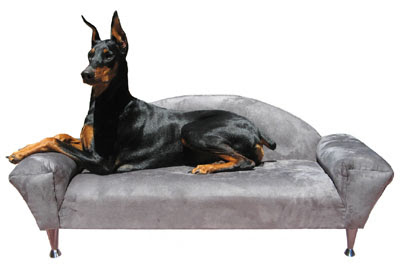 |
| Source |
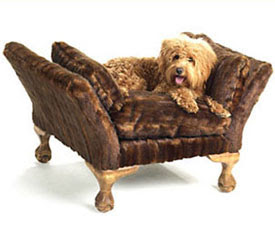 |
| Source |
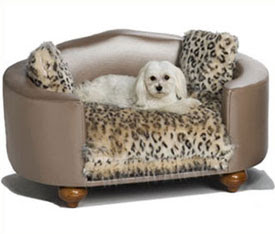 |
| Source |
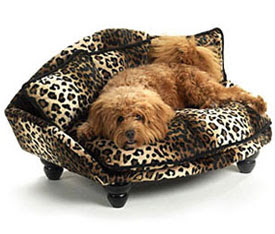 |
| Source |
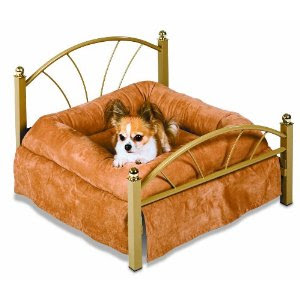 |
| Source |
 |
| Source |
 |
| Source |
 |
| Source |
 |
| Source |
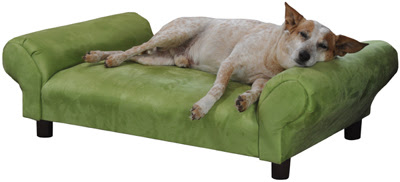 |
| Source |
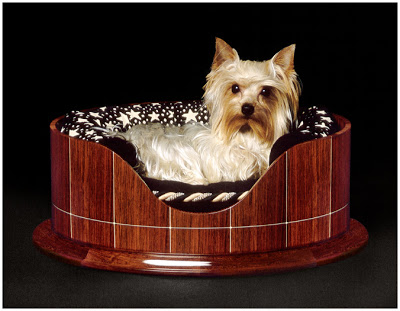 |
| Source |
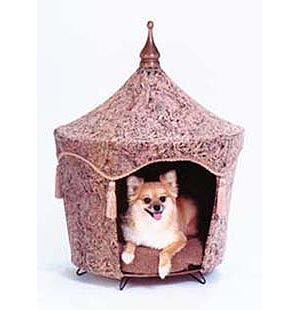 |
| Source |
All of this, reminds me of my favorite childhood book
the dogs were "living the life" in
 |
| Available Here |
Do you have a favorite pet bed? Do you ever reference childhood books for inspiration?
Who did it?
My friend, Cathy, has a beautiful home. Her living room is perfectly coordinated. All of the furnishings are from Ethan Allen. Many of her accessories are family heirlooms with a bit of HomeGoods sprinkled in. The best part is, that you can't tell which is which.

You can't see it in the photo, but the fireplace is on.....just because it is a cold day! However, inside this stunning home, something horrible is happening....there is an upholstery 911.

This would make me cry. Her beautiful amber-toned Ethan Allen couch. Fortunately, because this is on or near the seam, it is repairable. I know what you are thinking...Who did it? Kids?... nope. Husband?...nope.

Strange, horrible, vicious monster?...

YES! They call her Zoe. This is her, watching me attempt to repair the sofa. Can't you just imagine what she is thinking?

This is a picture of additional damage that Cathy's

So, this is how I fixed it.....using my pneumatic staple gun (requires a compressor), I started in the middle. By starting in the middle, I would keep the grain of the fabric consistent. I gave the fabric a gentle pull, folded it under, and lined it up to the piping.

I stapled along the piping line. The fabric is chenille, so the staples won't show....and even if the do, it is obviously an improvement to the "before". However, always trying to guild the lily, I told Cathy that she could use a colored sharpie to "camouflage" any staples that bothered her.

continue, working up and down from the middle...nip and tuck the fabric as you go. Once in a while, you may need to remove a staple or two if you are not happy with the placement.

...and there you have it.....until the monster returns!

Do you think she will be content only scratching herself?
A quick note to all of you "cat" people. Zoe is actually very sweet! In fact, If any of you have any suggestions (that you have found successful) on getting a cat to stop clawing the furniture; I know that Cathy would appreciate it.
...I had to add this, for all you "dog" people
Upholstery 101 (week 4)
....continuing with the challenge, this is day 19 of 31.....for all 31, go here
This is also week 4 of my upholstery tutorial project.....
So, what color is my chair?

She's a coral (tomato red), not orange, not red chair

She doesn't shine enough though, so I think I will put a coat of bowling alley wax on her
Here is what I used
and it goes perfectly with the fabric I selected from my own hoarding collection.

This is a pattern that will definitely have to be centered

Keeping with a MacKenzie-Childs look, I will use a solid color on the seat, partly because this fabric is a bit light in weight, and a heavier fabric will wear better. Also, because she seems like she wants to have major whimsy!
So, what did I do this week? First, I removed the old two pieces of jute webbing on the back of the chair, and added new support webbing

stapeling it to the under-side of the top back piece (stapeling it to the front would make it too bulky).
Next, I wrapped the end around the bottom support piece and stapled it on the back side

I kept it taut, but did not need to pull super tight, repeat again

Then, working from the inside going across, I added more support

I ran the webbing bechind my vertical support (not a basket weave). This will help support the support!

...repeat that two more times

So much more back support then the original one

Onto the seat bottom. I usually cut fabric (especially burlap) from the entire yardage. If you are uncomfortable working this way, take a length and width measurement, add 4 inches or so each way, and cut a more workable piece. Lay the piece of burlap over the springs

tuck it under the supports to keep it close to the springs

trim off excess...you only need the burlap to cover the springs

Staple along the inside top edge. Not too tight

continue all the way around

Now, the inside back. Using the same method as the seat, staple the top middle

working top, bottom, top bottom, staple the bottom middle

pull from all directions, that way there won't be any excess burlap


trim excess burlap

Back view

This is also week 4 of my upholstery tutorial project.....
So, what color is my chair?
Here is what I used
 |
| Sun Dried Tomato |
This is a pattern that will definitely have to be centered
Keeping with a MacKenzie-Childs look, I will use a solid color on the seat, partly because this fabric is a bit light in weight, and a heavier fabric will wear better. Also, because she seems like she wants to have major whimsy!
So, what did I do this week? First, I removed the old two pieces of jute webbing on the back of the chair, and added new support webbing
stapeling it to the under-side of the top back piece (stapeling it to the front would make it too bulky).
Next, I wrapped the end around the bottom support piece and stapled it on the back side
Then, working from the inside going across, I added more support
I ran the webbing bechind my vertical support (not a basket weave). This will help support the support!
...repeat that two more times
So much more back support then the original one
Onto the seat bottom. I usually cut fabric (especially burlap) from the entire yardage. If you are uncomfortable working this way, take a length and width measurement, add 4 inches or so each way, and cut a more workable piece. Lay the piece of burlap over the springs
tuck it under the supports to keep it close to the springs
trim off excess...you only need the burlap to cover the springs
Staple along the inside top edge. Not too tight
continue all the way around
Now, the inside back. Using the same method as the seat, staple the top middle
working top, bottom, top bottom, staple the bottom middle
pull from all directions, that way there won't be any excess burlap
trim excess burlap
Back view
This concludes the least fun part of upholstery....the prep. From here on out, I find it really fun....
Hope to see you next Wednesday for the tutorial, and tomorrow for my 31 days!
How much?
...continuing with the challenge, this is day 18 of 31....for all 31, go here
So, how much fabric do you need for your upholstery project? If you have frequented fabric stores or upholstery shops, then you are probably familiar with this chart

Although the photos and styles are a bit dated, the fabric estimates have been fairly accurate for me. There should be enouth in the estimate for piping. Note that this is for solid or all-over prints on 54" wide fabric. If you have a stripe, plaid, or a pattern that requires centering, you will need more.
Hope to see you tomorrow at upholstery class. I painted the frame....and It's not white!
So, how much fabric do you need for your upholstery project? If you have frequented fabric stores or upholstery shops, then you are probably familiar with this chart
Although the photos and styles are a bit dated, the fabric estimates have been fairly accurate for me. There should be enouth in the estimate for piping. Note that this is for solid or all-over prints on 54" wide fabric. If you have a stripe, plaid, or a pattern that requires centering, you will need more.
Hope to see you tomorrow at upholstery class. I painted the frame....and It's not white!
Upholster.....Anything!
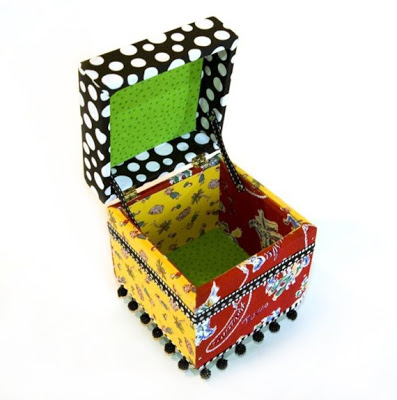
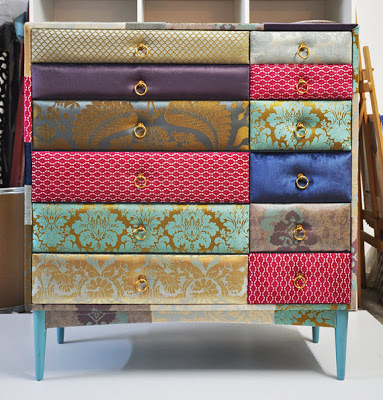
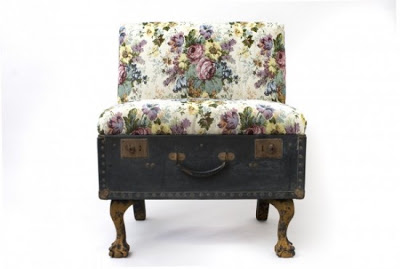
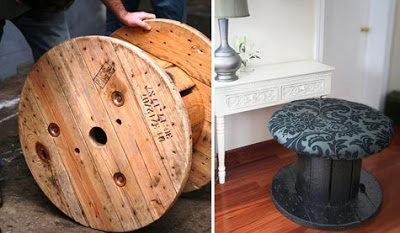
Today, I want to admire people who are so creative and crafty that they will upholster ANYTHING!
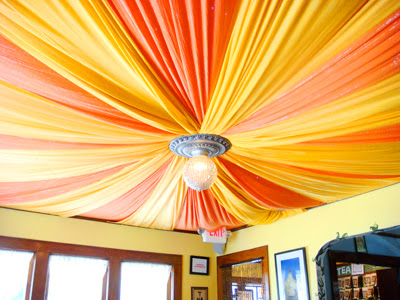 |
| Ceiling via Source |
 |
| Source |
 |
| Source |
 |
| Source |
 |
| Source |
 |
| Source |
 |
| Source |

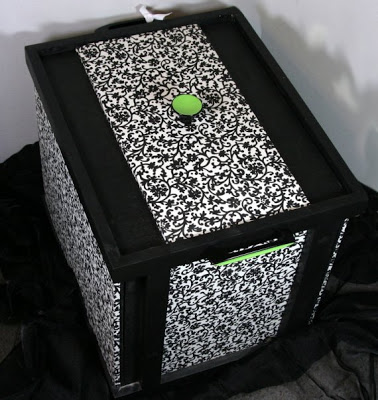 |
| File Box (Source) |
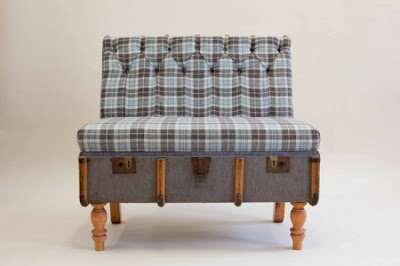 |
| Source |
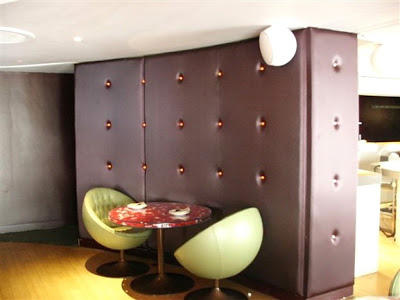 |
| Source |
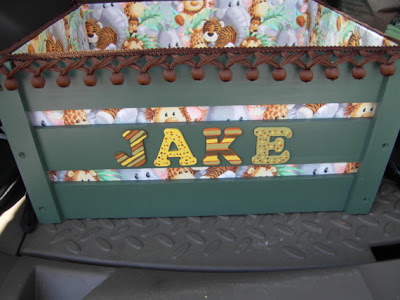 |
| Diaper Box (Source) |