
Can You Find the Ghost?
Hello! I am all out of ideas for today, so here is a pre-Halloween video......can you find the ghost?
Look closely, or you will miss it...
Have a great weekend!
Look closely, or you will miss it...
Have a great weekend!
Where were you?
Not exactly what you think....the "where were you" question is for the Target Missoni sale. Did you try to get to a store? Did you shop on-line before the "crash"? .....OR, were you one of the millions frustrated and tweeting about the Target site "not functioning"?
I was one of the lucky ones. I was on-line at 6am, and was able to purchase 4 Missoni items! Looking back, I feel lucky that I was able to get them. However, at the time, I too, was frustrated at the on-line shopping experience. Full disclosure, I am a HUGE on-line shopper. I send e-mails to companies all the time to let them know when their site policies are not "standard" for the on-line industry.
So here is what I was able to commandeer
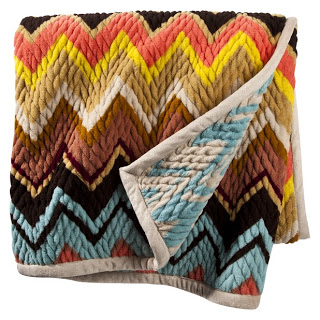 The Throw....and I think I stole it from Jenny?

Here are my feelings about the whole event. Target knew this would happen! This was a case of brilliant hype, lots of "free" marketing through the blogging community, and UNDER-STOCKED product!! Think "OOPS, I left my IPhone 4 prototype at the bar" marketing ploy a year ago. You can't buy all that free press...am I correct Donny Deutsch?
Not to worry, I am sure that before yesterday's sale, Target was already reproducing the items for the next go-round! Trust me, they won't miss the "Holiday Season" with this FRENZIE thatthey we helped create.
One thing is for sure, there will be a lot of ebay sales from people trying to make an additional profit from this...just like the Lance Armstrong "Live Strong" yellow wristband many years back. Be patient, there will be more.
I was one of the lucky ones. I was on-line at 6am, and was able to purchase 4 Missoni items! Looking back, I feel lucky that I was able to get them. However, at the time, I too, was frustrated at the on-line shopping experience. Full disclosure, I am a HUGE on-line shopper. I send e-mails to companies all the time to let them know when their site policies are not "standard" for the on-line industry.
So here is what I was able to commandeer
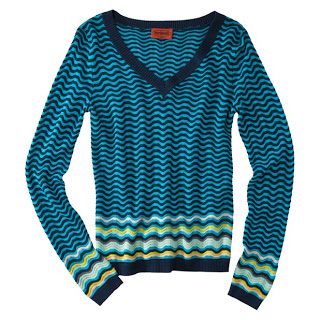
The V-neck Sweater
This Scarf
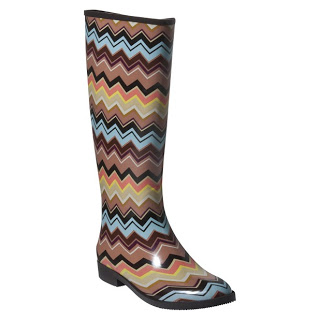
...and fun Rain Boots
Here are my feelings about the whole event. Target knew this would happen! This was a case of brilliant hype, lots of "free" marketing through the blogging community, and UNDER-STOCKED product!! Think "OOPS, I left my IPhone 4 prototype at the bar" marketing ploy a year ago. You can't buy all that free press...am I correct Donny Deutsch?
Not to worry, I am sure that before yesterday's sale, Target was already reproducing the items for the next go-round! Trust me, they won't miss the "Holiday Season" with this FRENZIE that
One thing is for sure, there will be a lot of ebay sales from people trying to make an additional profit from this...just like the Lance Armstrong "Live Strong" yellow wristband many years back. Be patient, there will be more.
Stalking My Friend's New Bedding
My friend is looking for new bedding. She likes the colors burgundy-red with a touch of golden hues. Something like this
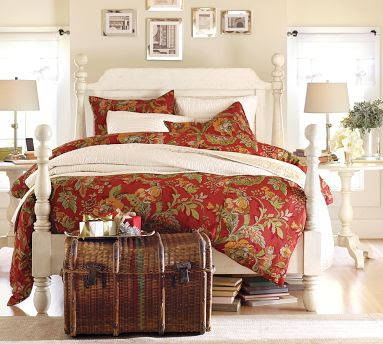
It's pretty. However, I think she should go with something lighter. Her room does not have a lot of natural light and can feel dark at times. I think she should go with something more like this
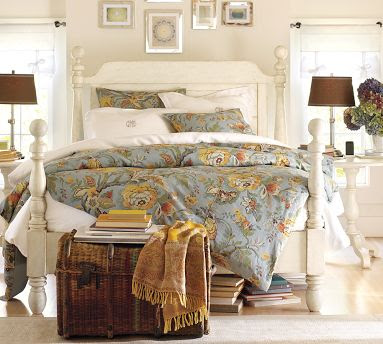 It has the golden and red tones in it, but it has a lighter feel to it.
All of this contemplating made me wonder... is possible to find the "cross-over" style where my friend's taste meets mine?
Look, she's a New Yorker, and she is going to do what she wants....I just thought this would be a fun challenge.
Here are pictures I think satisfy both our styles
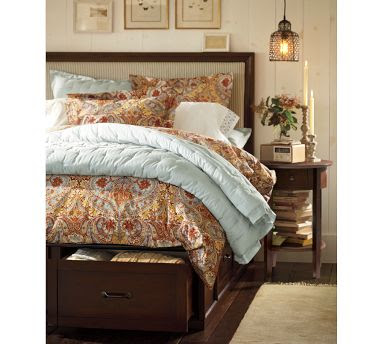
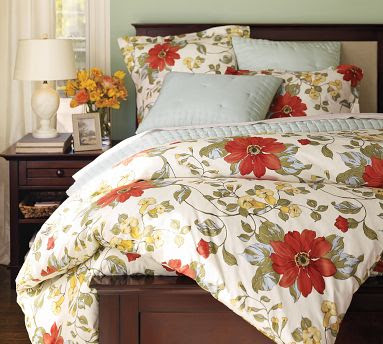
I wonder what she will think? I will probably be wondering for quite some time....she doesn't read my blog!
What do you think?
It's pretty. However, I think she should go with something lighter. Her room does not have a lot of natural light and can feel dark at times. I think she should go with something more like this
All of this contemplating made me wonder... is possible to find the "cross-over" style where my friend's taste meets mine?
Look, she's a New Yorker, and she is going to do what she wants....I just thought this would be a fun challenge.
Here are pictures I think satisfy both our styles
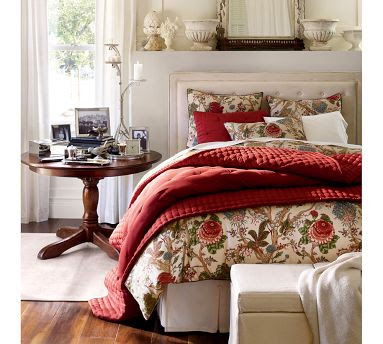 |
| Pottery Barn Bedding |
I wonder what she will think? I will probably be wondering for quite some time....she doesn't read my blog!
What do you think?
My Favorite Upholstery Tools
Yesterday, I spoke about my September Upholstery Project Tutorial. Here are my favorite tools that I use when I upholster
*******UPDATE - The tutorial has begun - ********
First up,
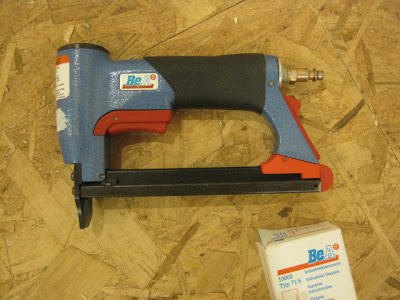 a pneumatic gun, and staples (the common size I like to use is 3/8") There is no other choice for me. I have tried them all. If you are serious about doing several projects, then you need one of these. However, If you think this might be a one time only project...you can use something else. You can find a staple gun for about $100. You could also share one with a friend to cut the cost.
Next, a compressor
 Again, If you use a pneumatic gun, you must have a compressor to power it. A compressor is easy to "borrow" from a friend or neighbor. It is also used for many power tools. Someone you know probably has one. You can buy one for about $100. The only thing you need to know is the amount of HP (Horse Power) it has. You only need 1HP for an upholstery gun.
An electric staple gun.
 This is an OK alternative to the pneumatic gun. If you don't think you will upholster again, this is fine. The problem that I have found with this is that it does not drive the staples deep into the wood. After using this, you will probable need to hammer the staples in further.
Additional tools
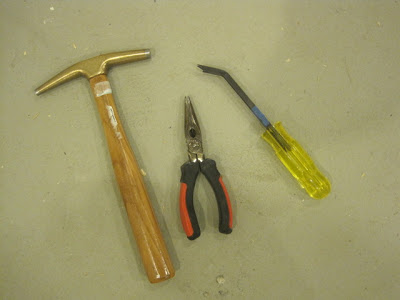 A tack hammer, needle nose pliers, and a staple puller. All of these are readily available at either a home improvement store, or a better craft store. Easily found on-line, as well (search upholstery supplies).
Finally,
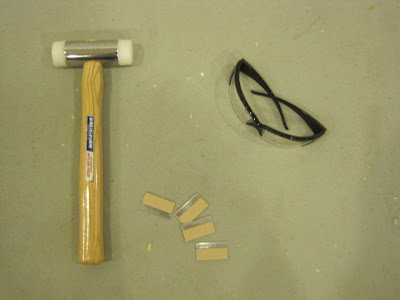 a rubber mallet, fresh razor blades and safety glasses
*******UPDATE - The tutorial has begun - ********
First up,
Next, a compressor
An electric staple gun.
Additional tools
Finally,
I have not decided on the fabric yet. However, I am sure that it will be something from my fabric addiction collection.
Have a creative weekend!
On-Line Upholstery Tutorial
I won't be able to take my favorite upholstery class this Fall. I know, after I told all of you how I would "see you there". Tuesday evenings are just too difficult for my family schedule. Since sharing ideas, fabric choices and the overall creative process is what I love about the class; how about an on-line class (tutorial)?
Do you have an upholstery project you have been putting off? Would you like to give it a try? Are you already skilled at upholstery and would love to contribute tips or suggestions? Let's see if we can do this together.
Here is my project
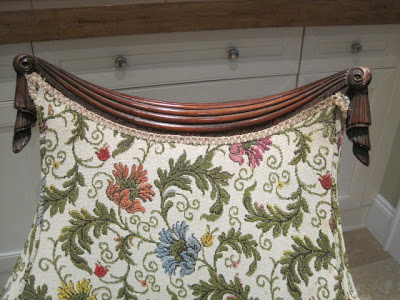
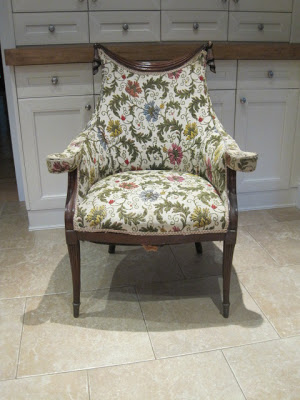 this Craigslist chair
It has beautiful carved detailing
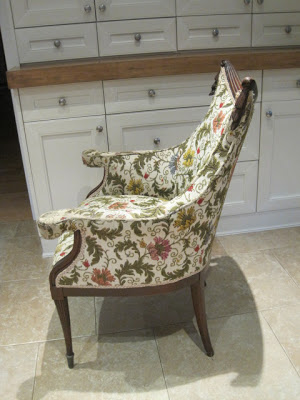
a nice profile
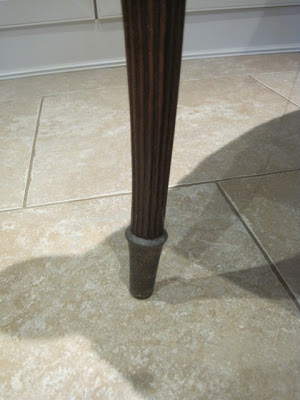
cute metal feet
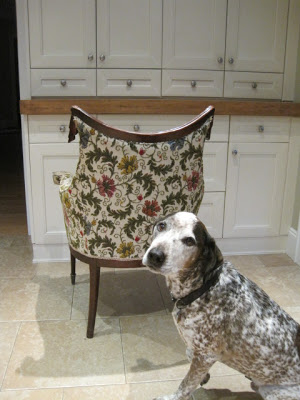
and a nice curved back
Here are my thoughts:
Every Wednesday, starting on September 28th, I will show you "the next step" on my project. If you e-mail me a photo, I will post it and help you with your project...if you need help. If you have any tips or suggestions, I will gladly post those as well. Together, we will tackle upholstery.
I'd love to hear your thoughts on this. Tomorrow, I will show you the fabric and tools I plan on using.
Hope to see you then.
******UPDATE - the tutorial has begun - ********
Do you have an upholstery project you have been putting off? Would you like to give it a try? Are you already skilled at upholstery and would love to contribute tips or suggestions? Let's see if we can do this together.
Here is my project
It has beautiful carved detailing
a nice profile
cute metal feet
and a nice curved back
Hi Buster!
Here are my thoughts:
Every Wednesday, starting on September 28th, I will show you "the next step" on my project. If you e-mail me a photo, I will post it and help you with your project...if you need help. If you have any tips or suggestions, I will gladly post those as well. Together, we will tackle upholstery.
I'd love to hear your thoughts on this. Tomorrow, I will show you the fabric and tools I plan on using.
Hope to see you then.
******UPDATE - the tutorial has begun - ********
How to install V-Groove Paneling (beadboard)(plank)
I love the plank paneling look. It is everywhere. In fact, I have it on my kitchen ceiling.
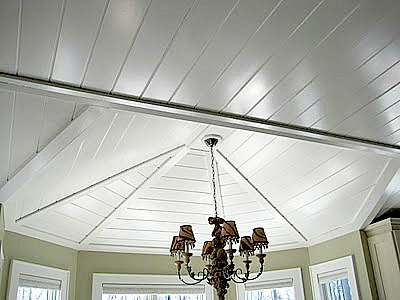
The ceiling is made up of MDF sheets with a V-groove scored every 6".
I decided to give my basement entry the same treatment.
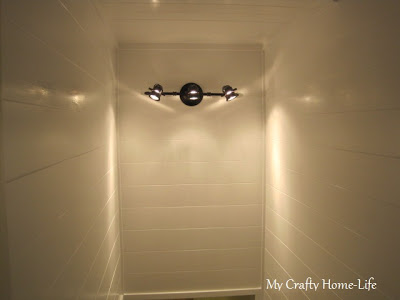
Here is the "before"
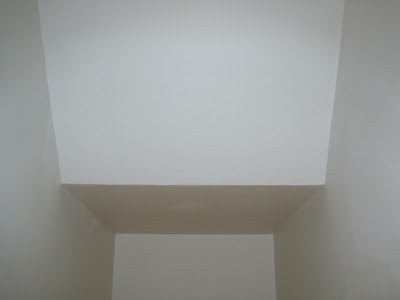
 B-O-R-I-N-G...and a bit depressing. It was also too dark.
So, I purchased this
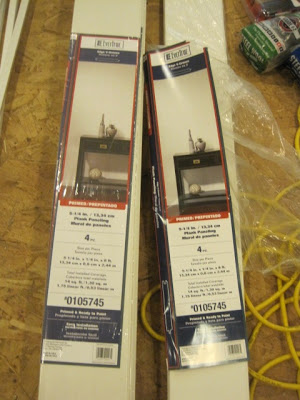 Packages of MDF V-Groove Plank Paneling. They are 8' long and over 5" wide. Since it is Tongue-and-groove, it will go together easily.
My tools
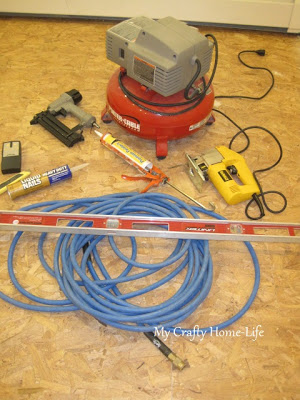


First, decide where you want to start. I started in the most noticeable place. The first few rows are the straightest. Hide the imperfections of your walls or ceiling in areas that are not in your common sight line.
Next, decide how you want to handle corners, starting places and stopping points. This is where I used the MDF trim.
For a modern take, I decided to run the planks horizontally. Here is what I did
Attach the 1x2 trim to the wall
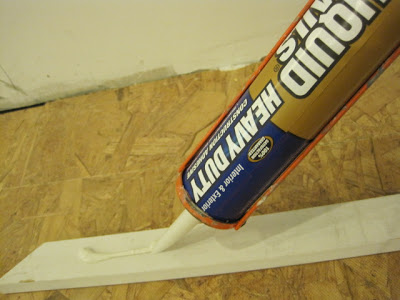 add a bead of glue
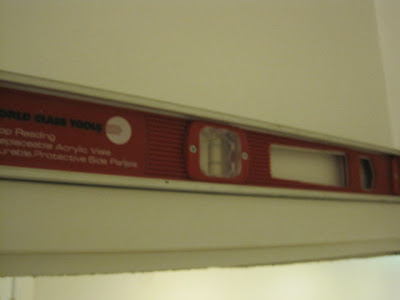 using a level, make sure it is perfectly straight
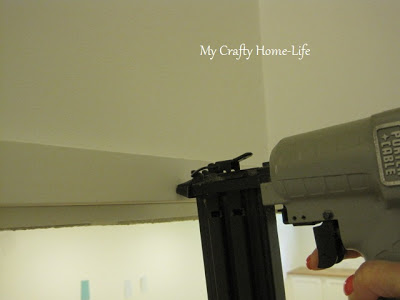 and nail!
Now you are ready for your first board
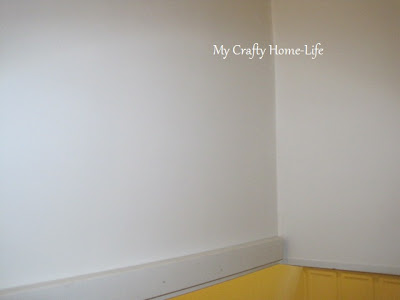
adding glue to the back of every board, place the board on top of the 1x2
 check for level, and nail. Let the glue do most of the work, don't over-nail. This will save you time in puttying.
continue
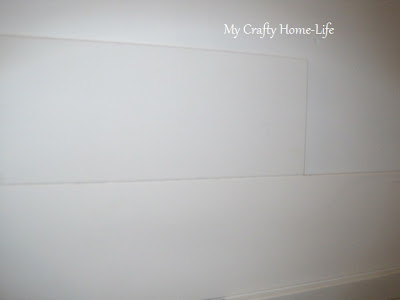 checking for level every few boards.
Here is how I handled the unusual angles
 draw a level line on the wall (notice handrail on right)
 hold a scrap piece of plank up to the line. with a straight edge resting along the angle (handrail)
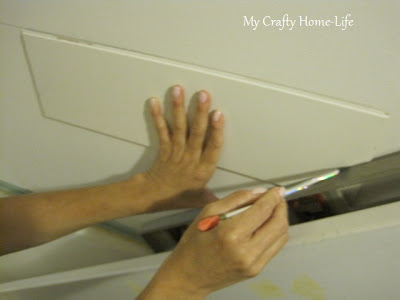 draw the angle. Make the practice cut, and test. When you are happy with the cut, use the real plank for the final cut.
Another look at the "before" & "after"


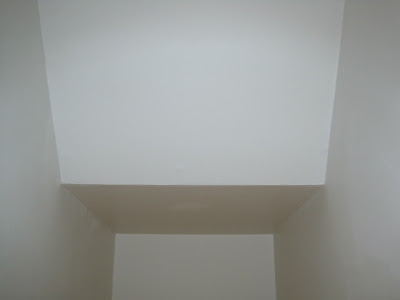
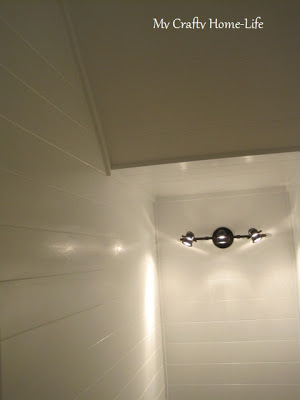
Oh yeah, I added a light fixture too! I think my dining room is next.
What are you working on?
I decided to give my basement entry the same treatment.
Here is the "before"
So, I purchased this
My tools
Other materials I used
1x1 & 1x2 MDF trim
First, decide where you want to start. I started in the most noticeable place. The first few rows are the straightest. Hide the imperfections of your walls or ceiling in areas that are not in your common sight line.
Next, decide how you want to handle corners, starting places and stopping points. This is where I used the MDF trim.
For a modern take, I decided to run the planks horizontally. Here is what I did
Attach the 1x2 trim to the wall
Now you are ready for your first board
adding glue to the back of every board, place the board on top of the 1x2
continue
Here is how I handled the unusual angles
Another look at the "before" & "after"
Oh yeah, I added a light fixture too! I think my dining room is next.
What are you working on?