
Union Jack
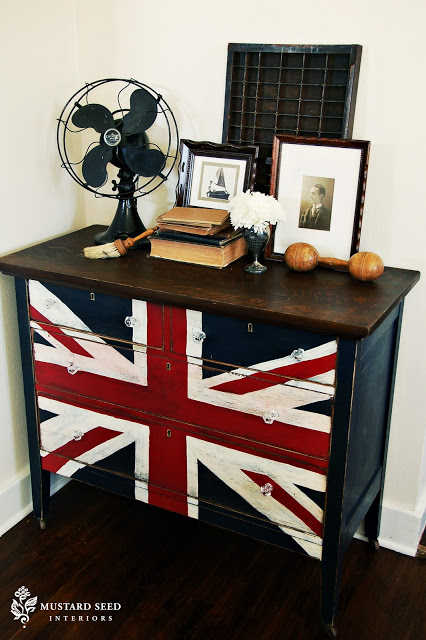
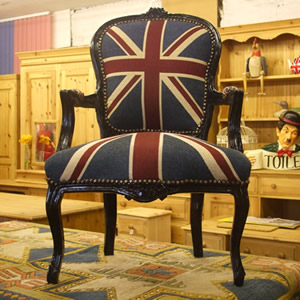
OK, I'm in too! I am officially on board with the Union Jack fascination. I think this was the first image I remember seeing on the blogisphere


Little Blue Prints
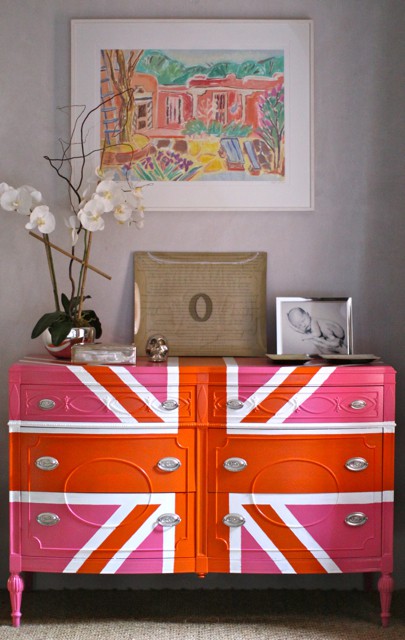
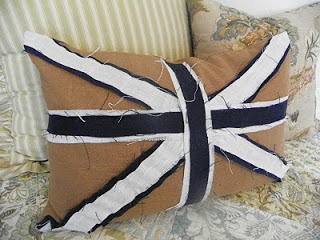
Since then, I have found many more images via pinterest
Design Sponge
For me, the play on colors is the most inspiring
Pinterest
Pinterest
Little Blue Prints
I wonder what my version will look like?
Self-Watering Containers
Several years ago, I purchased this
 a square, black, polyurethane container for my front porch. Like most of my decisions for my home, the size and shape were perfect......the fact that it was self-watering was a plus!
Obviously, something went wrong

One very dead plant. After much clicking around and several tutorials later, I realized a needed a wick so that the water could travel up to the plant. This was not in the directions provided by the container company.
So, I went to the hardware store and purchased this
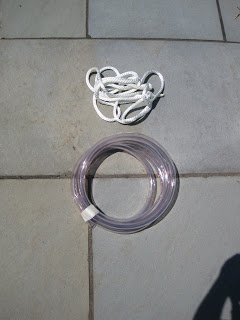 Polyester rope and clear plastic tubing. The tubing was not part of any tutorials that I found....I am adding it for "insurance". Here is what I did
1) Dump everything out on a tarp/sheet
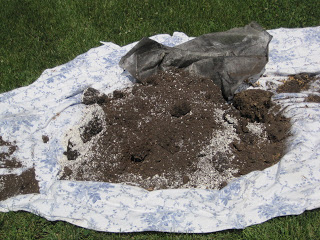
2) Make sure the holes are large enough to drop the rope and tubing down into the reserve of water
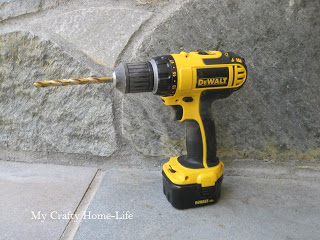
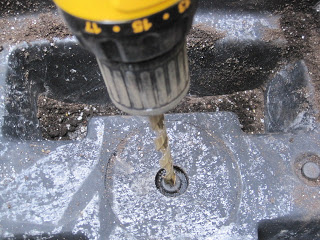
3) Add tubing and/or rope into the holes making sure to leave a long enough tail so that it will reach the plant(s)
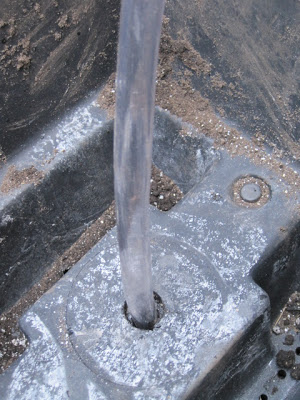
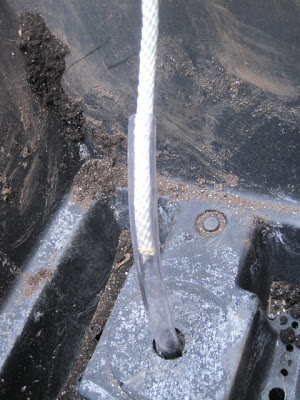
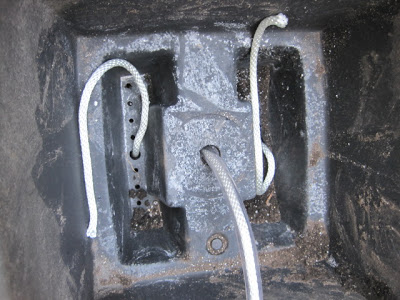
4) Put back the fabric paper (this keeps the holes from getting clogged by dirt) and add back some of the soil mix.
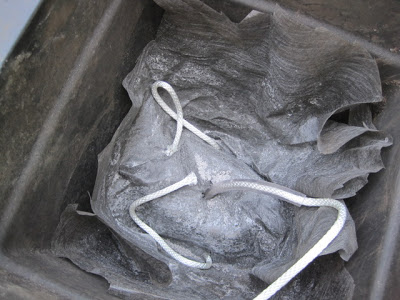
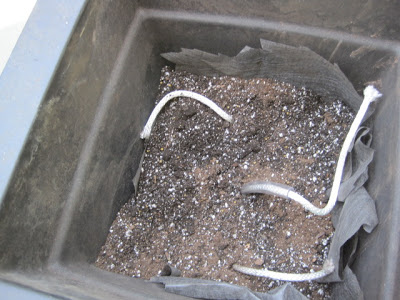
5) Place the plant at the proper height making sure the wick comes in contact with the root-ball
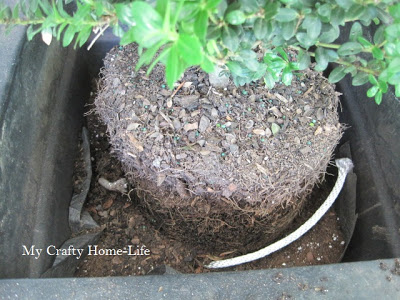
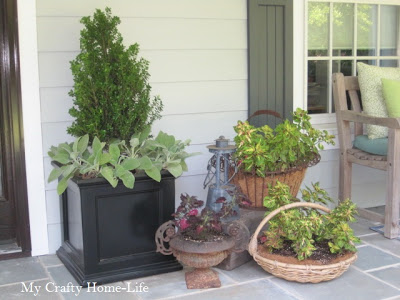 Hopefully, that will fix the problem!
Obviously, something went wrong
One very dead plant. After much clicking around and several tutorials later, I realized a needed a wick so that the water could travel up to the plant. This was not in the directions provided by the container company.
So, I went to the hardware store and purchased this
1) Dump everything out on a tarp/sheet
2) Make sure the holes are large enough to drop the rope and tubing down into the reserve of water
3) Add tubing and/or rope into the holes making sure to leave a long enough tail so that it will reach the plant(s)
once the tubing is inserted, slide a piece of rope through to act as the wick
4) Put back the fabric paper (this keeps the holes from getting clogged by dirt) and add back some of the soil mix.
5) Place the plant at the proper height making sure the wick comes in contact with the root-ball
6) Add remaining soil and additional plants if desired
Refinishing Basement Stairs
I love power tools! I am currently in the process of refinishing the basement stairs. My goal is to have a beautiful runner down the center of the stairs, and have exposed wood on both sides.
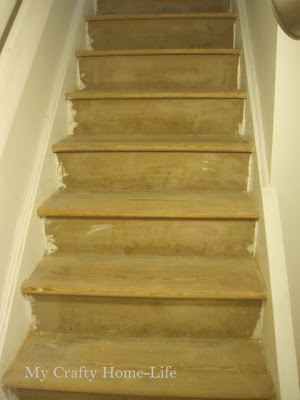
I have had my electric sander for 10++ years.
 ...it's time to move on. I will miss her!
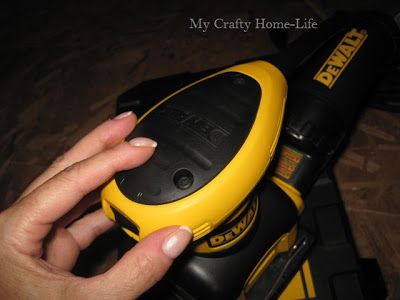
On a recent trip to Home Depot, I felt like this
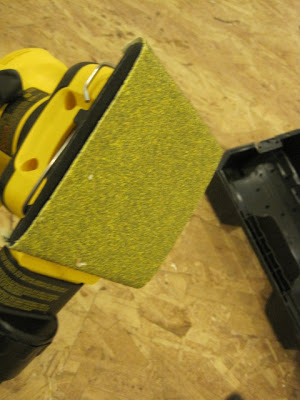
When I saw this

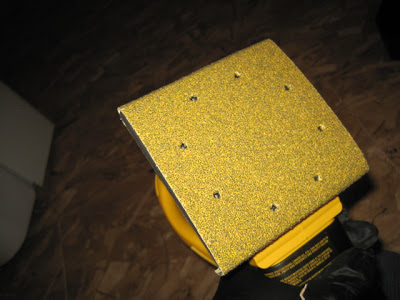
3) Make perforations in the paper to allow the dust bag to work properly
The case has a template you press the paper on

and get this
4) Wear a mask
 This is my preference. I also use it for spray painting.
That's it! When I was at Home Depot, a couple came in looking for a sander for "the wife" I gave them a quick tutorial on this one, and they bought it.....Hey Home Depot, I want a commission.
.....Oh, one last tip. Be sure to cover your smoke detector when you do a lot of indoor sanding, or you will have a visit from

Hope this was helpful.
before
I have had my electric sander for 10++ years.
On a recent trip to Home Depot, I felt like this
When I saw this
I knew this was the one.
First, it has a dust bag attached.
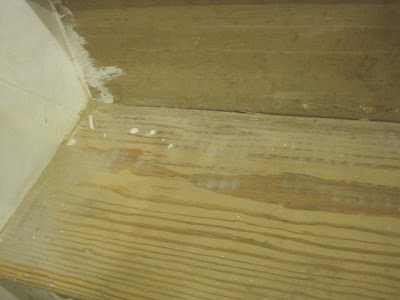
Second, the square corners will get into those tight corners like this
and finally, the replacement papers are MUCH cheaper!
Here are my tips......
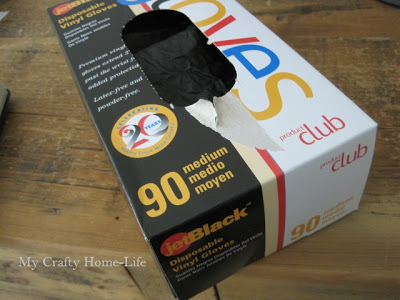
1) Save the manicure
These are no ordinary gloves. They are the kind my hairdresser uses when she puts my natural color back on my head. I buy them from a beauty supply store. They are twice as expensive as the clear ones you find everywhere, but well worth the investment!
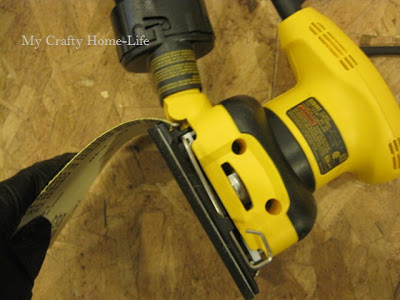
2) Load the sandpaper from the back first. It is much easier to wrap it over the front to finish
The case has a template you press the paper on
and get this
4) Wear a mask
That's it! When I was at Home Depot, a couple came in looking for a sander for "the wife" I gave them a quick tutorial on this one, and they bought it.....Hey Home Depot, I want a commission.
.....Oh, one last tip. Be sure to cover your smoke detector when you do a lot of indoor sanding, or you will have a visit from
Hope this was helpful.
Drip Irrigation
This week, I have been working on #6 of my TTD list. I love to figure out the plant combinations for the window boxes. This year, I planted roses in them. The containers take a bit more time to get them just right. However, remembering to water them is not as easy for me. I get busy with the kids...and it's HOT!
So, since I am lucky enough to have a sprinkler system, I have decided to install drip irrigation into all of my containers (did you catch that it is not even on the TTD list?). That is another story for another day.
Here are two great tutorials on how I did this (thank you YOUTUBE).
This one is more complete
This isn't exactly how I "hacked" into my sprinkler system...but you can get the idea from this
...and now my plants will be happy this Summer!
So, since I am lucky enough to have a sprinkler system, I have decided to install drip irrigation into all of my containers (did you catch that it is not even on the TTD list?). That is another story for another day.
Here are two great tutorials on how I did this (thank you YOUTUBE).
This one is more complete
This isn't exactly how I "hacked" into my sprinkler system...but you can get the idea from this
...and now my plants will be happy this Summer!
Stair runner
I need a stair runner for the basement. This is not easy. I don't like many of the "over the counter" ones. Too dark. I am thinking of using a cotton rug (maybe several). Something like this


 I'm not sure if this is a good idea. It might wear down fast?
Marblehead, MA
I love Marblehead, MA. In another life, I would live there. On a recent trip, I took some photos that make me smile. Hope you like them


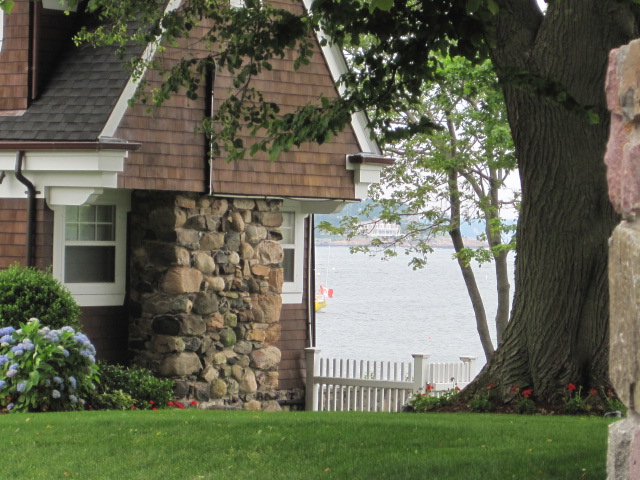
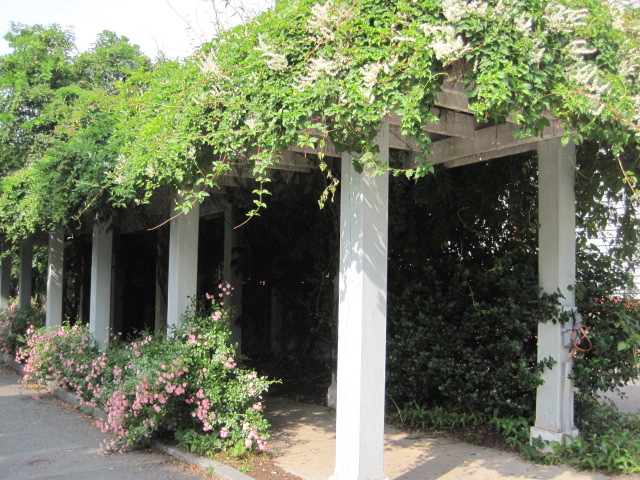

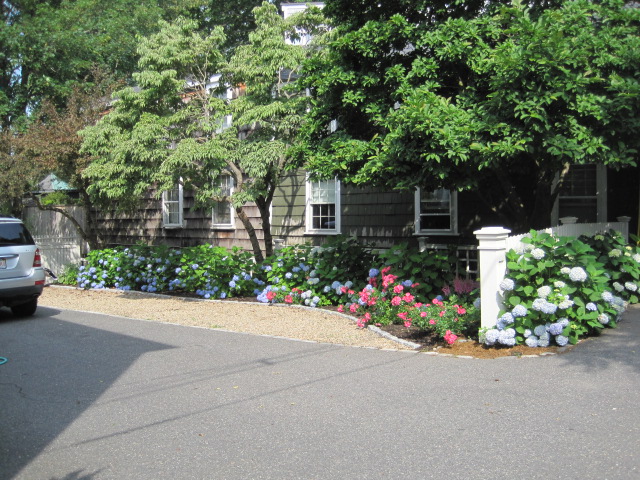
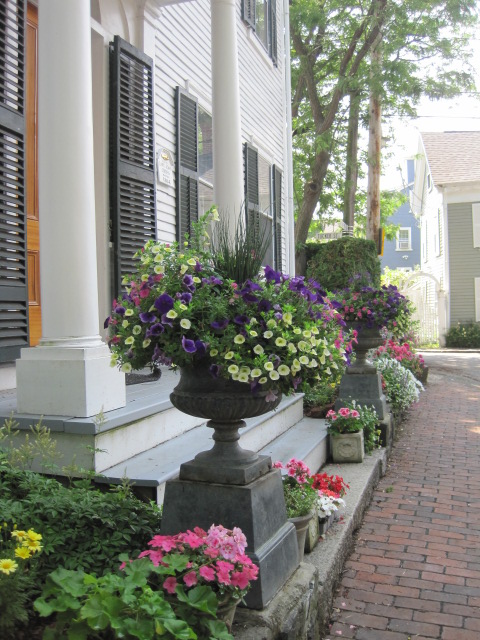
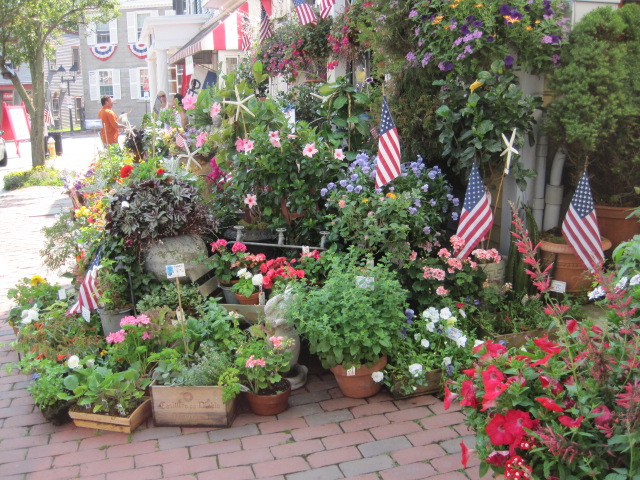
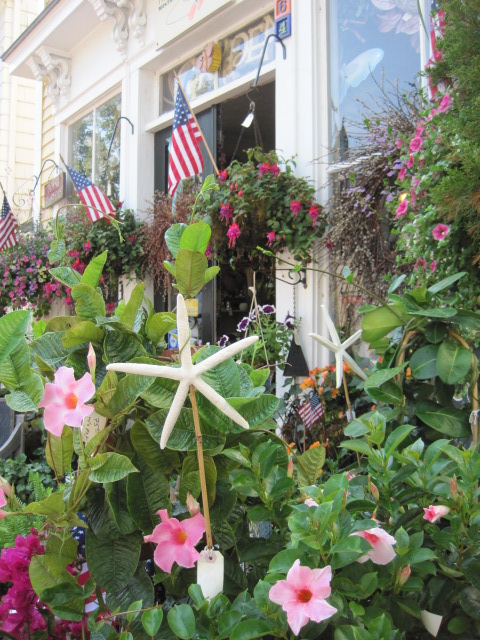


Yes, I could live there!
Yes, I could live there!