
One Room Challenge (week 2)
Hello, and thanks for coming back. This is week 2 of the One Room Challenge. In case you are new here, you can start the challenge series here. This was a crazy busy week because it finally snowed in New Jersey. A total of 6 inches to be exact. That made running around slower than usual. Luckily, it snowed on Friday evening into Saturday...no snow-day. I managed to finish my china hutch. If you have not see it....check it out here. Onto my dining room...
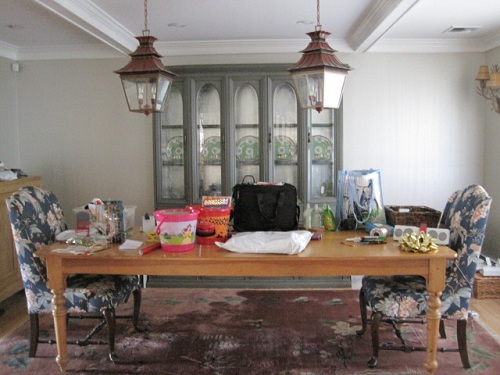
This is how you last saw it
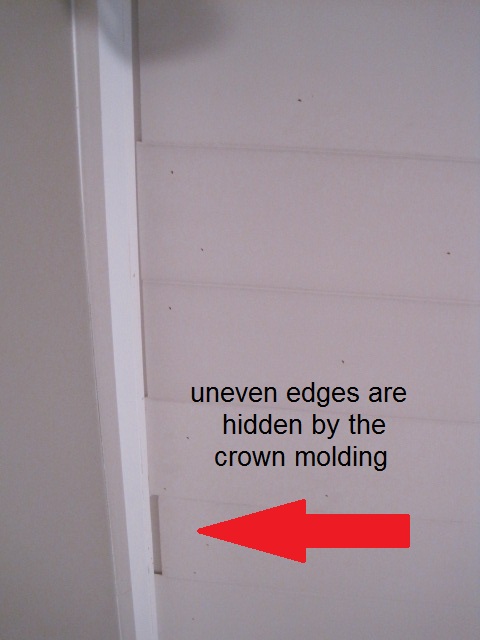
I started on the ceiling planks. First I took down the crown molding. As you can see in this picture, all of the uneven ends will be hidden under the crown once it goes back up
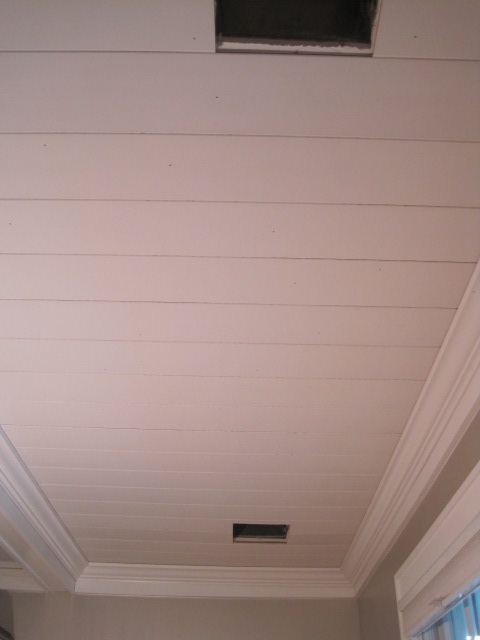
I did a tutorial for installing planks here. It is not hard, trust me...it just takes time. Here is a shot with the crown molding back up
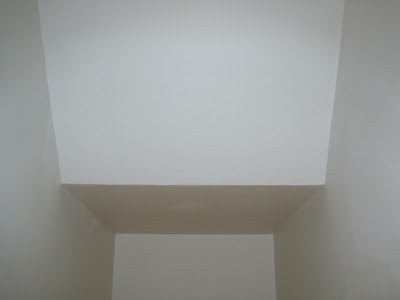
I am curently working on the middle bay of the ceiling
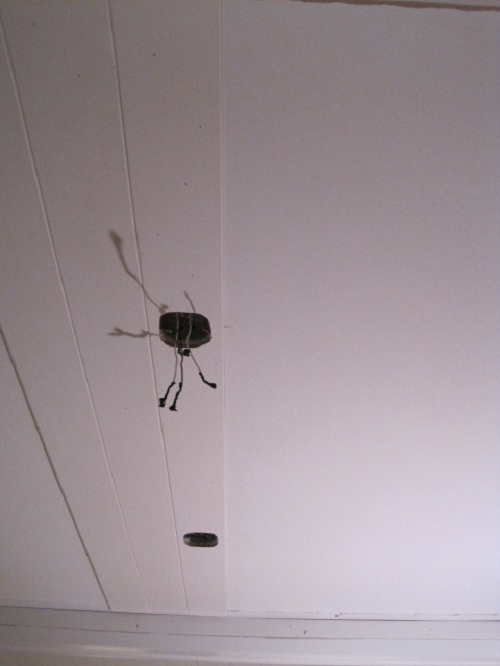
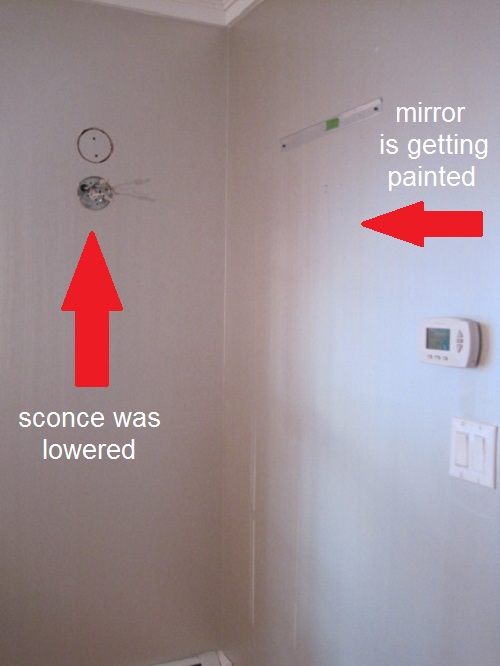
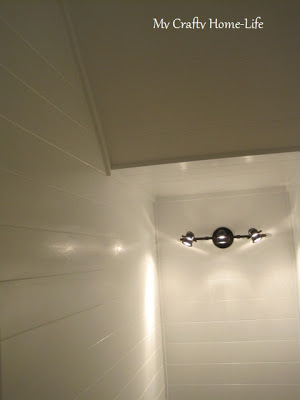
Next, I hired an electrician to lower the sconces....and while you are at it (my favorite phrase) ...I had him move the lanterns closer together. The mirrors are in the garage waiting to be painted
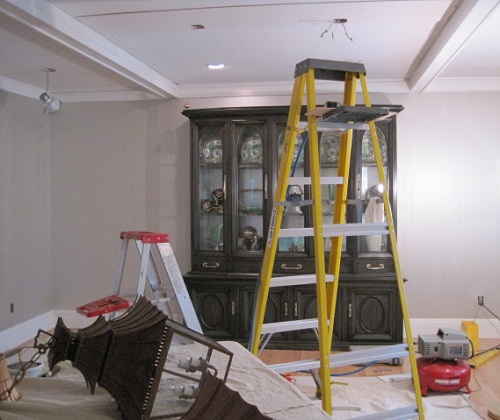
And now for the "keeping it real" shot. This is how my room looks as I write this.
It always gets much worse before it gets better! If you have a second...go here and tell me which color to paint those lanterns. Be sure to check out the progress in all of the other awesome rooms...and I will see you next Wednesday. For week 3, go here
Saved By Suzy Nicole Scott Designs
Dutch.British.Love Kim Macumber Interiors
Trapped in North Jersey Rue de Emily
The Pink Pagoda refreshed designs
Nana Moon Shop Taylor Morgan
insideways House Four
Living Savvy (A Lifestyle Thing)
This is how you last saw it
I started on the ceiling planks. First I took down the crown molding. As you can see in this picture, all of the uneven ends will be hidden under the crown once it goes back up
I did a tutorial for installing planks here. It is not hard, trust me...it just takes time. Here is a shot with the crown molding back up
I am curently working on the middle bay of the ceiling
Next, I hired an electrician to lower the sconces....and while you are at it (my favorite phrase) ...I had him move the lanterns closer together. The mirrors are in the garage waiting to be painted
And now for the "keeping it real" shot. This is how my room looks as I write this.
It always gets much worse before it gets better! If you have a second...go here and tell me which color to paint those lanterns. Be sure to check out the progress in all of the other awesome rooms...and I will see you next Wednesday. For week 3, go here
Saved By Suzy Nicole Scott Designs
Dutch.British.Love Kim Macumber Interiors
Trapped in North Jersey Rue de Emily
The Pink Pagoda refreshed designs
Nana Moon Shop Taylor Morgan
insideways House Four
Living Savvy (A Lifestyle Thing)
How to install V-Groove Paneling (beadboard)(plank)
I love the plank paneling look. It is everywhere. In fact, I have it on my kitchen ceiling.
The ceiling is made up of MDF sheets with a V-groove scored every 6".
I decided to give my basement entry the same treatment.
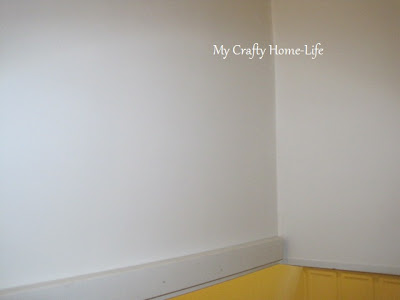
Here is the "before"
 B-O-R-I-N-G...and a bit depressing. It was also too dark.
So, I purchased this
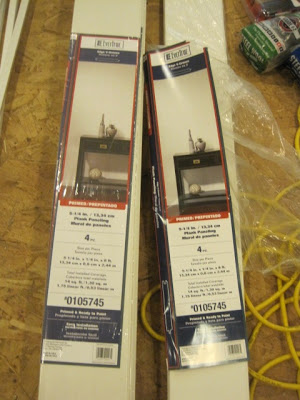 Packages of MDF V-Groove Plank Paneling. They are 8' long and over 5" wide. Since it is Tongue-and-groove, it will go together easily.
My tools


First, decide where you want to start. I started in the most noticeable place. The first few rows are the straightest. Hide the imperfections of your walls or ceiling in areas that are not in your common sight line.
Next, decide how you want to handle corners, starting places and stopping points. This is where I used the MDF trim.
For a modern take, I decided to run the planks horizontally. Here is what I did
Attach the 1x2 trim to the wall
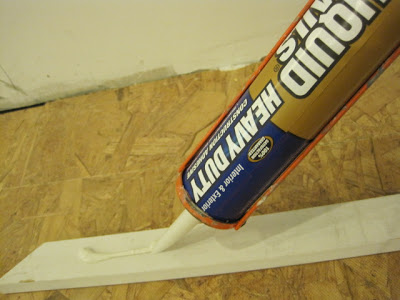 add a bead of glue
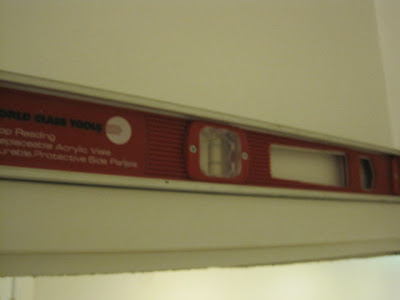 using a level, make sure it is perfectly straight
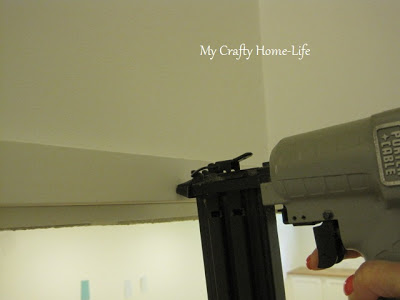 and nail!
Now you are ready for your first board
adding glue to the back of every board, place the board on top of the 1x2
 check for level, and nail. Let the glue do most of the work, don't over-nail. This will save you time in puttying.
continue
 checking for level every few boards.
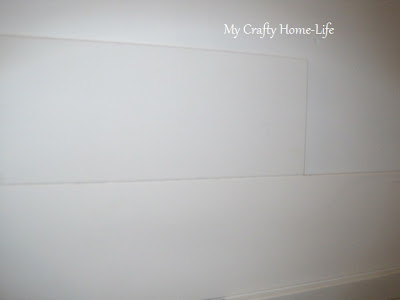
Here is how I handled the unusual angles
 draw a level line on the wall (notice handrail on right)
 hold a scrap piece of plank up to the line. with a straight edge resting along the angle (handrail)
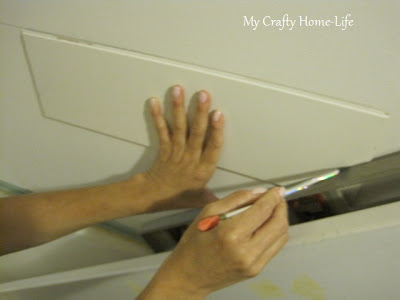 draw the angle. Make the practice cut, and test. When you are happy with the cut, use the real plank for the final cut.
Another look at the "before" & "after"


Oh yeah, I added a light fixture too! I think my dining room is next.
What are you working on?
I decided to give my basement entry the same treatment.
Here is the "before"
So, I purchased this
My tools
Other materials I used
1x1 & 1x2 MDF trim
First, decide where you want to start. I started in the most noticeable place. The first few rows are the straightest. Hide the imperfections of your walls or ceiling in areas that are not in your common sight line.
Next, decide how you want to handle corners, starting places and stopping points. This is where I used the MDF trim.
For a modern take, I decided to run the planks horizontally. Here is what I did
Attach the 1x2 trim to the wall
Now you are ready for your first board
adding glue to the back of every board, place the board on top of the 1x2
continue
Here is how I handled the unusual angles
Another look at the "before" & "after"
Oh yeah, I added a light fixture too! I think my dining room is next.
What are you working on?
Blue, the French way


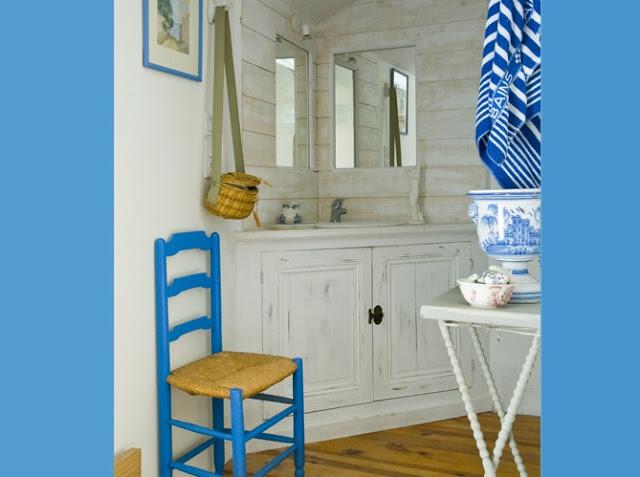
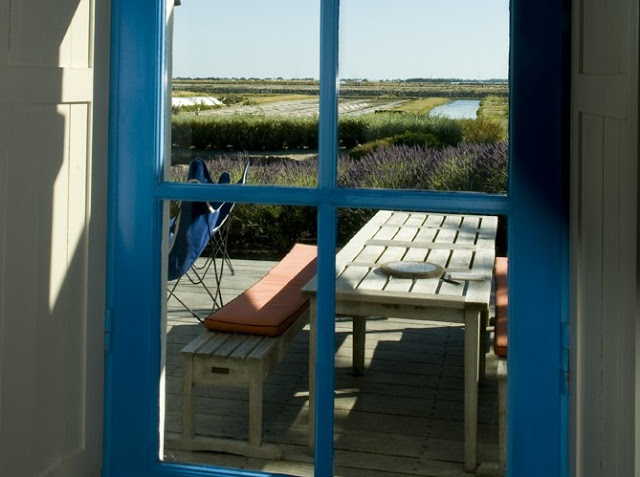
images Art & Decoration
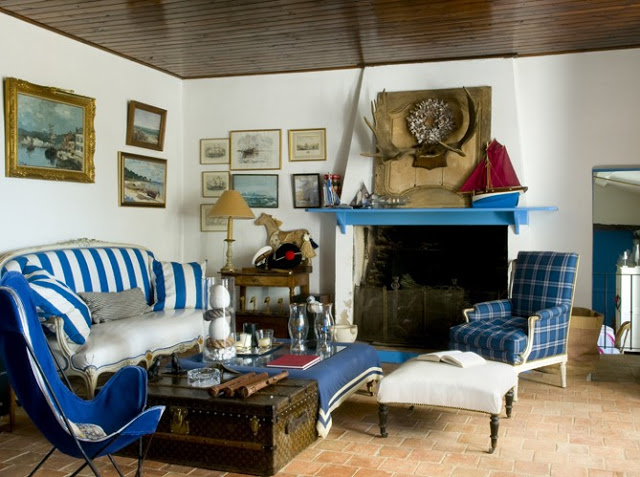
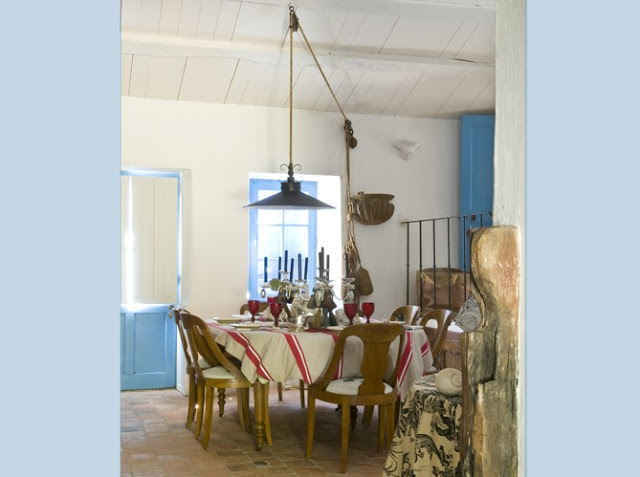
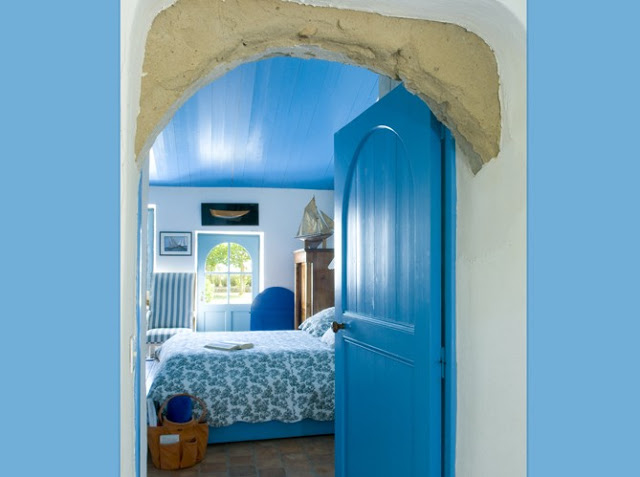
Red Rover, Red Rover, please send Sarah Richardson over!
I love Sarah Richardson. I have been a huge fan of hers for over 10 years. I'm sure you saw her "Island Cottage" series that just ran on HGTV. She is one of the best things Canada has to offer....here is a glance at the inspiring cottage of hers


marble floors with v-groove panel walls
A roof-top deck that I would sleep under the stars on
A farm table, upholstered chairs...and a bench
painted v-groove and stained v-groove (love the hanging quilt)
great idea to paint two tone, feels fresh
Love the headboard, not too difficult for DIY
Painted floors, I'm afraid to try this, but I love it
The view says it all
I have always wanted 4 club chairs around a round table
a new take on red, white and blue
Now that's a vacation home!
Low Voltage Ceiling Lights
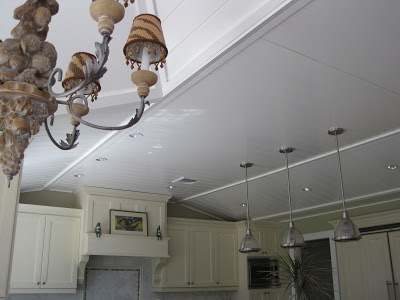
I love my kitchen ceiling. It has those halogen lights that Candice Olson always talks about.
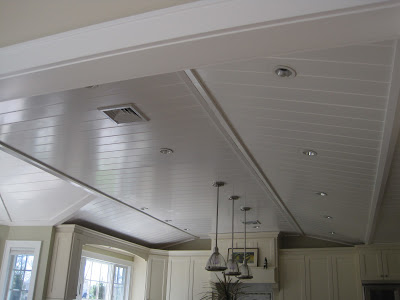
In fact, she is the reason why I requested them, even though we don't live in Canada (a quick shout out to all the Canucks out there). Canada has some GREAT bloggers! Here are additional views of the ceiling
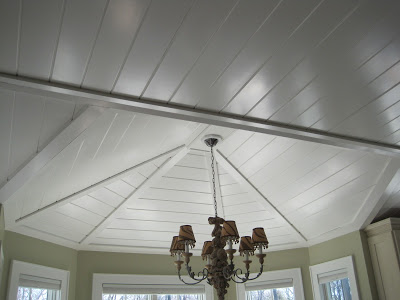
The chandelier was an e-bay find for 35 dollars.
ceiling could use a little caulk
Recently a few of the halogen bulbs burnt out. I could not, for the life of me, figure out how to change the bulb. Twist? Pull? Thank goodness for YouTube, or should I say Jeff! He showed me the light
I hope your day is a bright one.