Silver in the Bath
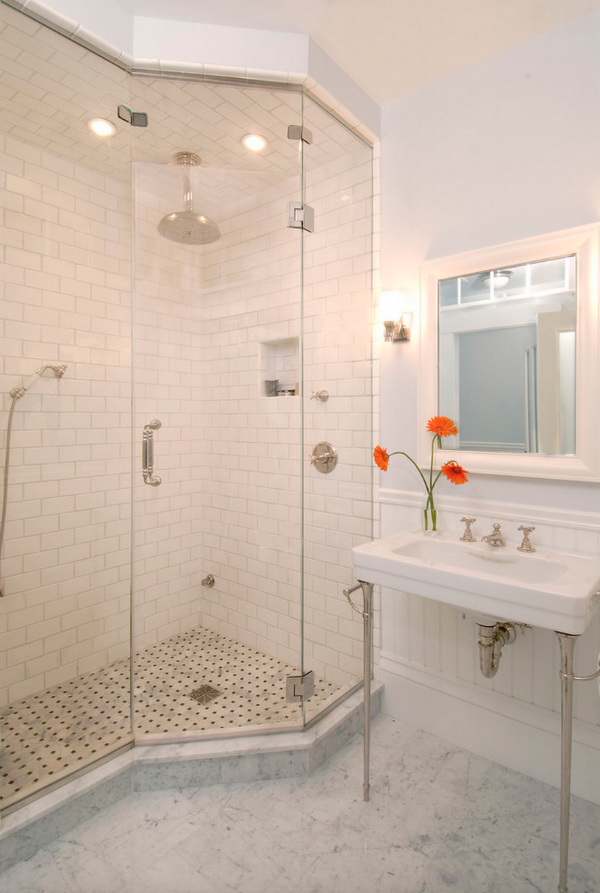
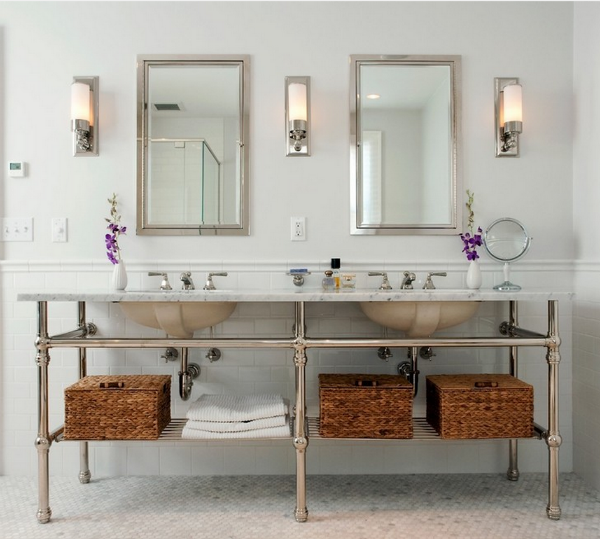
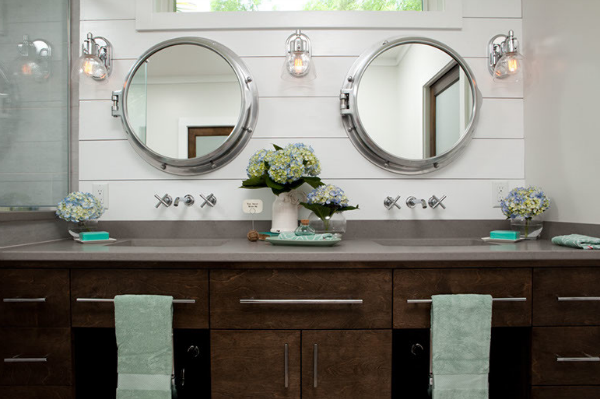
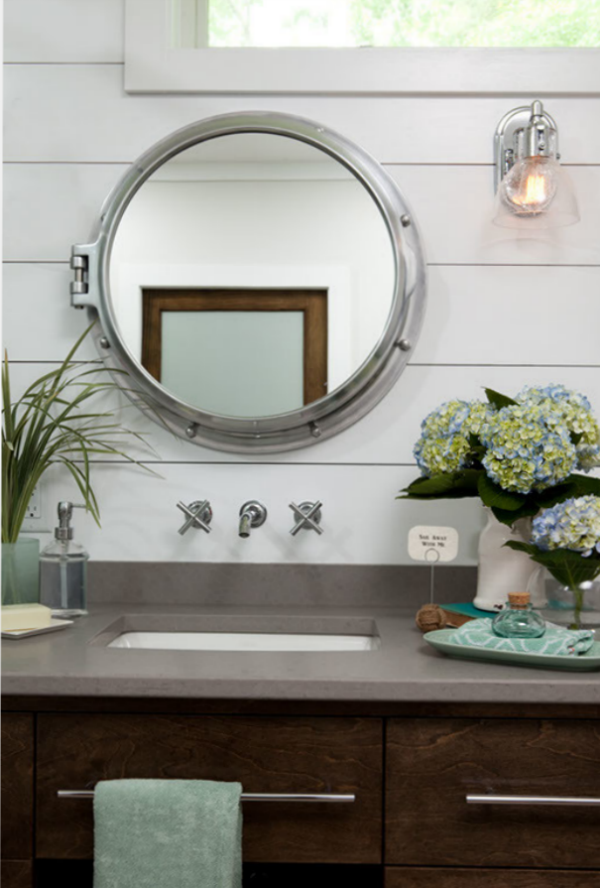
Happy Monday! In-between all of my holiday clicking, I have been planning away for my future home renovations. I am definitely feeling the love for silver in the bathrooms.
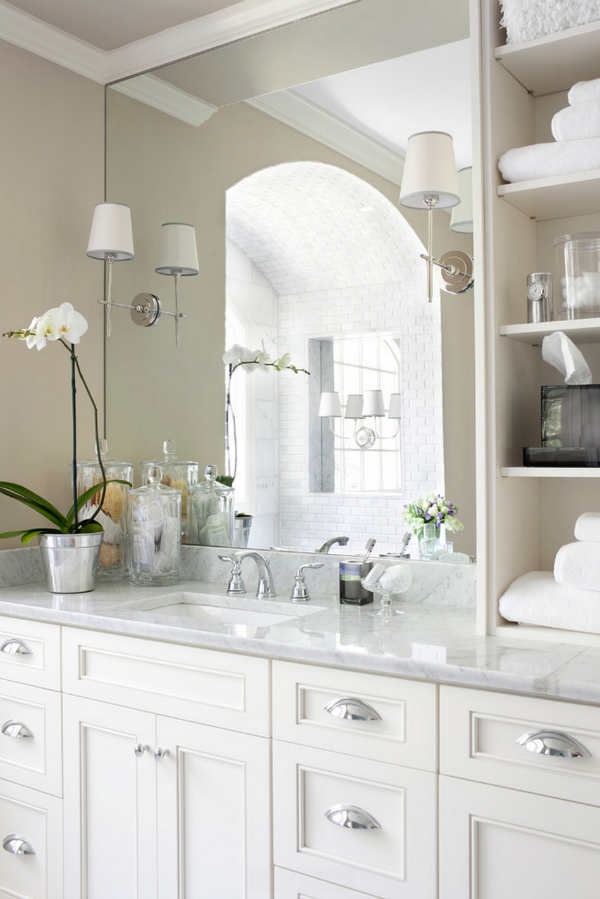

Charlie Allen Renovations
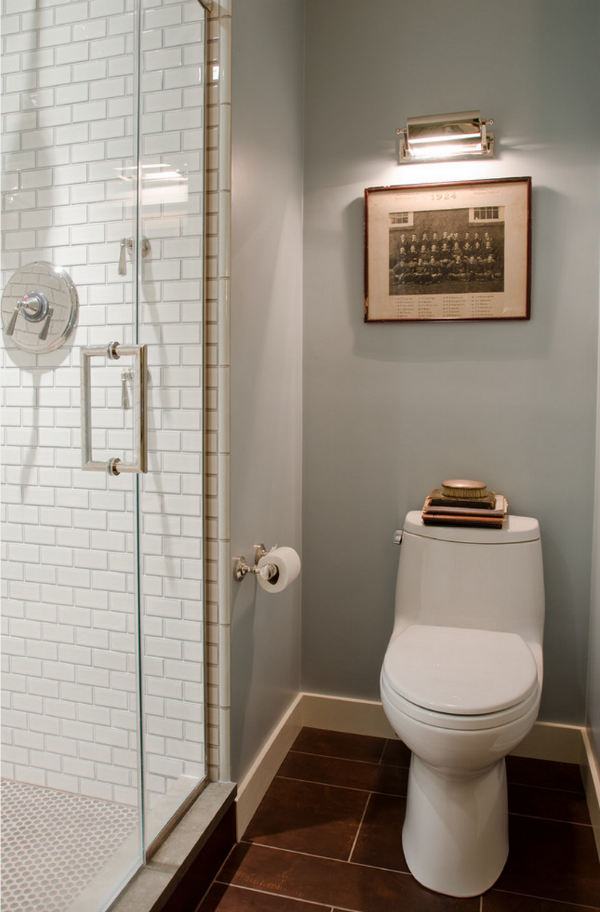
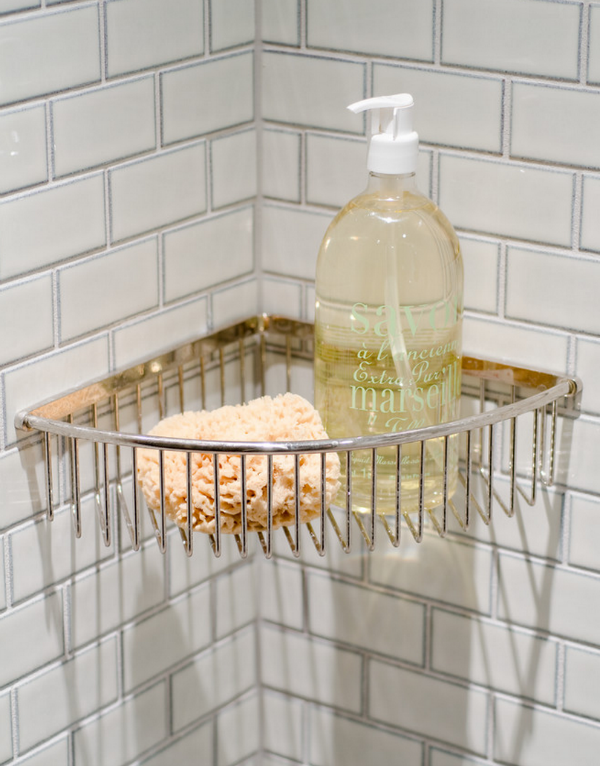
Do you have any favorite sources for bathroom fixtures?


Hodge : Podge is here!... Guest Post
Hi Friends! I decided to take a week off of blogging. My kids thought I was getting a bit cranky. So, I invited some friends to come by and entertain you. If you don't know Barbara and her blog...today is your lucky day! I am thrilled to have

You need:
*Metal Leaf Adhesive size {I got mine at Michaels - if you use a coupon, it is much cheaper}
*Metal leaf {also use a coupon!}
*Smooth bristled brush to apply glue
*Soft bristled brush to smooth silver leaf
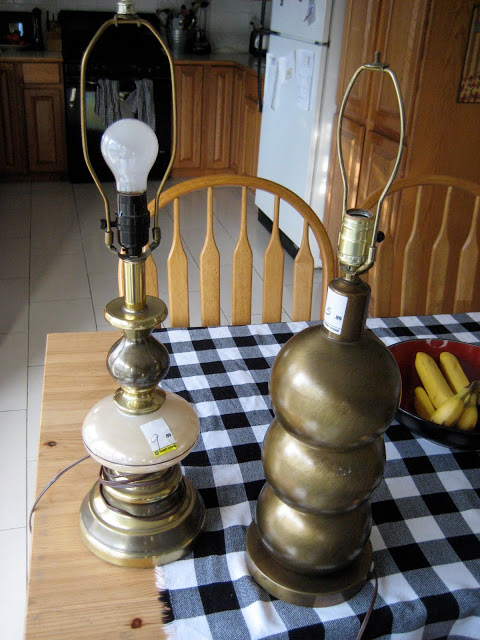
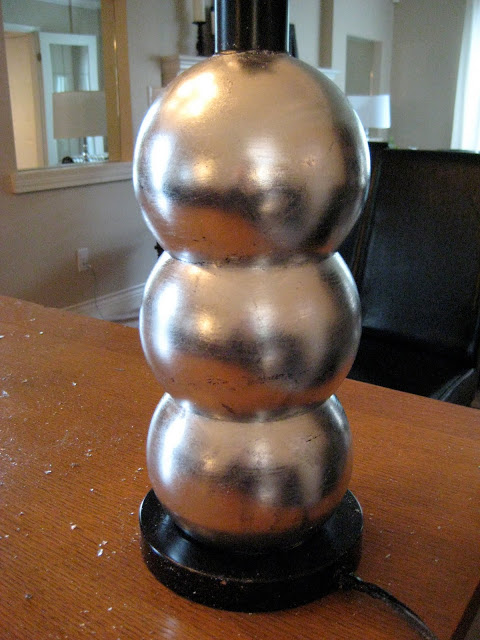
I also spray painted my lamp black. I like the depth that black gives under the silver leaf.
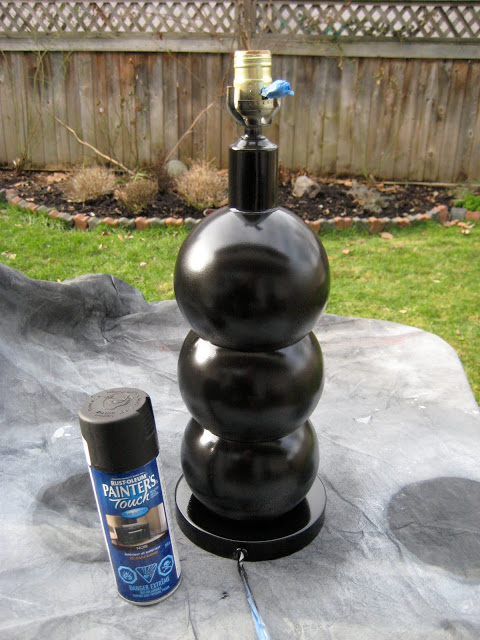
After I dried the lamp overnight I was ready to cover it in silver leaf.
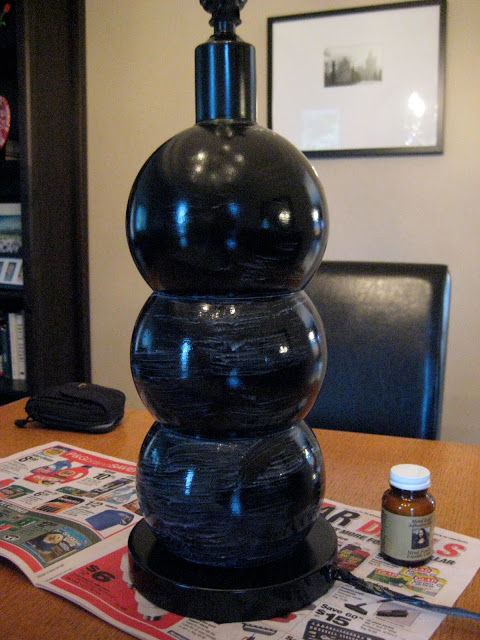
Before you start you need to shake the glue. Using the smooth bristled paint brush apply the glue to the lamp base being careful not leave puddles and globs of glue. I chose not to cover the bottom "plate" and the top "neck" of the lamp.The instructions said to wait about 60 minutes until the glue went from white to clear. It only took about 30 minutes.
The next part was the fun part. You will need a CLEAN soft bristle brush. All my kids wanted to "help". This is the messy part as silver dust is everywhere. You take an individual silver leaf and lay it in the surface. With your brush smooth it out.
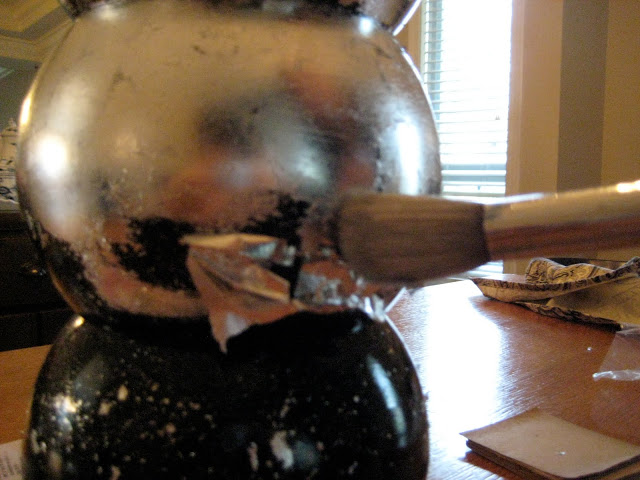
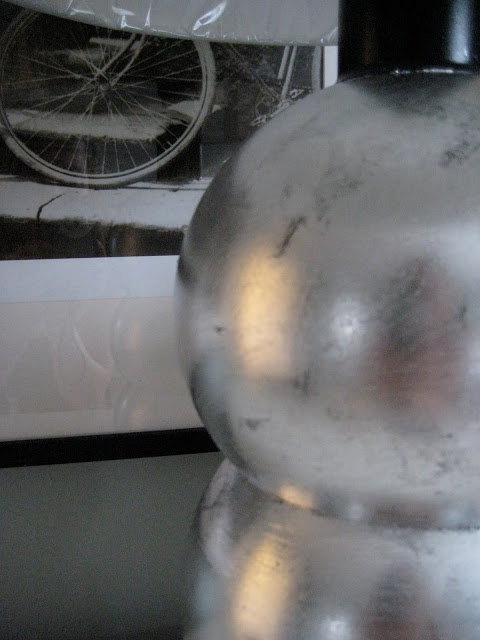
Take another leaf and lay it beside overlapping slightly. You might think to yourself, "won't you see the edges of the leaf ?" This stuff is amazing, after laying down leaf upon leaf and brushing it out, they all blend together so nicely. If there are patches that need filling just take a small piece of the leaf (they are incredibly thin and easy to break apart) and lay it down. Brush it smooth with your brush. Silver leaf is VERY forgiving.
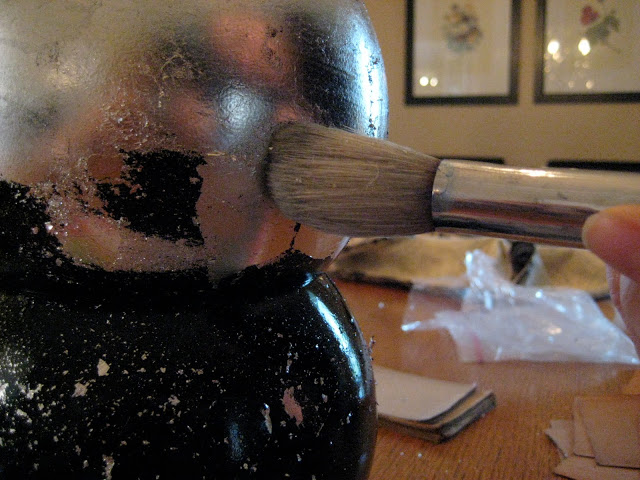
Once you have covered the whole object do a final sweep with your brush over the surface. At this point you can spray it with a laquer or varnish to seal it or just leave it alone. I love the whole aged and worn look so I chose not to seal it.
Easy peasy!
If you want to see more DIY projects, don't forget to hop over to my blog!
Thanks for having me here Linda!
XO Barbara
Come back anytime, Girlfriend!