
Let's Do It!
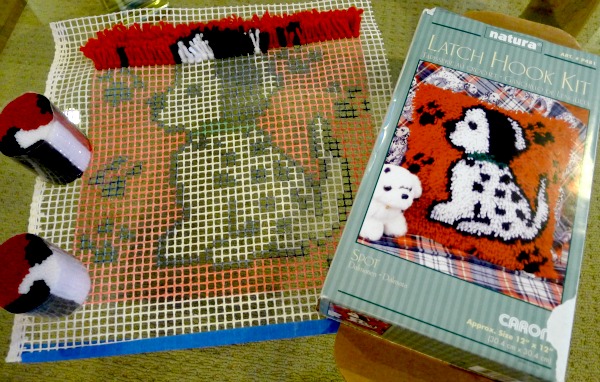
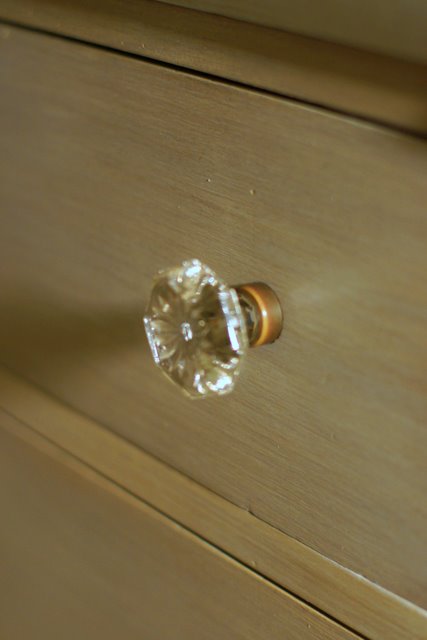
A latch hook kit that my daughter got at camp one summer....3 years ago. The camp was so expensive, that I figured this puppy is worth a couple hundred dollars, if you get my drift. She refuses to finish it, and I think it would make a fun pillow for the basement.
It could go with this one.
The latch hook "Fathers Day" kit I finished for her about 2 years ago. It needs to be made into a pillow.
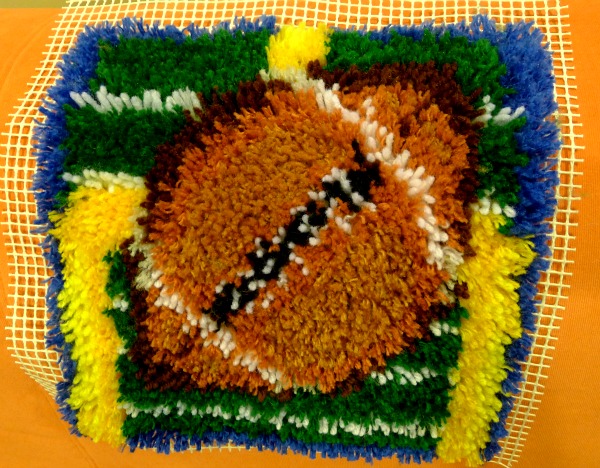
How about this one
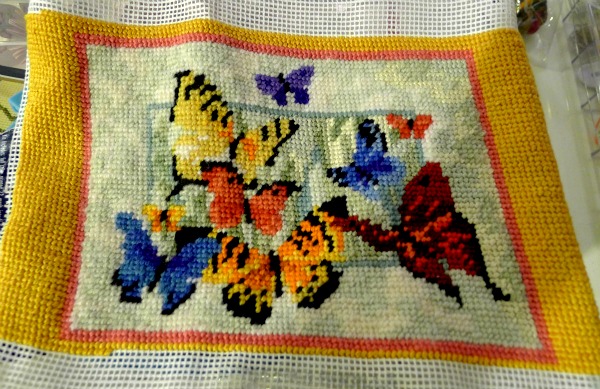
A needlepoint I started more than 10 years ago.
Speaking of needlepoint, I never did anything with these

The 6 needlepoint's I bought on Ebay and told you about here.
How about this
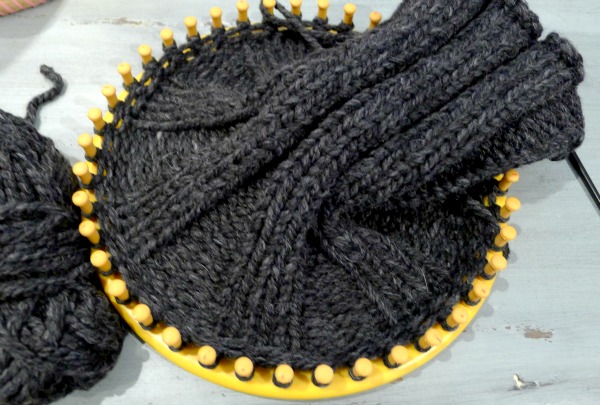
A round loom cowl that you wear in the winter

All I have to do is figure out how to get it off the loom. I should have bought one on Etsy, like this one
 |
| Available on Etsy |
But wait...there's so much more. This is my hall closet. My talent-less builder obviously could not figure out how to hang a bar.


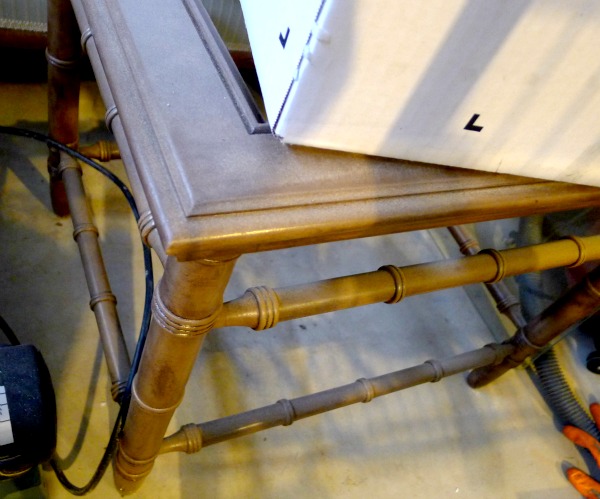
Faux bamboo tables just waiting for the right color of paint.
Maybe red like these?
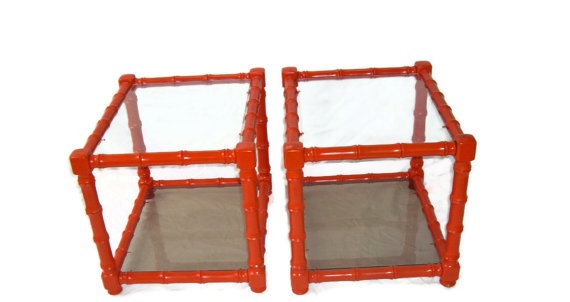 |
| Etsy Seller |
I also have a pair of these vintage Asian tables
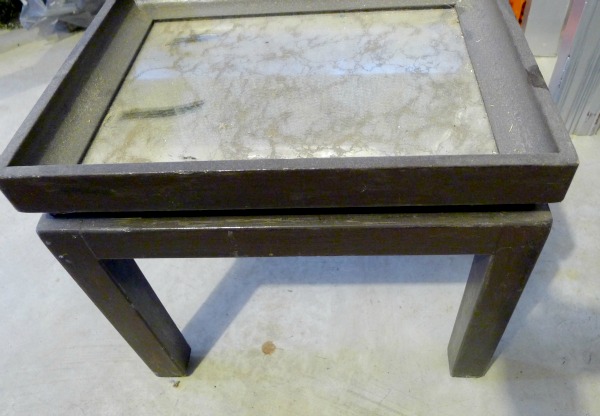
I love the old mirror. They just need to be painted.
Trust me, I could go on.
Here is the plan. I started a Pinterest board titled Project Procrastination...Finish the Unfinished. I will add anyone as a pinner who wants to join. Janet is already on board.
Work at your own pace. Once you have a blog post to pin from...go ahead. I don't care what kind of blogger your are, and I don't care what type of project you have been procrastinating.
NO JUDGEMENT...only support, and hopefully a laugh or two.
My personal goal is 1 project per month.
Who's with me?

One Room Challenge (week 3)
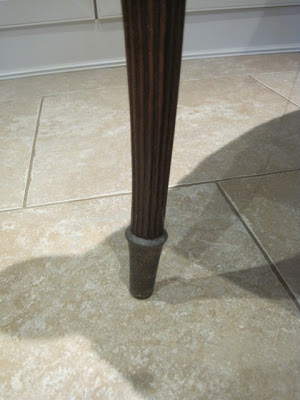
Hi Everyone, thank you for coming back! This is week 3 in the One Room Challenge. In case you are new here, you can start the challenge series here. This week, I think I made a fair amount of progress with my room. I managed to finish my side chairs. If you have not seen them, you can check them out here. This is how you last saw my dining room
I also finished the planks on the ceiling and I LOVE it!! Unfortunately, if you follow the #1RoomChallenge on Twitter, you know I fought hard to get the semi-gloss ceiling finish looking good. I love the way it looks here. However, working overhead on a ceiling when you are only 5'3" (on a good day) is a challenge. After the entire weekend of up and down on the ladder, I broke down and called a painter. He is here today putting the finishing coat on it. On the bright side, since I did ALL the prep work and one coat, it isn't costing very much (hey, a tip!).
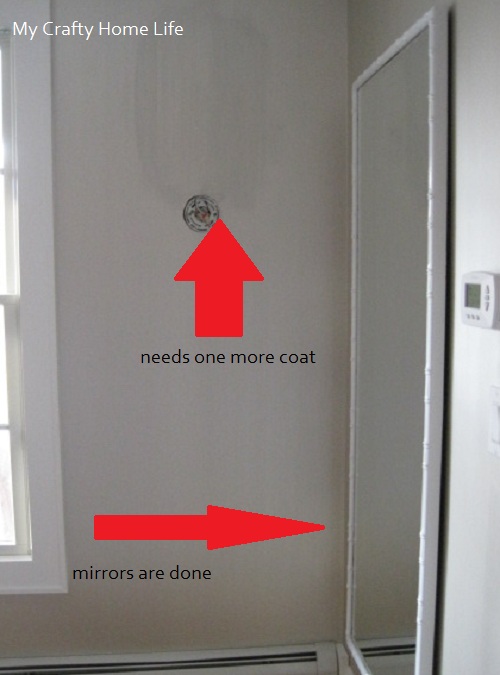
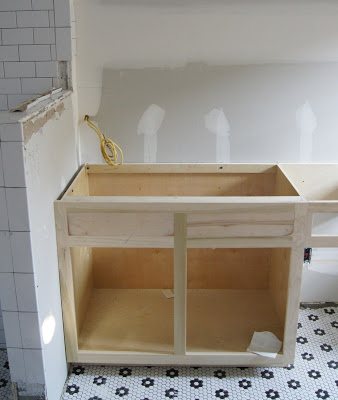
Moving on, this corner (before)

I also finished the planks on the ceiling and I LOVE it!! Unfortunately, if you follow the #1RoomChallenge on Twitter, you know I fought hard to get the semi-gloss ceiling finish looking good. I love the way it looks here. However, working overhead on a ceiling when you are only 5'3" (on a good day) is a challenge. After the entire weekend of up and down on the ladder, I broke down and called a painter. He is here today putting the finishing coat on it. On the bright side, since I did ALL the prep work and one coat, it isn't costing very much (hey, a tip!).
Moving on, this corner (before)
Now looks like this
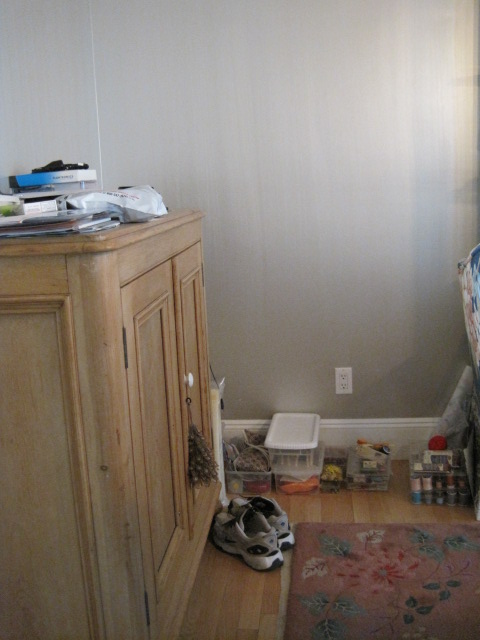
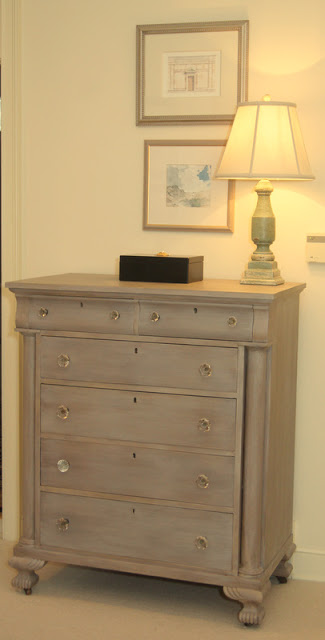
And this pine piece (before)
Has been relocated to another room, and replaced with this piece that I had
It is cream and could use a fresh coat of paint. Do I paint it cream again, or white?
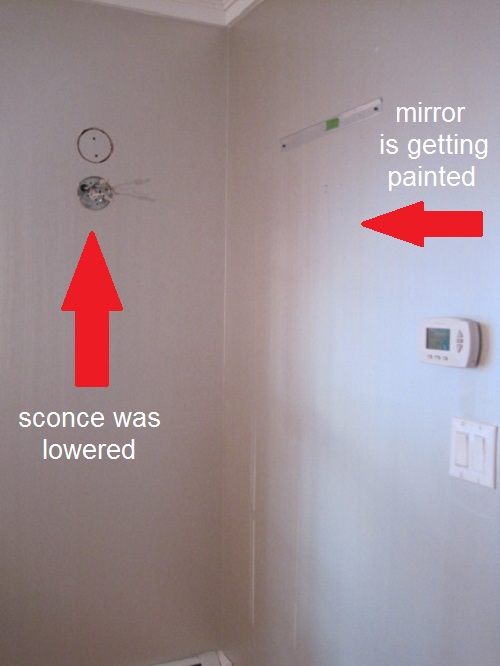
The sconces also got a fresh coat of paint. From this

To this

What color shades do you think I should do?
Remember when I asked you what color I should paint my lanterns? Well, here is a peak into the direction I think I am going

The 6 weeks are flying by and I am not sure how it is going to end. I can't wait to come back and find out. Thanks for checking in with my room, now be sure to make the rounds to the other rooms and see how they are doing. For week 4, go here
Saved By Suzy Nicole Scott Designs
Dutch.British.Love Kim Macumber Interiors
Trapped in North Jersey Rue de Emily
The Pink Pagoda refreshed designs
Nana Moon Shop Taylor Morgan
insideways House Four
Living Savvy (A Lifestyle Thing)
The sconces also got a fresh coat of paint. From this
To this
What color shades do you think I should do?
Remember when I asked you what color I should paint my lanterns? Well, here is a peak into the direction I think I am going
The 6 weeks are flying by and I am not sure how it is going to end. I can't wait to come back and find out. Thanks for checking in with my room, now be sure to make the rounds to the other rooms and see how they are doing. For week 4, go here
Saved By Suzy Nicole Scott Designs
Dutch.British.Love Kim Macumber Interiors
Trapped in North Jersey Rue de Emily
The Pink Pagoda refreshed designs
Nana Moon Shop Taylor Morgan
insideways House Four
Living Savvy (A Lifestyle Thing)
China Hutch ...after
Not that long ago, I told you about Me & Mrs. Jones. I reached out to her, via e-mail, for help with my china hutch. This is my hutch. I painted it a medium gray and silverleafed the back. I was not happy with it. it needed more depth and interest.
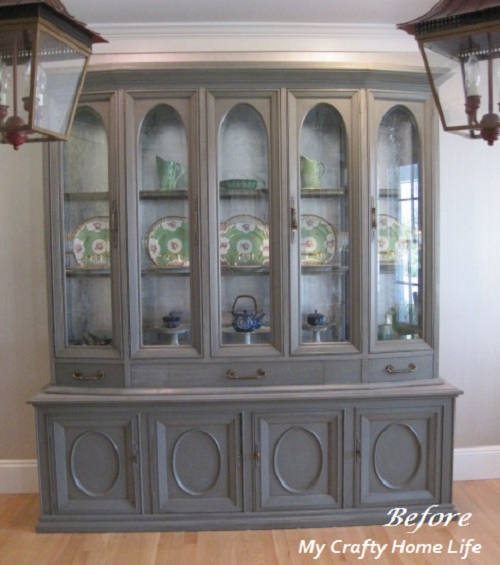
This is the real "before", long before I blogged.

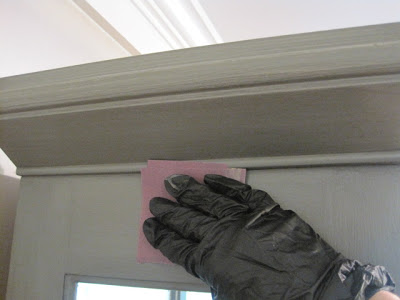
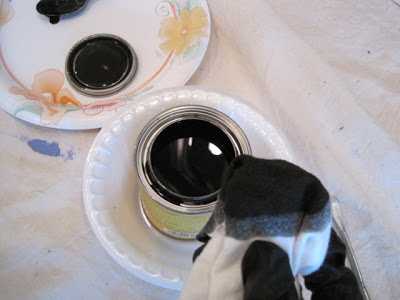
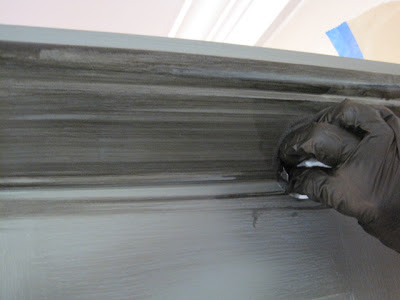
Stephanie (Me & Mrs. Jones) suggested the following...use this over the paint
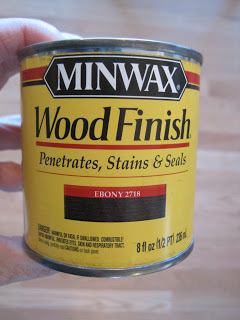
Here are the steps, first use 400 grit sandpaper to break the seal
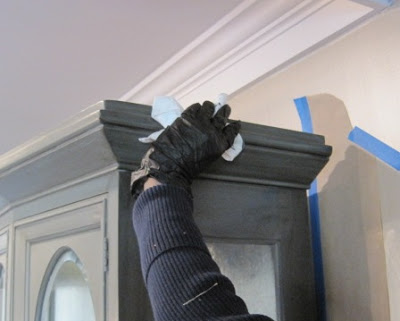
I repeated this one more time (2 coats total), and now I have this
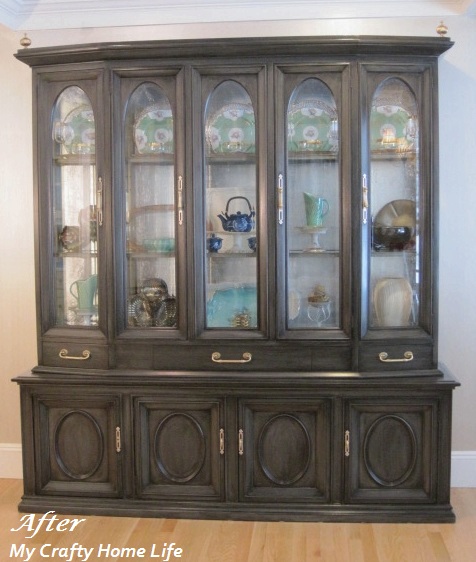
It is exactly what I wanted...and it only took ....2 tries! Sometimes things take me..... 3 tries, or is that 3 trips in the car? Thank you Stephanie! On average, how many tries does a project take you?
**Linking to***
Savvy Southern Style
Restore Interiors
{Primp}
My Uncommon Slice of Suburbia
Tip Junkie
Project Queen
Trash 2 Treasure
A Bowl Full of Lemons
Debbiedoos Newbie Party
DIY Home Sweet Home
Funky Junk
Be Different Act Normal
Serenity Now
The Spunky Diva
Fingerprints on the Fridge
2805
Chic on a Shoestring
Miss Mustard Seed
French Country Cottage
Saved by Suzy
Not Just A Housewife
This is the real "before", long before I blogged.
Stephanie (Me & Mrs. Jones) suggested the following...use this over the paint
Here are the steps, first use 400 grit sandpaper to break the seal
Wipe on the stain
Then, wipe off the excess.
It is exactly what I wanted...and it only took ....2 tries! Sometimes things take me..... 3 tries, or is that 3 trips in the car? Thank you Stephanie! On average, how many tries does a project take you?
**Linking to***
Savvy Southern Style
Restore Interiors
{Primp}
My Uncommon Slice of Suburbia
Tip Junkie
Project Queen
Trash 2 Treasure
A Bowl Full of Lemons
Debbiedoos Newbie Party
DIY Home Sweet Home
Funky Junk
Be Different Act Normal
Serenity Now
The Spunky Diva
Fingerprints on the Fridge
2805
Chic on a Shoestring
Miss Mustard Seed
French Country Cottage
Saved by Suzy
Not Just A Housewife
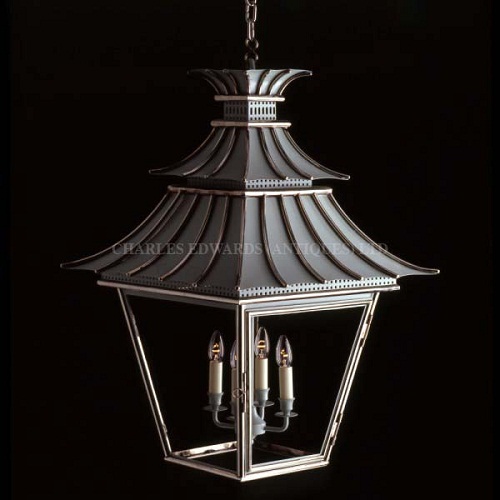
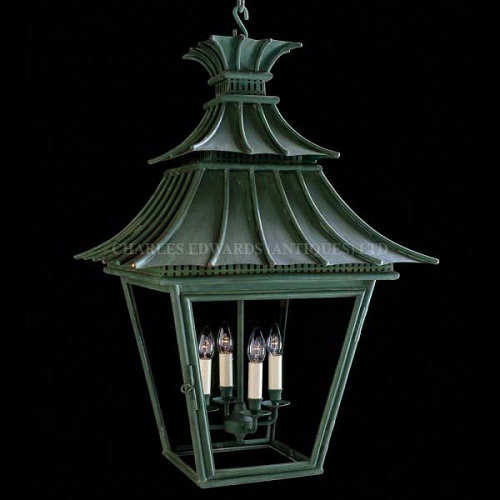
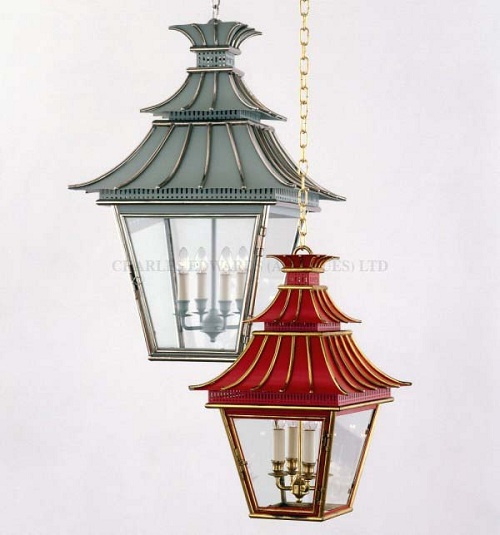
Lantern Color?
Hi everyone. I need your help! Yesterday, when the "One Room Challenge" was announced, I introduced you to my dining room. As I mentioned, I want to change the color of my lanterns.......only, I don't know which color to choose. This is where you come in....please tell me which color your like!
Here is some information about the client....me! I don't like "matchie - matchie". I like pieces that will look good in a room, but will be fine when the room changes...new paint color, etc. I am willing to take a risk (I think), but usually don't like "loud" things either. Not an easy client, or as my husband would say, "you try living with her".
Here is my lantern (dust and all)
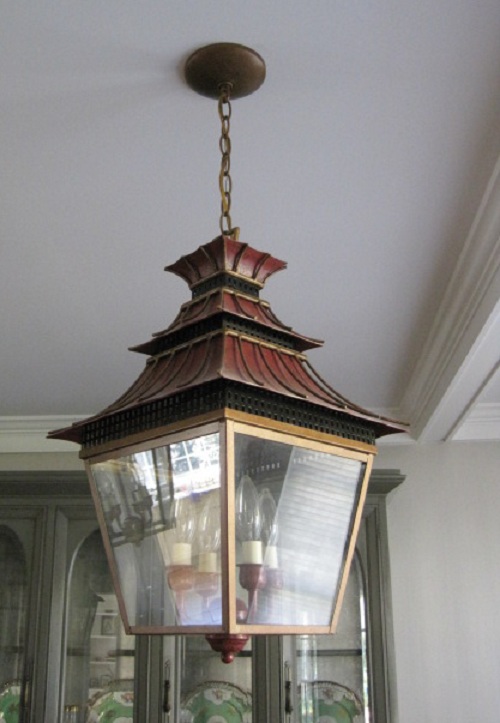
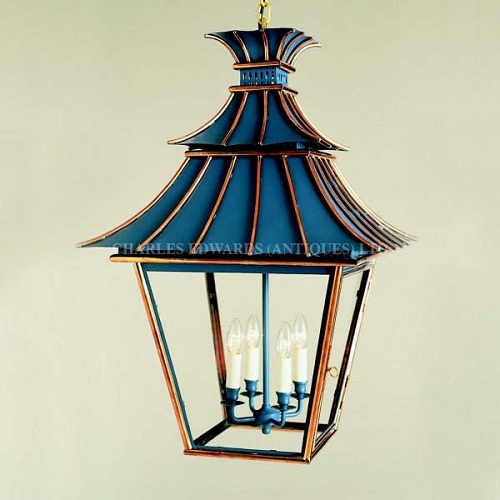
Here are some of the choices...feel free to suggest any additional color AND do you like the ribs gold?
 |
| (1) |
 |
| (2) |
 |
| (3) |
 |
| (4) |
 |
| (5) All lantern images, other than mine, are from here |
Can you see why this is so hard? Maybe not? What is your favorite color for my room? Thank you so much for your help...I know I can count on you!
Me & Mrs. Jones [Blog Love]
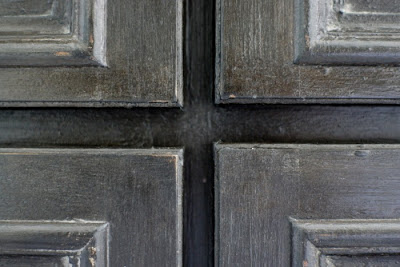
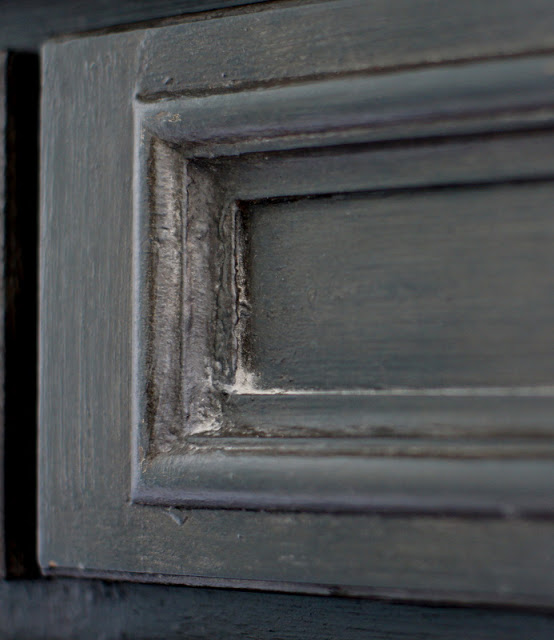
OK, there is no other way to say it...I wish I could paint like Me & Mrs. Jones! It is one of the first blogs I stumbled across....a long time ago. I have been in awe over her techniques from day one. What type of painted finishes? So glad you asked....Old World Charm...layer by layer. For example
This "after"
Started like this

Close up...the depth of color and layers are impressive!
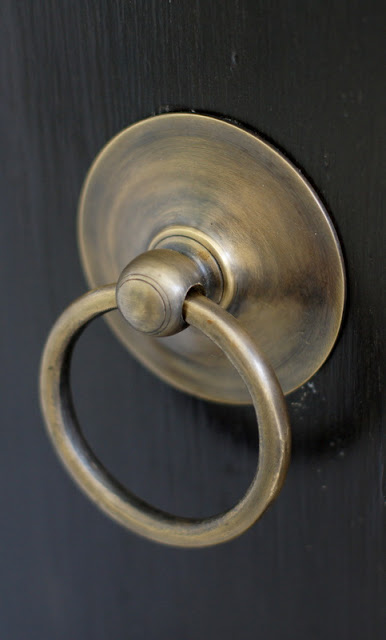
How about this beauty

And the close-up
You can't get this from an aerosol can.
My currentobsession favorite; from this
Layer, layer
More layers
To this
The "Tah Dah"
To read all about this transformation, go here. About a year ago, I painted my china hutch. I am not happy with the finish, it just looks flat (photo to come later this month). When I saw this finish, although I could not do THIS...I did send Stephanie (Mrs. Jones) an email asking for advice. Well, she was so kind and gave me all sorts of tips to add a bit of depth to my piece. I am finally getting around to the make-over. I hope to share the pictures soon. Thank you, Stephanie for taking the time!
This "after"
Started like this
Close up...the depth of color and layers are impressive!
 |
| Me & Mrs. Jones (this piece) |
And the close-up
 |
| Me & Mrs. Jones (this piece) |
My current
Layer, layer
More layers
To this
The "Tah Dah"
 |
| Me & Mrs. Jones (this piece) |
Upholstery 101 (week 3) (Day 12 of 31)
Welcome back to upholstery class. If you are new here, for week 1 - go here, for week 2 - go here
This is also day 12 of the challenge, for all 31, go here
This is where I left off (except the burlap is off too)
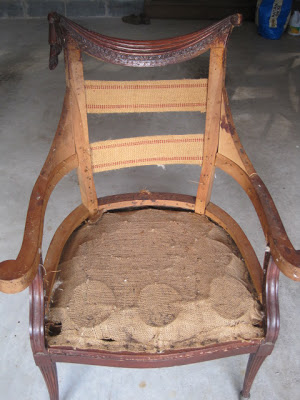
So, NOW is the time to paint the frame! If you are not painting, do your prep and stain work.
First, fill in all cracks and dents with wood filler


lightly sand the wood filler. Also, lightly sand the entire frame so that the primer will stick

I removed the cute feet and will put them back on after the frame is painted
Using my favorite primer (the glue was from week 2)


This is also day 12 of the challenge, for all 31, go here
This is where I left off (except the burlap is off too)
So, NOW is the time to paint the frame! If you are not painting, do your prep and stain work.
First, fill in all cracks and dents with wood filler
lightly sand the wood filler. Also, lightly sand the entire frame so that the primer will stick
I removed the cute feet and will put them back on after the frame is painted
Using my favorite primer (the glue was from week 2)
I spray primed the chair frame
Here comes the confession, I have not picked my fabric yet, so I cannot finish my paining. I am trying not to pain it white, but rather have a pop of color. So, I will reveal the painted frame next Wednesday, week 4. Hope to see you then.