
Stacey is Here
Stacey is here today....you probably already know her, but if you don't....another fabulous blog to follow, Friends. I met Stacey probably about a year ago? I have been really honest with her when she asks 'our' opinion on things. Thankfully, she still visits my blog.
I remember when she was asking everyone how they felt about using a strong accent color in a space. I think I told her not to do it....or, it was way too 'in your face' color for me.
Well, look how fantastic her accent color combinations turned out. I was definitely apologizing over this one. You can see all of this kitchen transformation here.

If Stacey's brave color choices were not enough to get me to visit....then seeing adorable babies and toddlers are! I love to look at yummy little sweet faces. What can I say, my kids are older and my eggs are cooked.

Hi everyone! I’m Stacey from the blog, Design Addict Mom and that’s Baby Ian above(well he’s not that little anymore). I am thrilled to be participating in Linda’s Summer series. Linda is so creative and undoubtedly a DIY Master, but I love how she always chooses to showcase other bloggers and their talents. Way to go Linda!
O.k., Baby Ian’s nursery has been evolving over time. Most of the items in his room are either thrifted or hand me downs from his brother(now 4 years old).
O.k., Baby Ian’s nursery has been evolving over time. Most of the items in his room are either thrifted or hand me downs from his brother(now 4 years old).

His dresser is a hand me down from his brother that I purchased from Land of Nod. One morning while sipping coffee and rummaging through a drawer, I happened to see the roll of duct tape and somehow, right there and then, this very inexpensive idea was born!

I love the chevron pattern of the tape and that the colors coordinate with the existing pieces and art already in the nursery. For. e.g., the orange matches the thrifted orange chair and ottoman(pictured in the background of the first pic), and the green picks up the Pantone like green of Baby Ian’s diy bookcase that I completed a while back.
For this project, I removed all the knobs from the dresser and cut square and skinny rectangular strips. The square strips were for the front of the knobs and the skinny rectangular strips were for the edges to give the knobs a finished look. I also realized early on that using scissors to cut the tape was not a great idea. It kept sticking to the scissors so I used my fingers instead. If you are type A and must have very straight edges, I am thinking using an x acto knife to cut the tape would work beautifully.

a close up of the after.

not too shabby, right?

This is the easiest diy ever! You can complete it while watching your favorite show . Oh and the duct tape was purchased from AC Moore, but I’m sure you can get duct tape at other craft stores, hardware stores, etc.
Thank you so much for having me Linda! Blessings and a wonderful day to everyone! XX
So glad that all of you had a glimpse into Stacy's talent. Go over and say 'Hi', she's great!
Thank you so much for having me Linda! Blessings and a wonderful day to everyone! XX
So glad that all of you had a glimpse into Stacy's talent. Go over and say 'Hi', she's great!


Meet Nicole, My Flamingo Friend
What can I say....I love her! My blogging friend, Nicole @ Live Laugh Decorate is here today. She is one talented and funny lady. She has also been a help to me with Florida questions.....because she lives there. I will definitely be meeting her since she is on the way to Ikea. Although, I would go just to meet her.
This is probably the perfect example of her work. You can read about it here...it's gone a little viral.

I'm sure you know her....but if you don't, you would like her. So go check her out after you see what she has put together for us.

When Linda first told me she was moving to Florida, I jumped off my chair, did the hallelujah dance (mixed with some dancehall moves of course) and screamed to the heavens. A blogger bestie moving to your home state is kinda like hitting the lotto.
Linda was quite possibly the first blogger to EVER comment on our blog and to offer up advice and a warm welcome. She hasn't stopped since so I think you can say I kinda love her like cooked food.
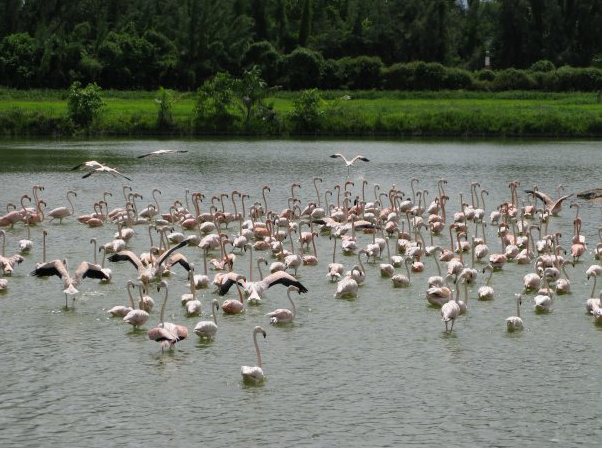
To extend her a warm welcome, I'm here to enlighten her on our dearest state bird, the flamingo.

For her arrival next year, I'm pulling out all the stops. First, I've asked the Naples town council to line I-75 with pink flamingos. I've also asked the folks at the Hialeah Park Race Track (a place once filled with flamingos, and whose logo includes said birds) to invite her down for a flamingo inspired day at the races.
Well, okay, I don't really have that kind of pull, but I'll at least send them a suggestive Tweet or 10.
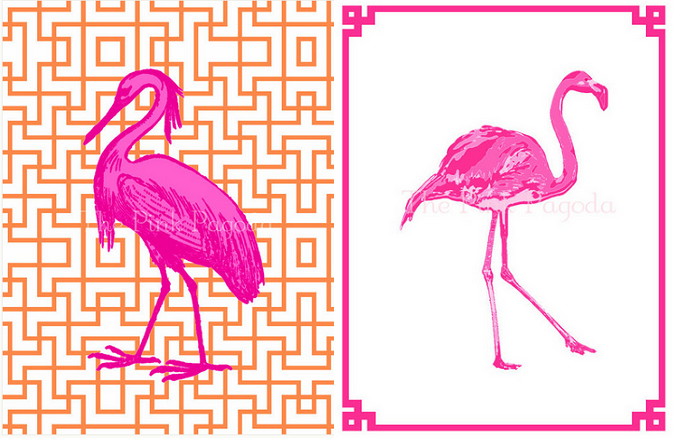 |
| The Pink Pagoda |
Believe me, it's a mandate for all local designers and we followed suit recently out of fear we would be face deportation to places like I don't know, New Jersey?
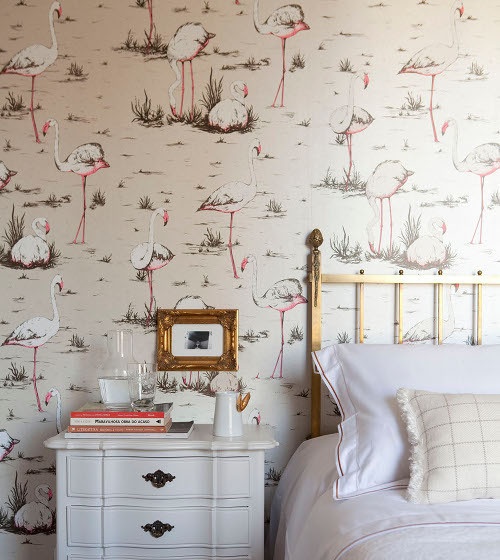
To get started, pink flamingos should be placed in every room as she stages her home for sale. I mean, what better way to remind folks who have to shovel snow, that you're moving to place sans snow?
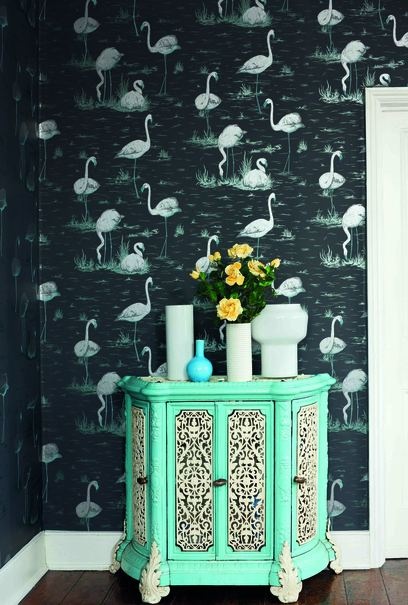
Here are some spaces to get her motivated.

Yes, that Flamingo is facing the ocean. Who needs to eat at this fab dining table? He is ready for the beach in no uncertain terms.
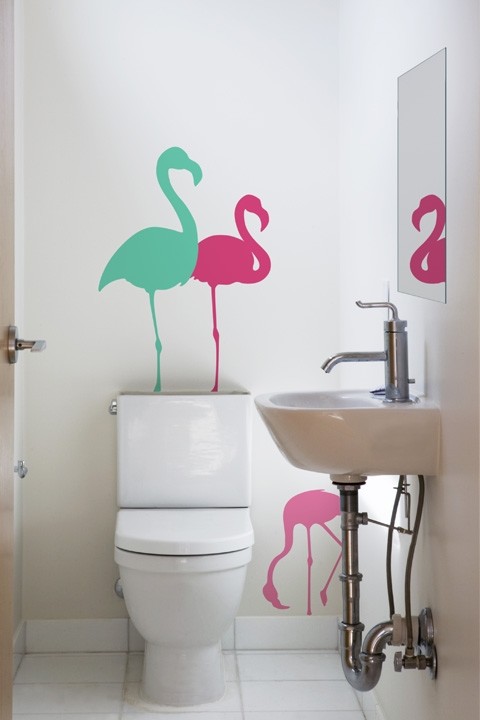 |
| Eclectic Decals |
 |
| via Pinterest |
Reminded even more as they take a soak in this very pink and fabulous claw foot tub.
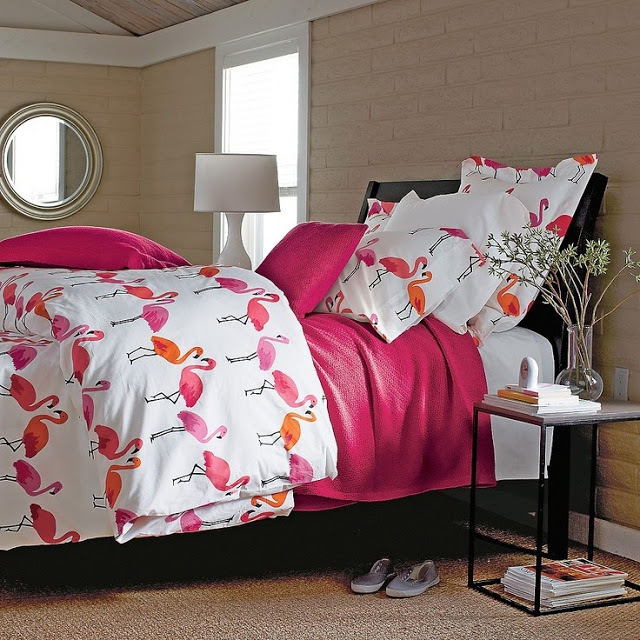 |
| The Company Store |
What? You feel the need to take a nap now and again? Well please do so with some flamingo on the brain. Sleep tight.
 |
| Via The Gilded Mint |
 |
| Via Indie Girl Hair Ties |
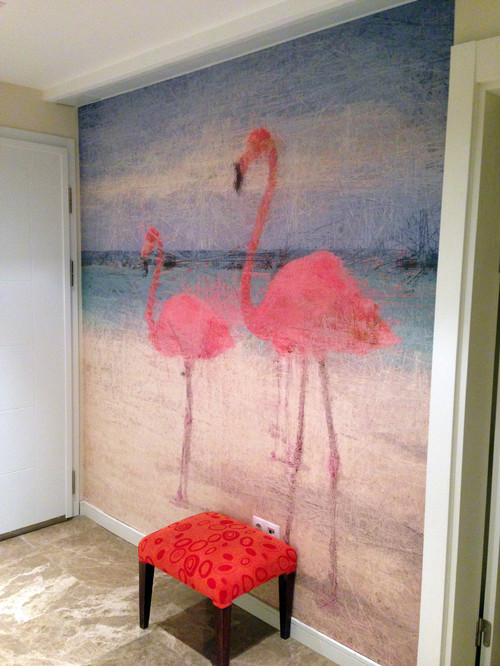
Oh no! You weren't happy with all the flamingos? So sorry to hear that but please sit here on this lonely bench and let us cheer you up before you go.
Thanks so much for having me over Linda! Hope you've enjoyed my homage to the wonderful flamingo, a bird you'll be seeing a lot of in the next year.
Hope you're also getting some much needed rest this summer and packing, albeit ever so slowly.
Meet Ingrid
I have a new friend for all of you to meet......unless you already know her....then you can just see your friend's new idea! This is Ingrid from the blog Now At Home Mom.

Ingrid is one crafty girl. Check out her craft room.

Can you believe how beautiful and organized this space is? How much creating could we do in this space....I definitely have craft room envy.
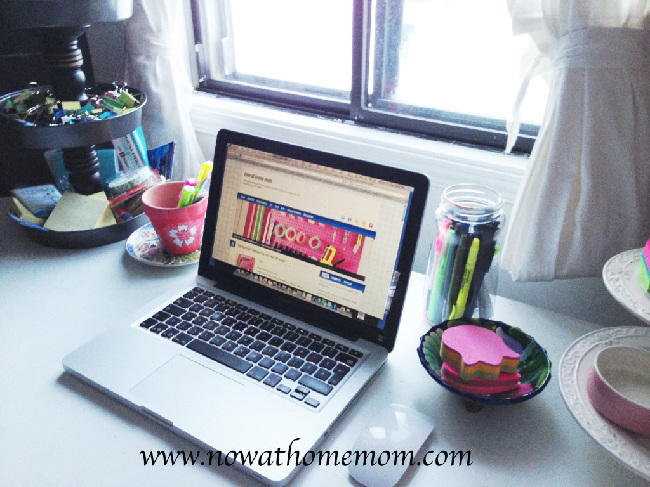
To see more of this room, go here. Welcome Ingrid!

Ingrid is one crafty girl. Check out her craft room.
Can you believe how beautiful and organized this space is? How much creating could we do in this space....I definitely have craft room envy.
To see more of this room, go here. Welcome Ingrid!
Hi everyone,
my name is Ingrid and I blog over at Now At Home Mom. I am very happy to be here with you; 'Calling It Home' readers sharing this small project. Linda has great taste when it comes to décor, I remember discovering her beautiful blog through the 'One Room Challenge' series and I was immediately impressed with how she was decorating her entrance. Thanks for having me over Linda.
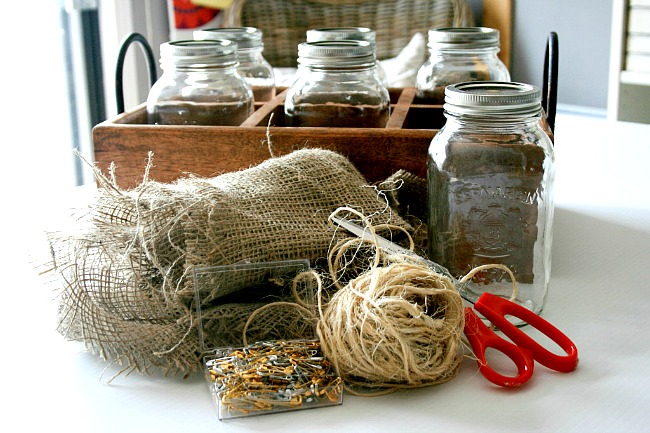
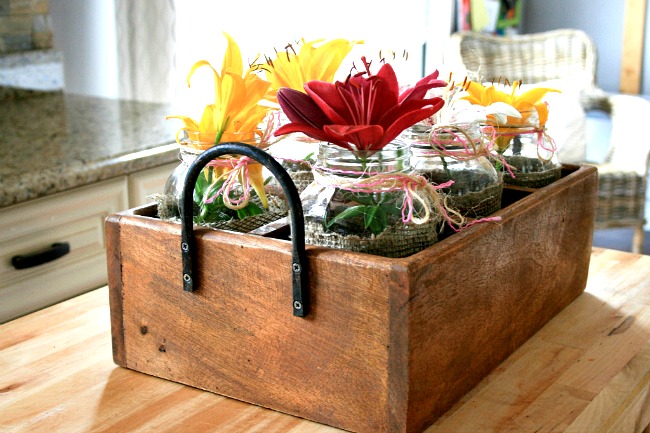
I love decorating my home with pretty things that make me happy. I also love making my home comfortable with simple DIY projects. Please let me share one of them with you: a centerpiece
These are the supplies I used :
- 6 mason jars
- a wood crate
- burlap
- twine
- fresh flowers (or fakes ones if you prefer)
- scissors
- glue gun
I am never in short supply of these items. Okay ... maybe just the flowers:
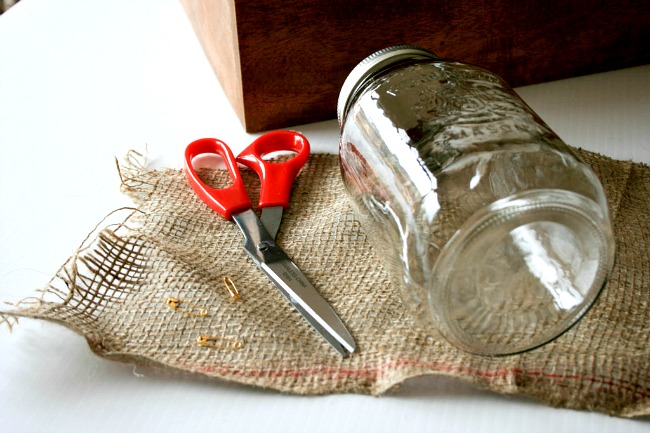
Over a week ago, I was having two of my best friends over for lunch and I needed a centerpiece. I thought of just adding flowers to some mason jars but what's the fun in that? So ... I remembered admiring some projects on different blogs and how nicely they decorated them. I always have burlap and twine around so I gave it a go and added my personal touch to them. I started by wrapping the burlap around the mason jar to cut it to size:
once cut, I wrapped it around:
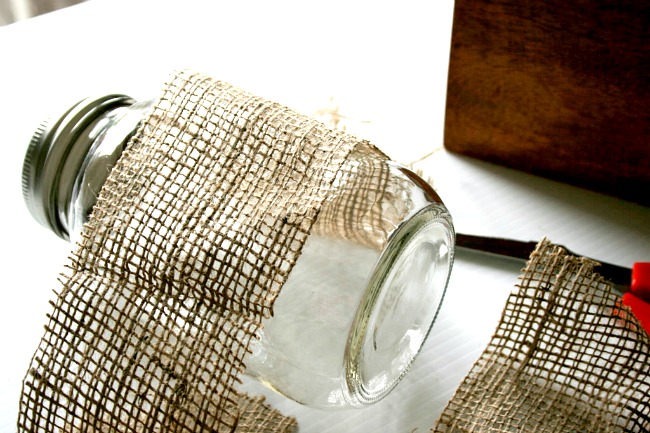
I then glued it. At first, I tried securing the burlap with safety pins but it didn't work, it just kept unwrapping. This is when I had to take my trusted friend out: my glue gun

I then removed the excess burlap with scissors:

I used freshly cut flowers from my front yard, added twine around the top of the mason jar but something was missing

for inspiration, I went through my craft supplies and found pink twine. It was a good idea and loved how lovely the pink twine popped against the burlap:
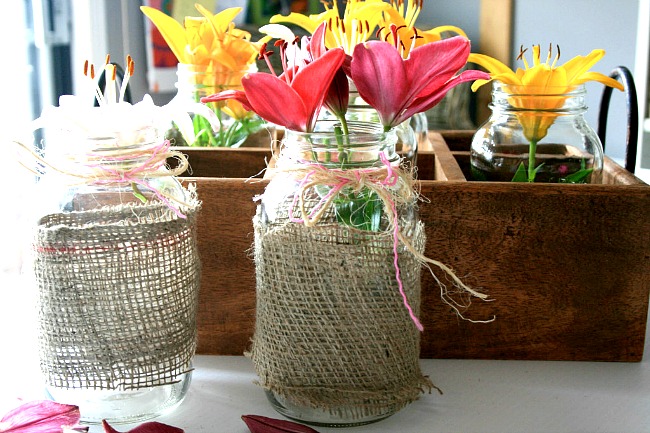
I didn't build this crate, but what a great DIY project that would've been. I already had it and got it on sale from Home Sense weeks ago. I love this crate because I can use it in my kitchen or living room when needed:

See how pretty these mason jars turned out, just by adding twine around and a pretty flower to each one of them softens the burlap. I didn't work too hard at putting this centerpiece together but my friends loved it, they said the pink twine is so me. I was glad they liked them and that we had a great time:

I left the mason jars inside the crate untouched on top of my pantry, except for the flowers of course so I can use this centerpiece again very soon. After all, summer is relaxing and is all about keeping things simple, isn't it ?
I would love it if you stop by and say hi over at Now At Home Mom anytime! Thank you very much Linda for having me over at your lovely blog today

Meet Beth
Are we having fun connecting with all of the talent out in blogland? I know I am loving the creativity that is abundant within all of you. Today is another day to socialize with fellow blogger Beth from designPost Interiors. Many of you may already know her, but for those of you who don't....you are in for a treat.
Beth is a busy mother of three and a designer. Somehow she manages to balance both sides of her life...that is my definition of talent. This one is for all you 'Baby Mama's'....check out Beth's latest addition.
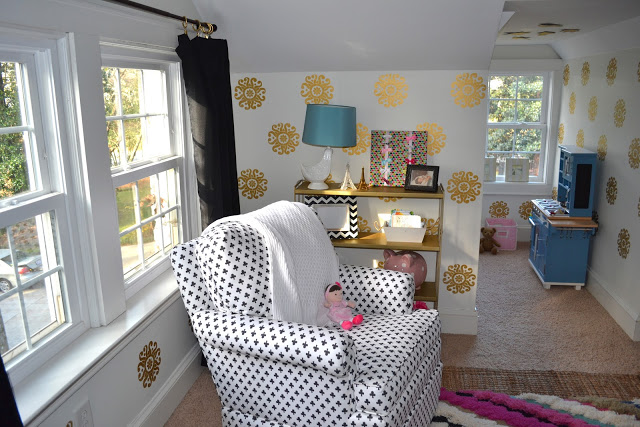
This is her daughter's nursery. You can see more of this space here. Trust me, it's good.
~
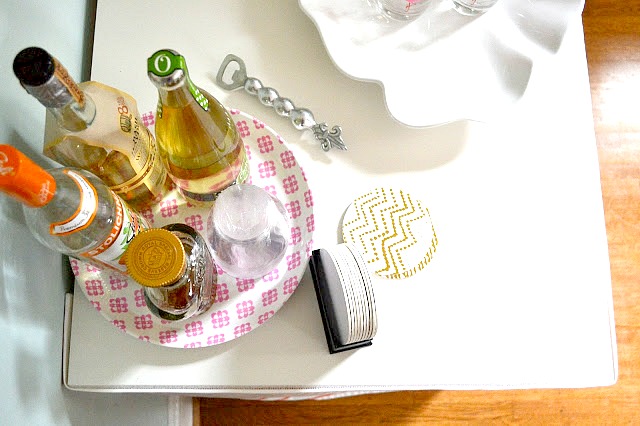
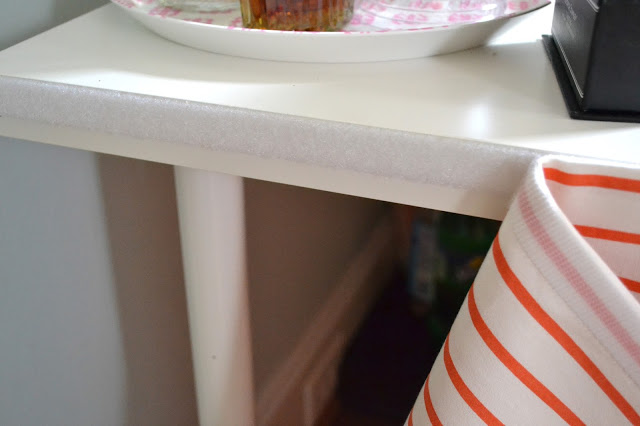
Hi Calling it Home fans- Beth here from designPOST interiors! Although I decided to take a little bit of a hiatus from blogging this summer, I couldn't pass up the chance to hijack Linda's blog! Her style and awesome DIY's always amaze me and on top of that she is one of the warmest and friendliest bloggers out there. I am sharing my skirted bar table which is a DIY, although you don't have to have Linda's skill set to accomplish your own, and it is my nod to Palm Beach chic- a little ode to Linda's move to FL...
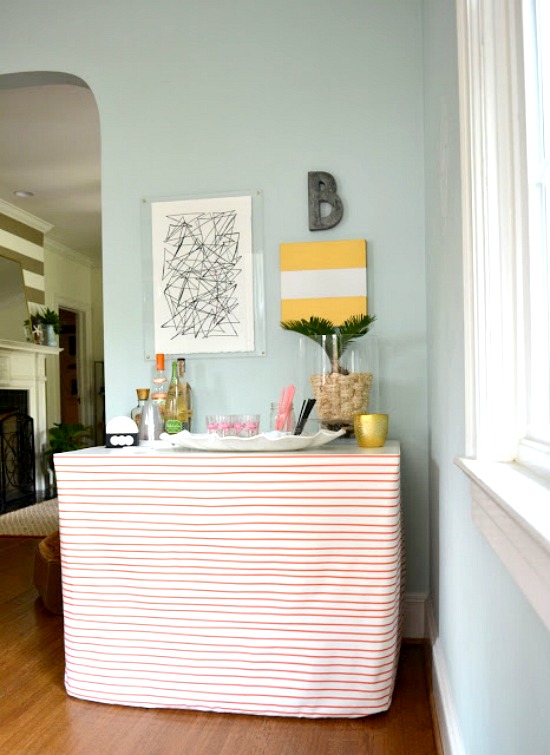

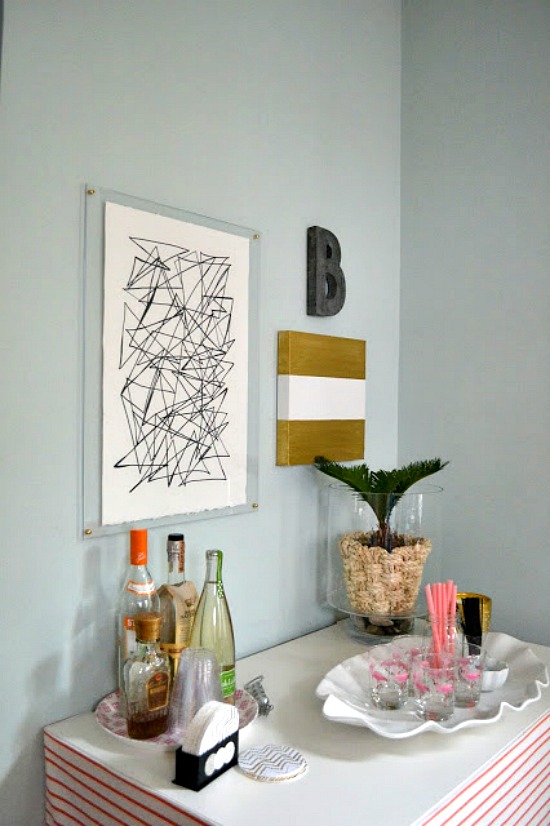
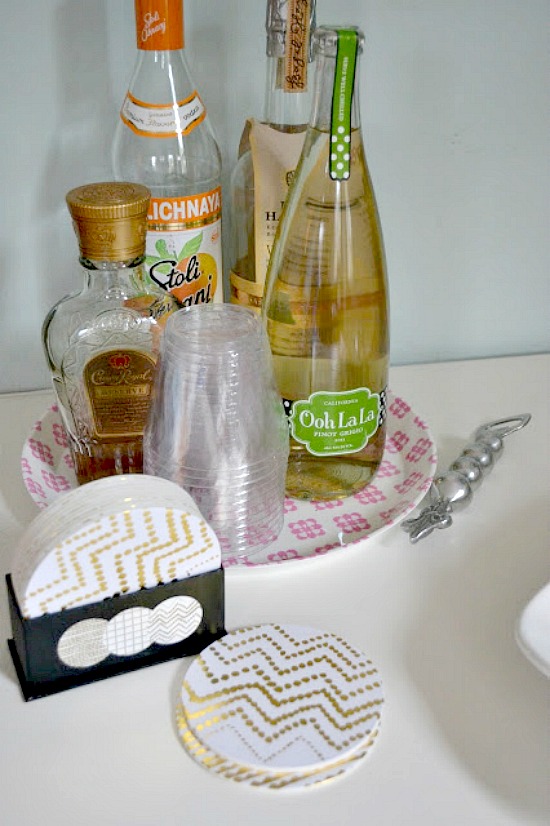


This bar could not have been easier to concoct. Here are my supplies:
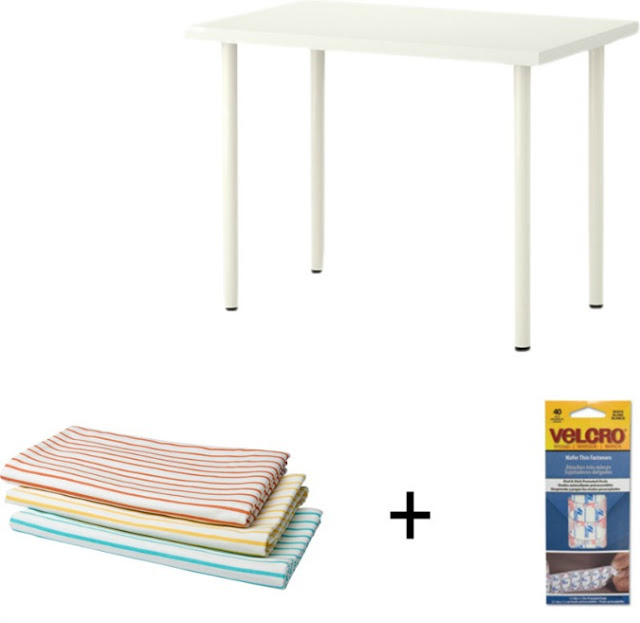
I used the Linnmon Adils table from IKEA as my base and a Glanta tablecloth.
Folded in half, I did not have to sew or hem, the tablecloth fit perfectly around the table.
I simply used adhesive velcro strips along the edge of the table and the fold of the tablecloth to attach it.
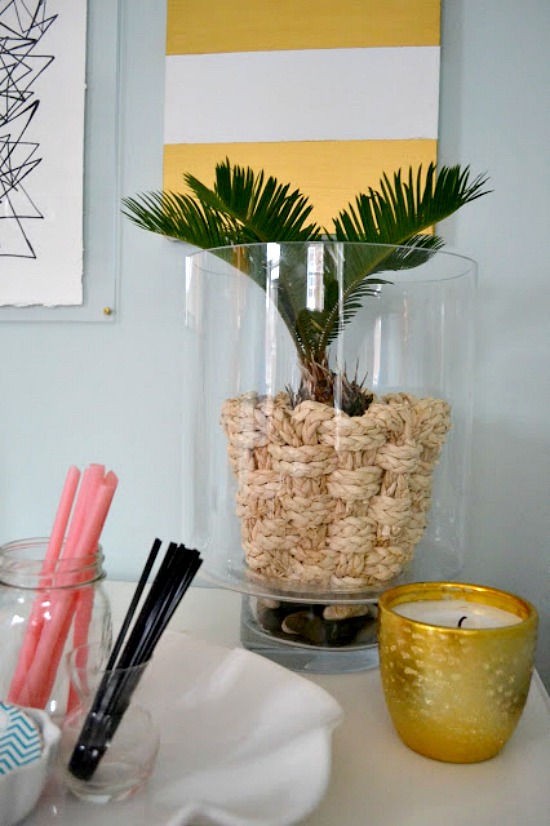
It also provides the perfect hiding place for extra bar & party supplies.

Thanks for letting me visit Linda and I would love to have any of your friends come visit me
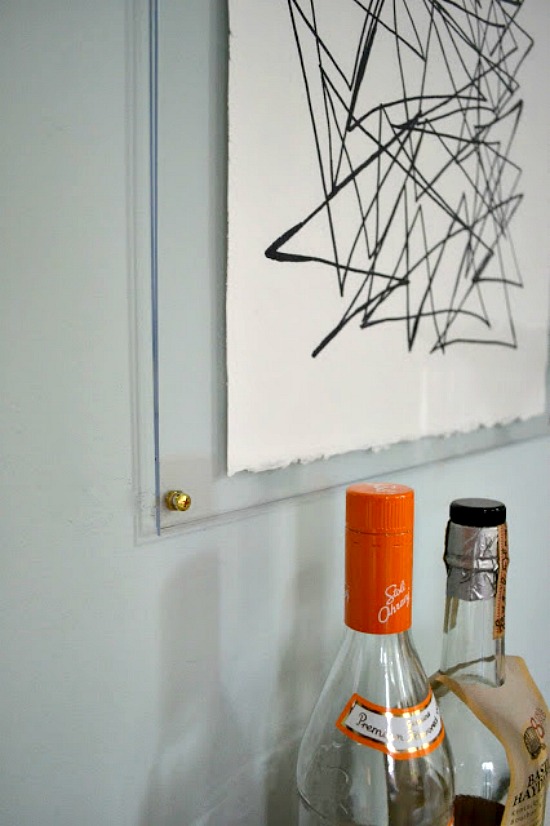
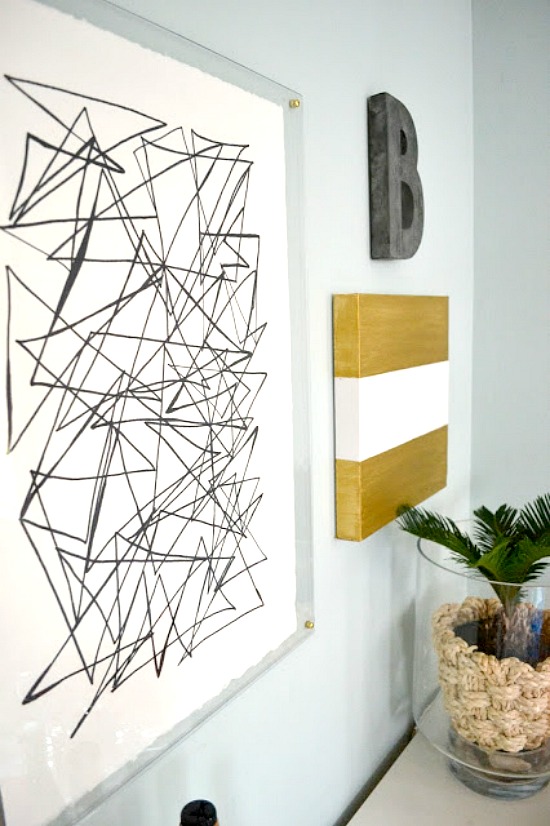
I will sharing more details on my bar over the next couple of weeks, including my DIY "art"
and my ideas on what makes the perfect (-looking) bar.
I will also share one more easy skirted table I whipped up...
it's another DIY for the patience-impaired!
xoxo,Beth
Meet Ozana
Well, when I asked you if you wanted to join in on the summer fun, I had no idea that message would reach Romania! I can't even tell you where Romania is on a map...ok, that's a lie...I know the general area . Let's go meet a new friend on the other side of the world...because that's where Romania is...right?
I would like you to meet Ozana.
I would like you to meet Ozana.
She is a fabulous DIY-er and she really knows what she is doing. Take a look at this adorable room she created.
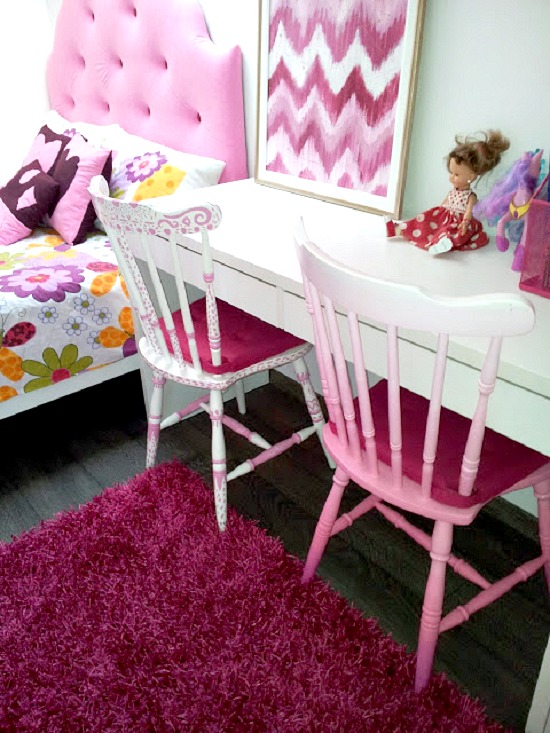
Are you seeing that ombre chair? What about the pink headboard?
I think she even made the art....I can't remember.
Ne pare rău Nu-mi amintesc dacă ați făcut arta, Ozana (Google Translator)
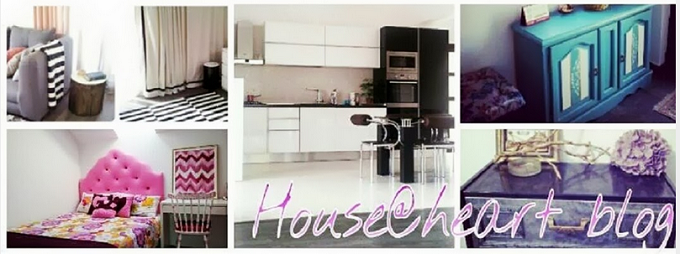
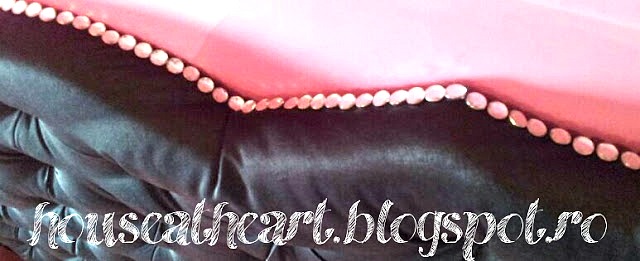
Hello, Calling it home readers!! I am Ozana from House@heart blog in Romania, and I'm super-duper-excited to get to know you! This is my first-time collaboration with another blog, and I can sincerely say that I am so honoured that Linda let me share one of my diy-s with you all!! The first time I noticed Linda was through her One Room Challenge series and fell in love with her style: collected, personal and elegant!
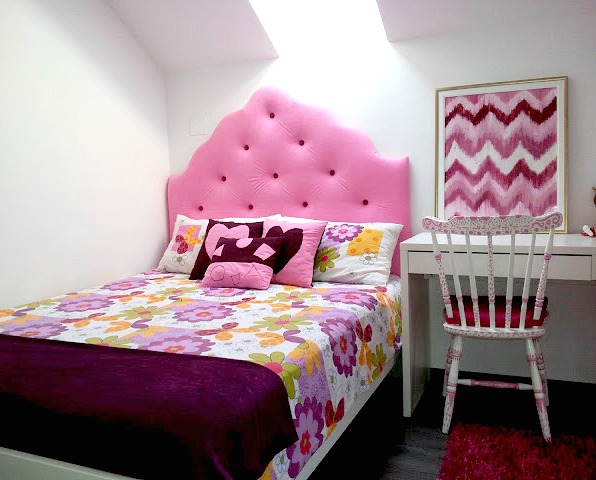
When it comes to doing it myself, I don't hold back and, having moved to our new house less than two months ago, I have a lot of work!! Today I am showing you the headboard I did for our master bedroom. I was going for a thick headboard and diamond tufting is a pain, but sooo rewarding!! I used a black drapery fabric, with a bit of sheen, but not as much as it shows in the pictures.
Here's how I did it:
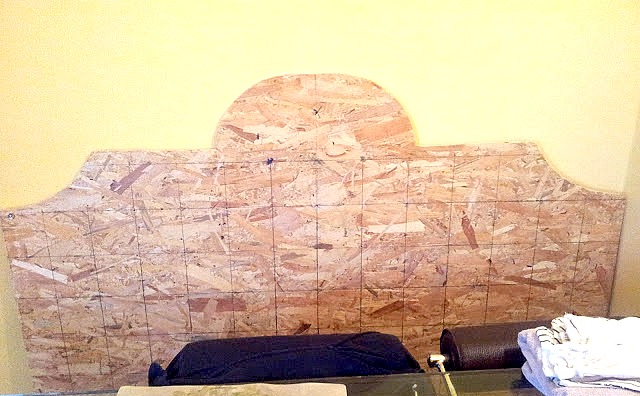
1. Cut the particle board to the size and shape desired. For this I used a piece of cardboard to trace half of the shape, and then flipped it and used it to trace the other half. This ensures you have a symmetrical headboard. Then drill holes where you want the buttons to go. I measured 12 cm squares, and drilled holes in order to create the diamond tufts:
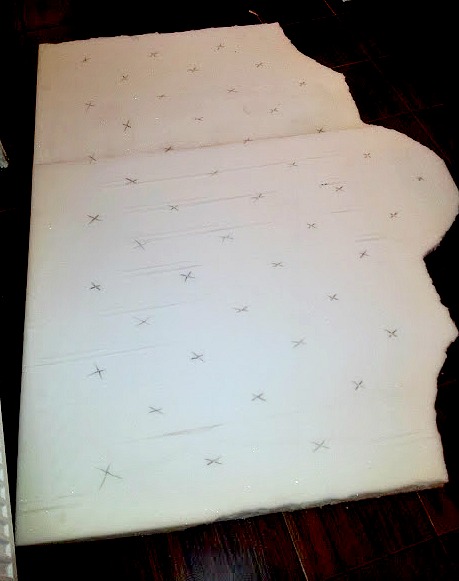
2. Glue the foam to the board. Then, using a cutter, cut the foam following the shape of the board.

3. Pass the needle through the board and foam, marking the foam where the holes are.
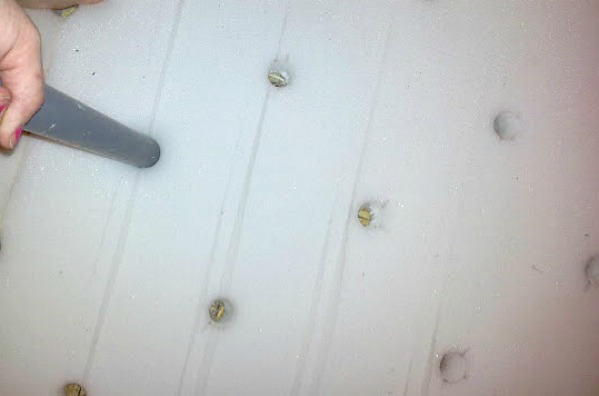
4. Using a plastic pipe I cut holes in the foam, be sure to use a slightly bigger diameter than the buttons. Hard work here, my whole body ached after this step!! My headboard had 47 buttons!!
5.Now it's time to lay the padding on the foam. I chose a very thick padding, it worked great!!
6. Be sure to iron your fabric and then lay it on top of the padding. Now, use an upholstery long needle and upholstery thread, starting from behind and through the hole; pass the thread through the button, then go back through the hole. This is frustrating and time-consuming, as you're going in blind, but suck it up and continue!! Staple after pulling really hard so the button touches the particle board!! Sooo hard!!:(( Staple in different directions and use a hammer to be sure the staples hold the thread good.
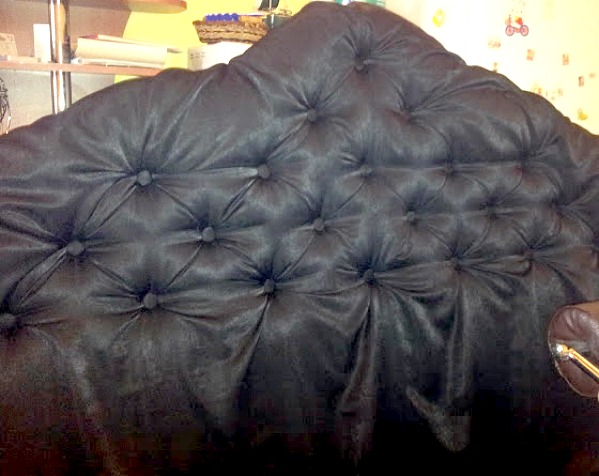
Work horizontally and start from the middle. After you finished doing the horizontal buttons continue with the ones in between, thus creating the diamond tufts. Use your hands to create the diamonds, the fabric helps you a lot, as it wants to sit in a diamond shape!!
7. Then staple the padding and the fabric.
Done!!
Or:
8. Add those beautiful diamond-like nails. I would have liked to add them to the front of the headboard, but , because I chose a very thick foam (10 cm) they didn't work nicely. So I chose to nail them on the width of the particle board. I love them, they are just like a little hidden surprise!!
Here is the finished diamond tufted headboard:
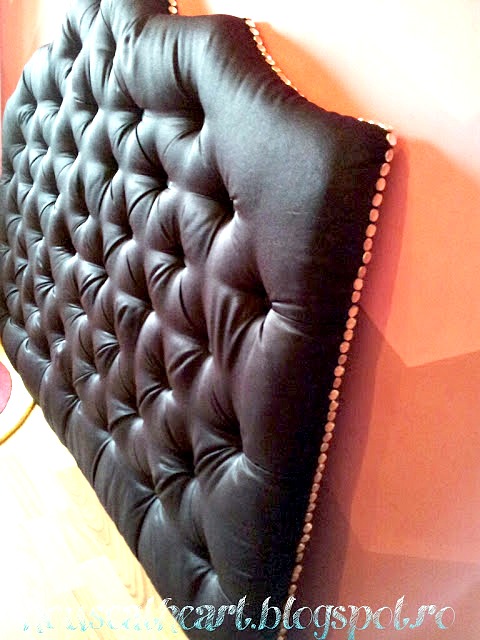
And here it is up in the bedroom:


For more pictures of the bedroom, click here: Master bedroom reveal
Thank you, Linda, once again, for having me on your blog, it is indeed a happy moment for me, and I hope you and your readers liked my diy headboard. I love doing different projects for my house, and I have done a few, because this way I feel the house we now live in slowly transitions into a real home, our home...
xoxo,
Ozana
Meet Stephanie
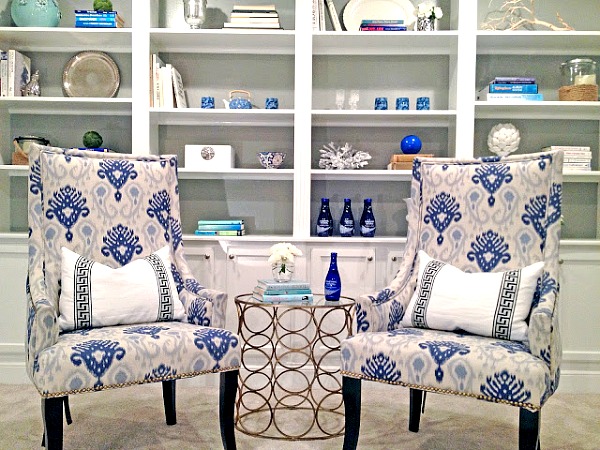
If you don't already know her, I would like you to meet Stephanie. She has an amazing eye for detail and puts together rooms like this one.
And then she layers it further.
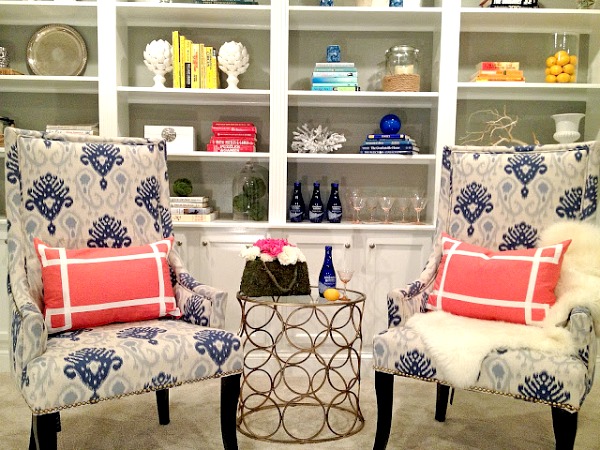
I know, she's really good.
Hi there Calling it Home readers! Stephanie Kraus here from Stephanie Kraus Designs!
Wow! I'm a huge fan of Linda's blog and her One Room Challenge series. So you can imagine how beyond honored I am that she chose me to include in her blog party (yeah me!). So I thought I'd share a mini before and after with you.
Okay, I really needed to spruce up my entrance. I was tired of the current look.
Here's the before

ehhh.
And here's the after...

Ok besides the top of the chest, are you able to notice the difference between the two photos?
Well, I sprayed the hardware with this guy.
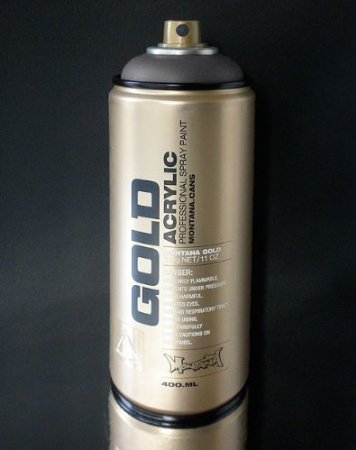 |
| here |
And I fell in love with my entry chest all over again:)
Even my husband was amazed by the transformation and he doesn't know jack when it comes to design:)
Btw, he also asked me why I wasn't just polishing the hardware up with a little Brasso ?? (no way was that going to make this kind of impact!!)
Then I added the artichoke lamp from my office. The white west elm tray, some mercury glass and pink hydrangea from my garden and it all worked wouldn't you say?
Before
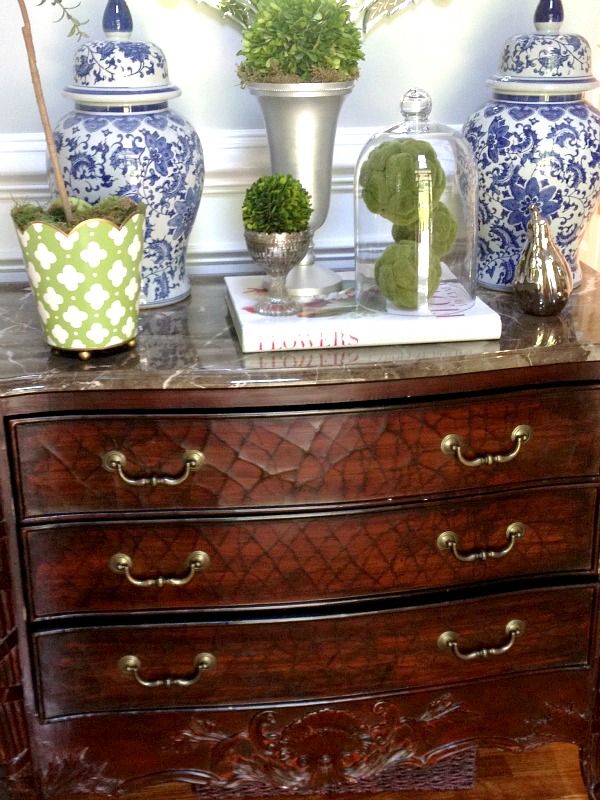
After

So take a look around your house --don't have time or want to paint out your furniture? Why not just spruce up the hardware with a little brass spray paint? hmmmmm.... what else can I transform???
Stephanie, you did an amazing job. Thanks for sharing this great fix with us.
If you want to pop over and say 'Hi' to Stephanie, you can visit her here.