
Planter Planning
Does this ever happen to you?
Once spring starts, you are feeling happy and ambitious with your container gardening plans. Online you go......in search of the perfect pair of planters (Peter Picked a Pepper)....and you find them!!
So excited am I...are you...into your virtual basket they go
AND they are 'sold out'!
This has happened to me too many times to count. I have learned that late winter is the time to plan your outdoor living items....planters in particular.
Since I have no idea where or what my next patio will be, I will be refraining from purchasing, but dreaming and planning away.
I love everything about the entrance to this London flat.

And here ya go.

Thos. Baker Planter / Smith & Hawken Planter
Wayfair did it again with this beautiful maintenance-free version, or this one. (note: this has been updated since the original planters have been sold and the post is several years old).
Learn from my mistakes and start your planter planning now. How do you like those Photoshop skills? Did you notice the color of the prices match the different planters?
#ThingsToEntertainMeLateAtNight
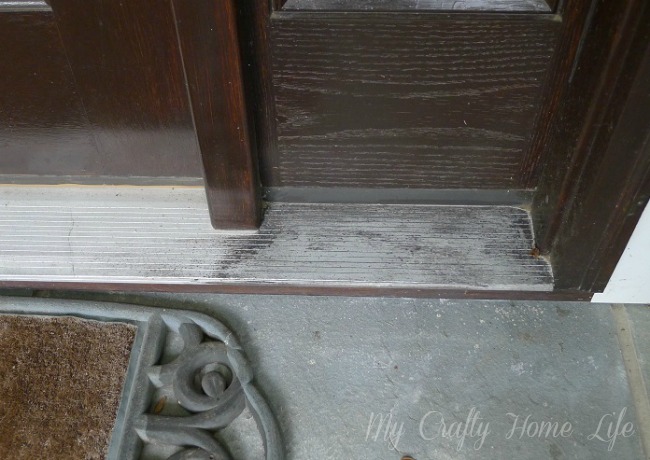
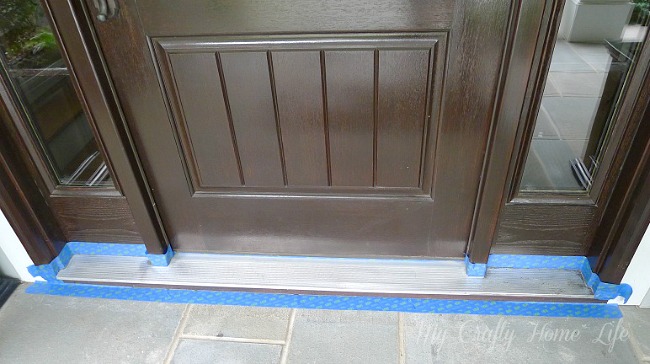
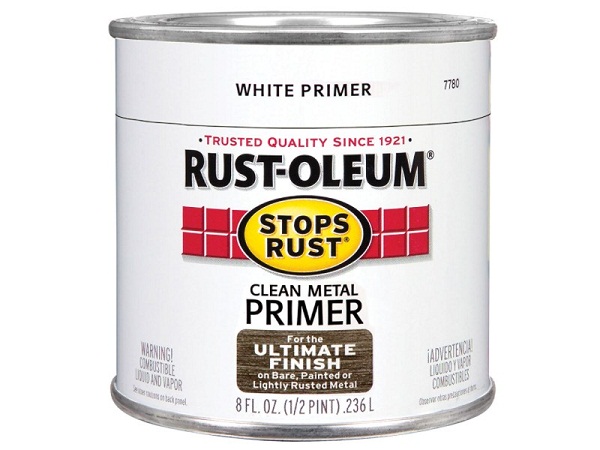
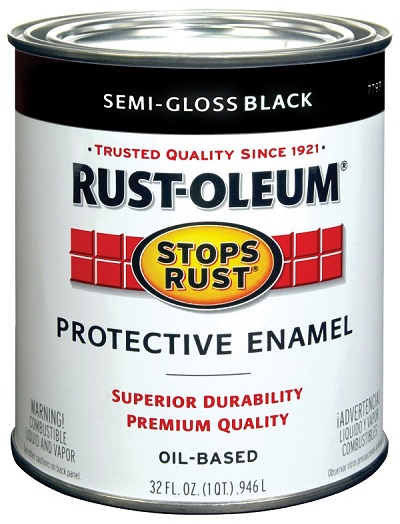
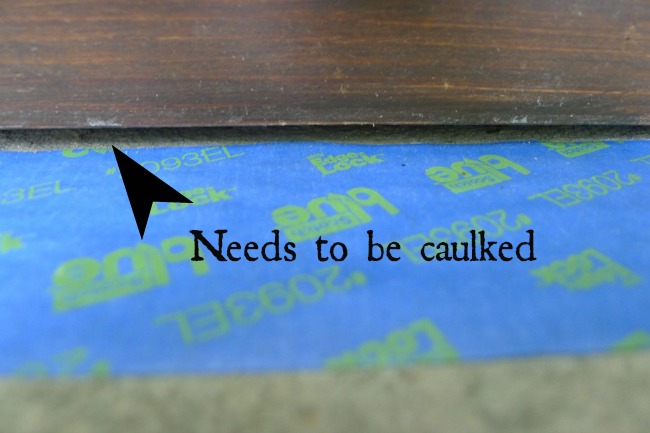
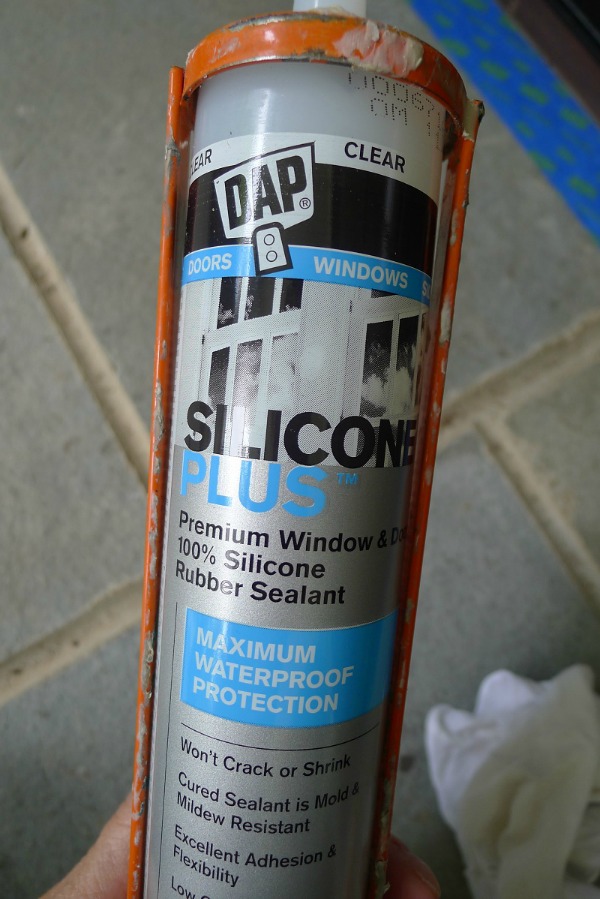
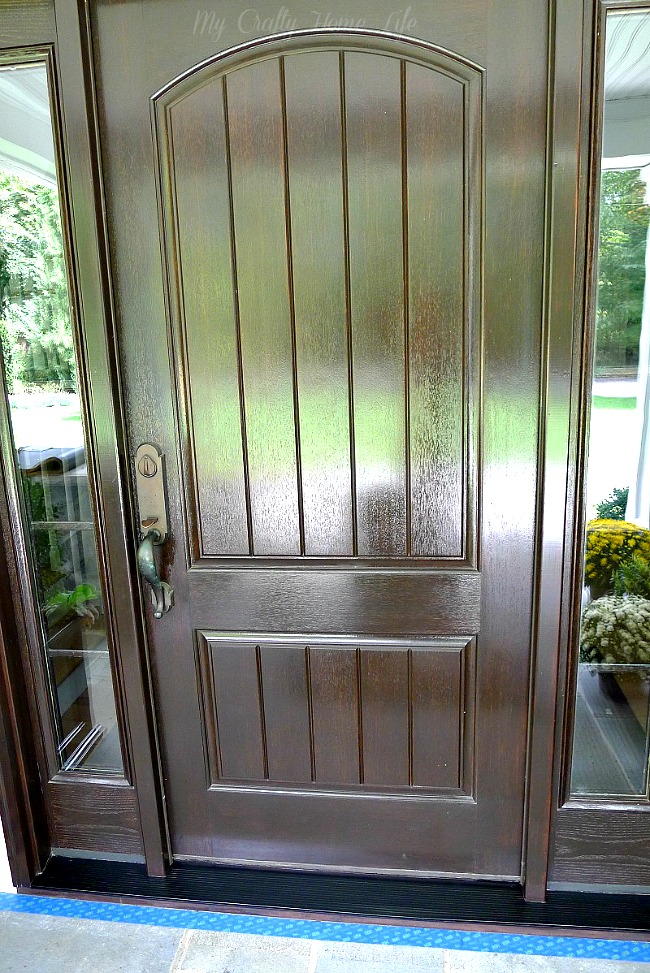
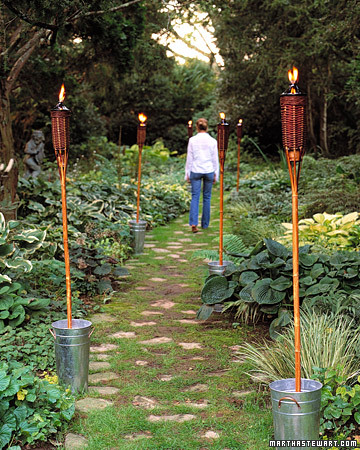
Paint The Ugly Threshold


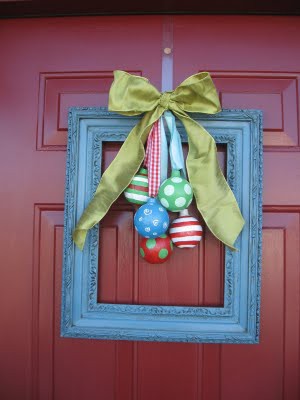
Deck the Door
Now this won't take long...the tutorial is here
 |
| Source |
 |
| Source |
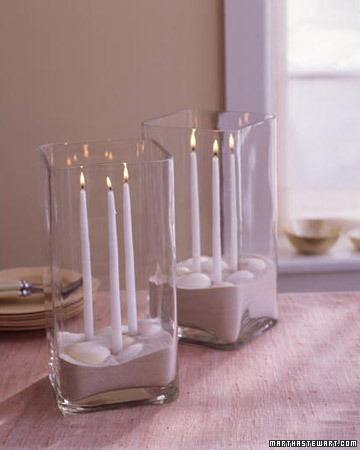
This is super fun whimsy
 |
| Source |
There isn't a tutorial for that package topiary....but the Two Junk Chix ladies rocked it when they made this
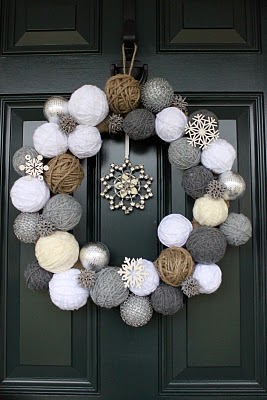
This wreath has been pinned and repinned on pinterest an impressive amount...and the tutorial is here.
I think this is my favorite
 |
| Source |
Self-Watering Containers

Obviously, something went wrong

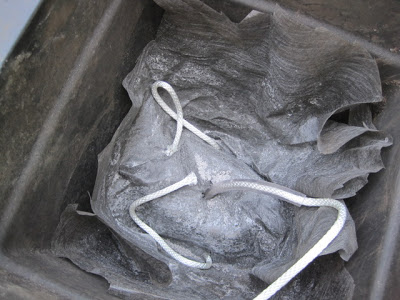
One very dead plant. After much clicking around and several tutorials later, I realized a needed a wick so that the water could travel up to the plant. This was not in the directions provided by the container company.
So, I went to the hardware store and purchased this
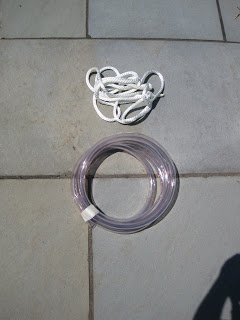
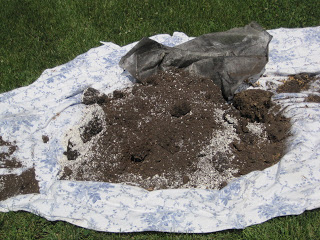
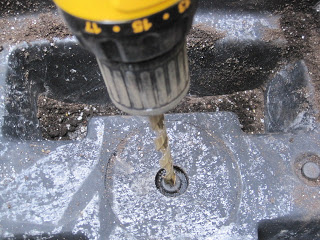
1) Dump everything out on a tarp/sheet
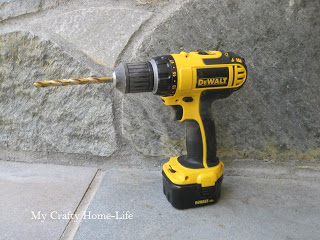
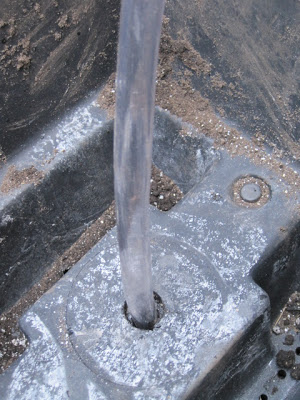
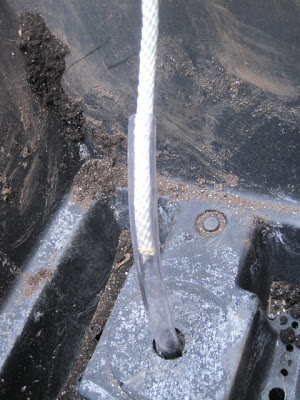
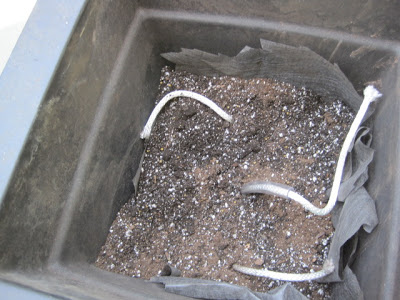
2) Make sure the holes are large enough to drop the rope and tubing down into the reserve of water
3) Add tubing and/or rope into the holes making sure to leave a long enough tail so that it will reach the plant(s)
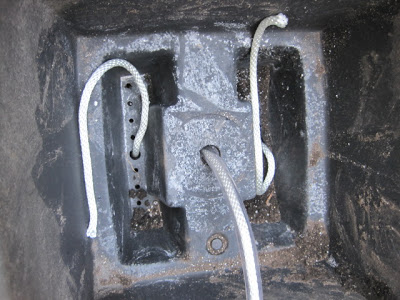
4) Put back the fabric paper (this keeps the holes from getting clogged by dirt) and add back some of the soil mix.
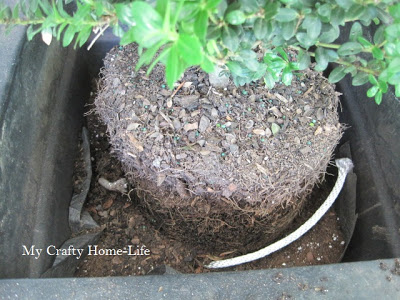
5) Place the plant at the proper height making sure the wick comes in contact with the root-ball
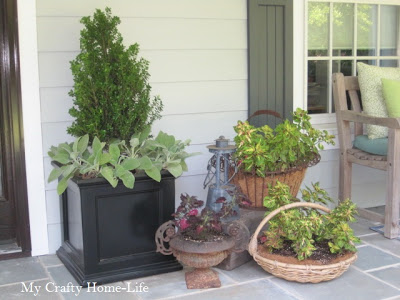
Let's Take This Outside


I have a lot planned for Summer...can't wait to see what people will post!
Happy End-of-the-School-Year!
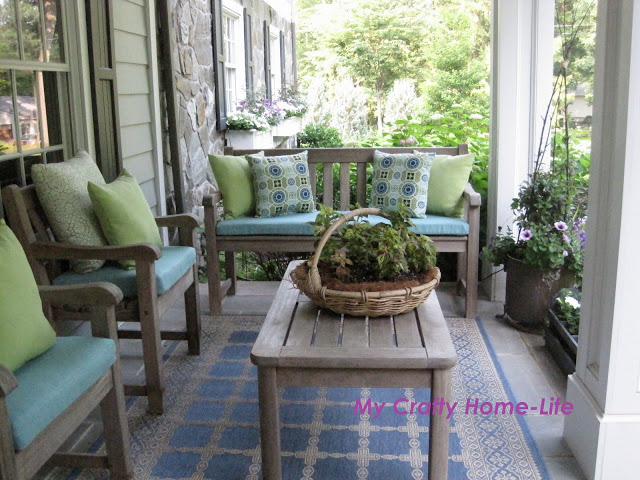
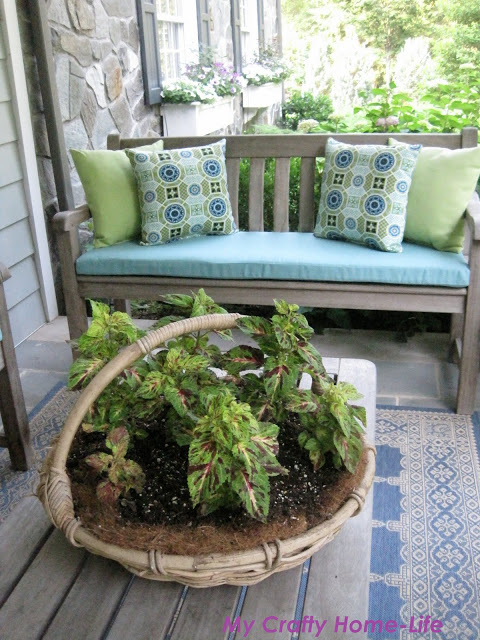
Front Porch Finished!
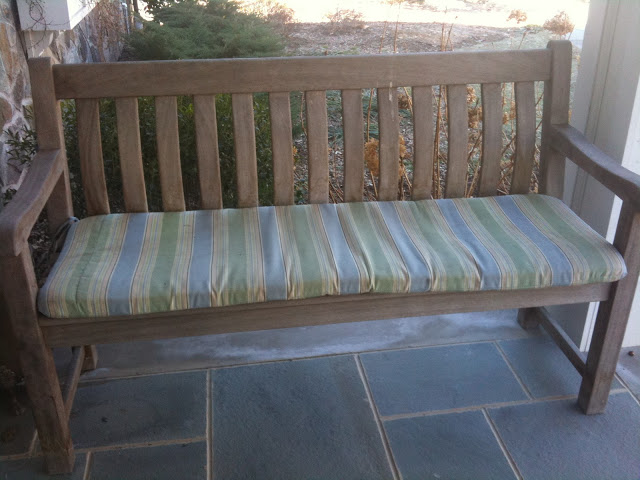
I was thinking of white cushions that I spoke about here. Well, truth be told....the white did not work out for me. The first set of cushions I made were too small. Tip, outdoor foam does not react the same as pillow forms (I like to sew my pillows an inch smaller all the way around, so they have that "poooff"). When I went to buy more outdoor fabric, white was gone. So, here is the "after"
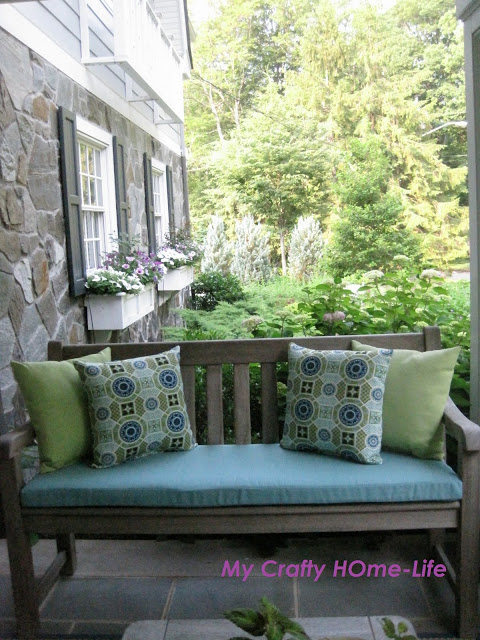
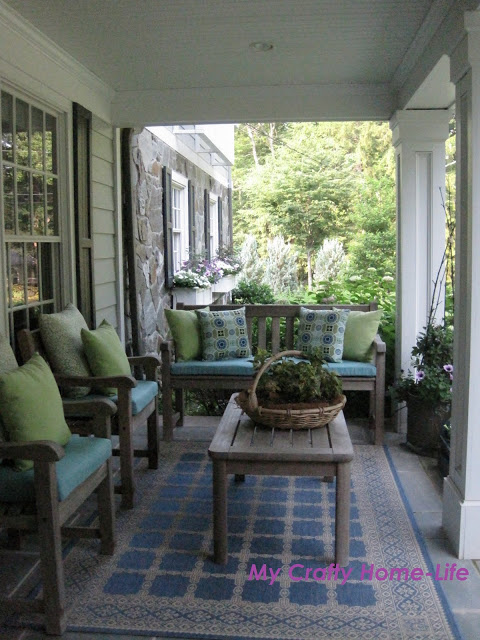
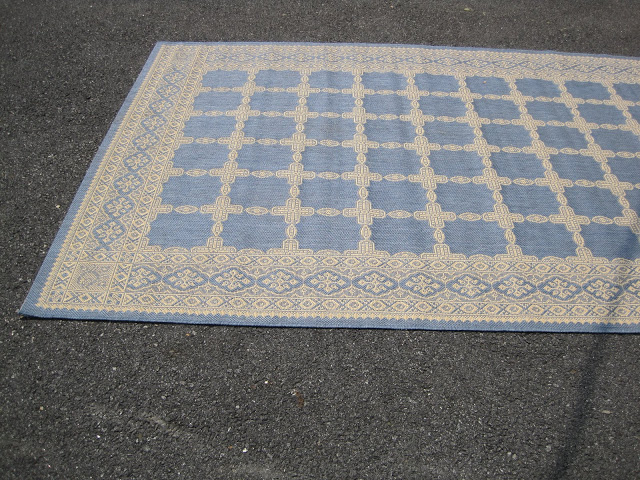
I also told you about my outdoor rug I bought on-line. If you remember, it arrived like this. So, to get it to lay flat, I did this

and my window boxes

onto the next........