
How To Pinch Pleat Ikea Curtains
I should really call this the 'post you thought I forgot about'....
I feel so guilty for not getting this tutorial to all of you sooner. In fact, If you make it to the bottom of this post, you will see that I made it extra special for you in hopes of alleviating my guilt.
You may recall my One Room Challenge Ikea curtains that I hacked up. Here is the promised tutorial.

I started with the Lenda Curtains from Ikea. The weave and color on the curtain was a perfect match to the weave of my fabric. Here are all the supplies I used.

1.Buckram (4" wide) the width of each panel.
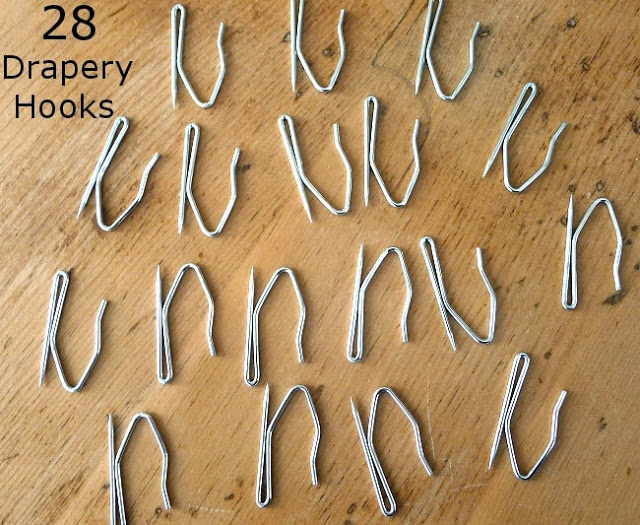
2.Drapery Hooks (I used 1.5") 7 hooks per panel.
3.Drapery Weights (cloth) 2 - 4 per panel.
4.Stitch Witchery (double roll pack) enough for 2 panels.
As you may recall, I found a striped fabric to use on the leading edge of each panel. I prepared the fabric by cutting it into strips.
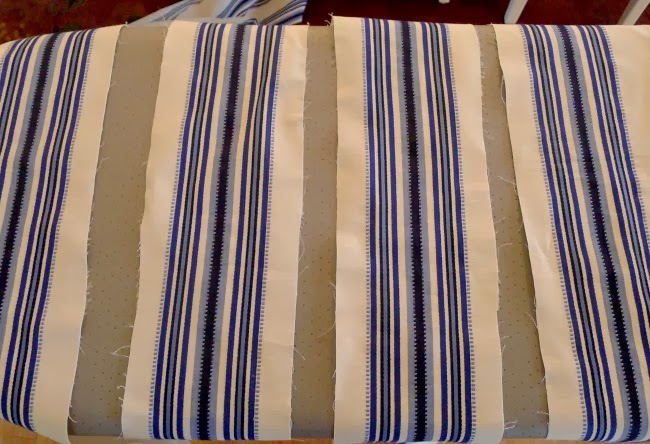
Turn under and press the raw edges into place.

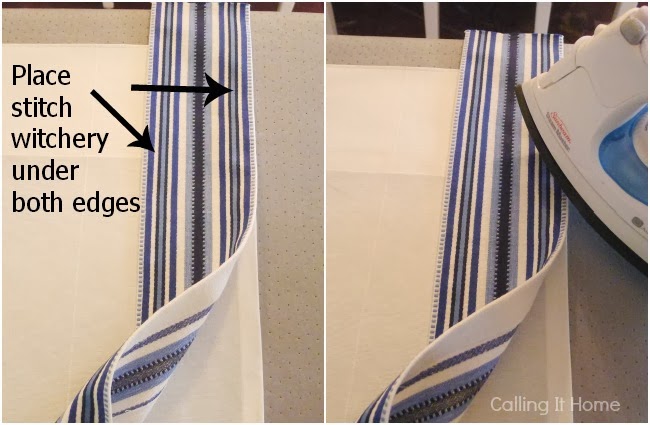
On the wrong side of the prepared strips, place stitch witchery into the seam and press.

Now to prepare the drapery panels, start at the bottom end of the Ikea panel, that way you don't need to worry about the tab top.

Give the bottom a quick pressing with an iron. I should tell you that I love my iron and have had it for over five years. You will definitely want an iron with a great steam system and a Teflon face.
Place the buckram under the lip of the existing hem, pin and sew along the edge of the pin line.

Turn and press the buckram header over....pin and stitch into place.

Once the header is ready, apply the trim to the leading edge with stitch witchery.
Using pins at the top and bottom of the pleats, I spaced them 2" apart per pleat. The spacing between the sets of 3 pleats is the same width as my trim, 4" wide.

You will want to lay out all the spacing before sewing. Alter where necessary to fit your panel width.
Sew each pleat separately, the length of the header. At the bottom of the header, sew all three pleats together.

This is one set of pleats....keep going until you reach the end.

Place drapery hooks (one per set of pleats) in the back and hang. I turned the end of the panel toward the wall to finish the look.

Custom drapes have a lot of weight to them and that's what makes them hang so beautifully. This last step will give all of your window treatment a professional look in minutes.
Once you have decided how you want to hem your panels (of course I used the stitch witchery), add 2 drapery weights inside the pocket of the hem on each side.
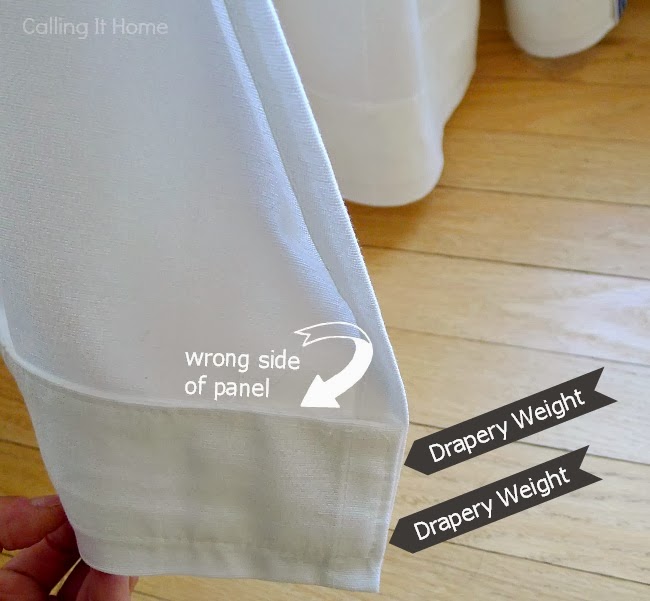
Here are the finished panels. The drapery weights help shape the bottom edge.


And now, because I have been feeling so guilty about not getting this up sooner.....
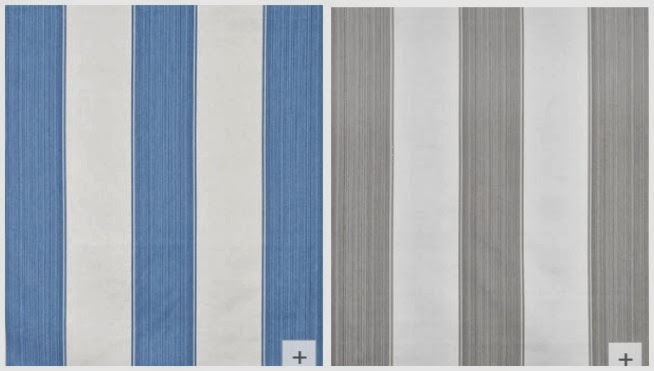
Here are some beautiful fabrics that would be perfect to use on an Ikea Curtain Hack.
You want to make sure the stripes go up the roll and not railroaded. All of these go up the roll.
A 3 yard piece will give you enough stripes for several windows.
Great in a girl's room:
 Pink & Black / Blue & Green / Pink & Green / Pink Multi
Here are some beautiful fabrics that would be perfect to use on an Ikea Curtain Hack.
You want to make sure the stripes go up the roll and not railroaded. All of these go up the roll.
A 3 yard piece will give you enough stripes for several windows.
Great in a girl's room:


Blinds Under Drapes and College Rankings
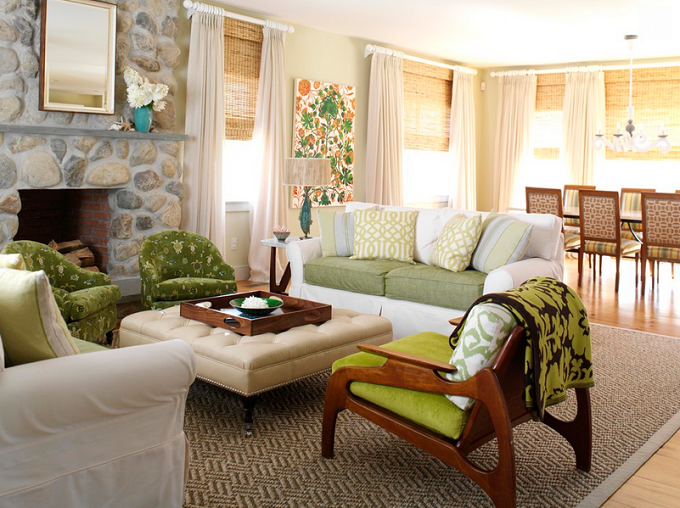
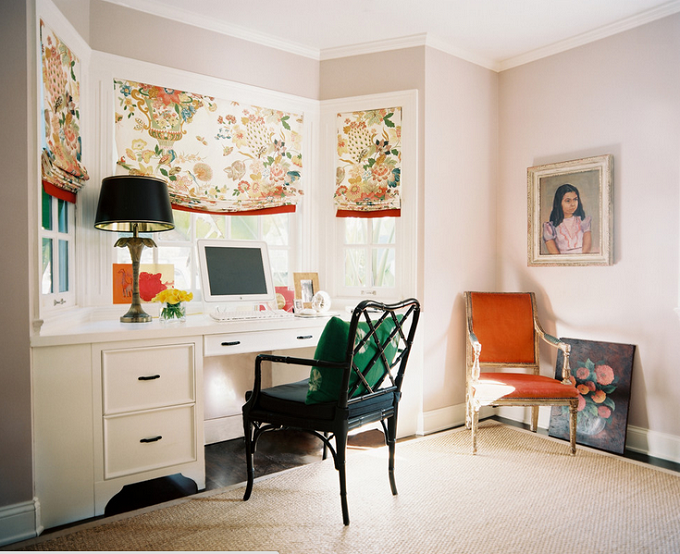
Today is the day you never know how you should post. We have a 911 Memorial in our town, and tonight there will be a candlelight vigil. So for today, I want to thoughtfully remember and move about my day. What better way than to obsess over drapery details. I'm talking layers, texture and fabric. I have always loved the look of bamboo blinds under drapes.  |
| Brandon Architects Inc. |
 |
| Tara Seawright |
 |
| Dunfer Heights Inc. |
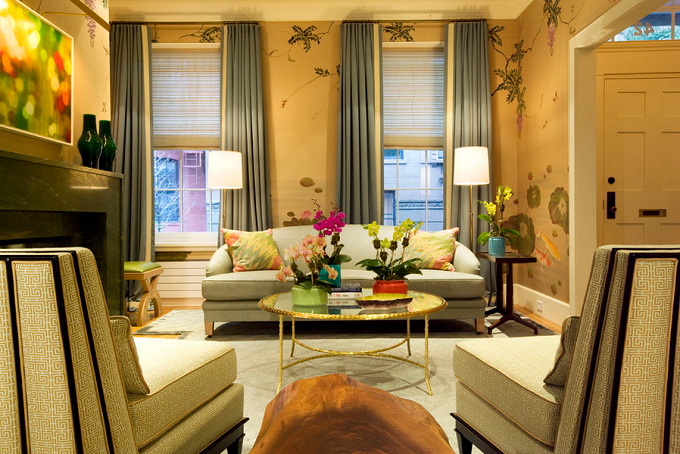
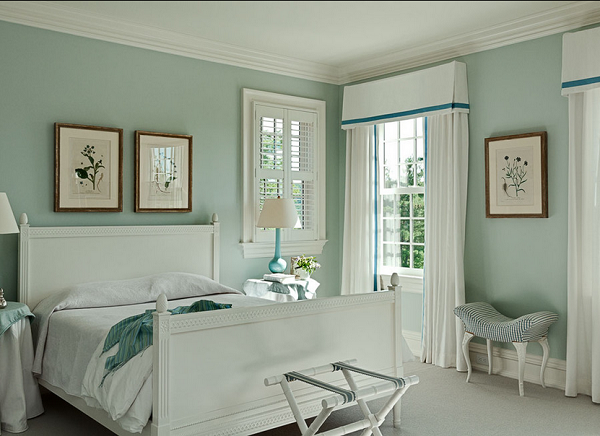
But lately, I have begun to wonder if less is more? Should I have fewer layers on my windows?
 |
| Dungan Nequette Architects |
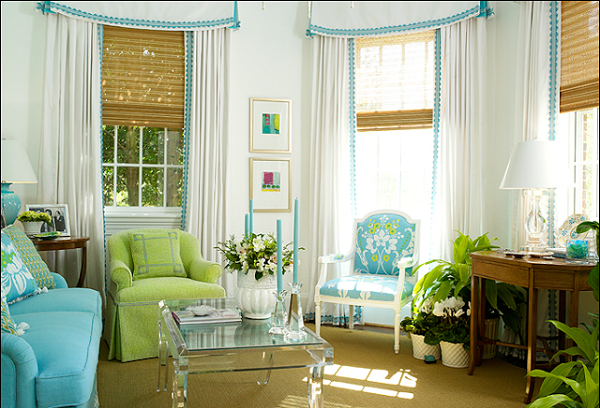
 |
| Marcelo Brito & Pedro Potaris |
 |
| Hillary Thomas Designs |
Which one are you? More layers on your windows or less is more?
On another note, the annual U.S. News College Ranking of the top 100 Colleges in the US (2014) is out. If you live in New Jersey and had the news on at all yesterday, then you heard this over.....and over....and over, again.
Princeton University ranked #1
Rutgers, the State University of New Jersey ranked #69
We talk about colleges all the time around here. So I thought that this might be fun for you to check out. Congratulations to my brother, who continues to hold the most prestigious Undergraduate education in the family. He graduated from UCLA and it ranked #23. I should note that my husband earned an MBA from Saint Mary's College of California and it has a Regional ranking (West) of #11. I'll let them decide how they should view this, knowing them....neither one cares.

White Drapes
I need to add some drapes to my windows. Obviously, since we will be moving I don't want to make a major investment in them. I figured some
, and a bit of trim on the leading edge would work.
The trim gives the panels a custom look without commanding too much attention.

Bay Street

Darci Goodman Design

Caitlin Wilson
Crisp Architects

Traditional Home
Kelley Proxmire
I know
is adding trim to her drapes for an amazing treatment. I can't wait until she post's it.
Have you ever done this? Did you use fabric or ribbon?
Pink Burlap
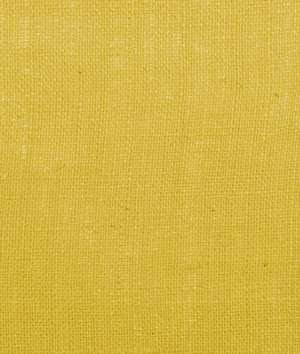
Yesterday, I was killing time researching ideas on Pinterest, and I ran across this image from designer Angie Hranowsky
I liked the drapes...and then I read the box....It's BURLAP! Burlap from a designer...how cool. A quick search, and I found all these colors at this store for only $4 per yard.
 |
| Source |
Pink

Black


This is the color I'm considering...it is more expensive than the others at $7 per yard.
Black
Yellow
Orange
Avocado green
This one is called sage, but it looks slightly gray
 |
 |
| Available Here |
Remember my tips when shopping for fabric online. Is colored burlap something you would consider? What would you use it for?
One Room Challenge (week 5)
Hello, and thanks for coming back. Well, this is the last post before the "Big Reveal"?....I hope it is a big reveal. In case you are new here, you can start the challenge series here. This week is all about the window dressing. I was able to pick up some beautiful REAL silk drapes at Bed Bath & Beyond. Apparently, they are discontinuing their silk line. It was quite the bargain.
Here are my tips for hanging drapes; If you are buying ready-made...hang them separately.

Although they are supposed to be the same length, they were not. No worries, a custom cornice will hide all the imperfections on the top. The "L" brackets will hold the cornice (more on that next week).
I also like when my drapes just kiss the floor. Now I know this is personal, so hang yours as you desire. Remember to measure from the floor up and not the ceiling down. Since ceilings and floors are never level, take a few measurements.

I also hang my drapes a bit outside the window frame. This gives the illusion that the window is larger than it really is. It also helps let more light into the room because the stack (bunching of fabric) is not covering too much glass.

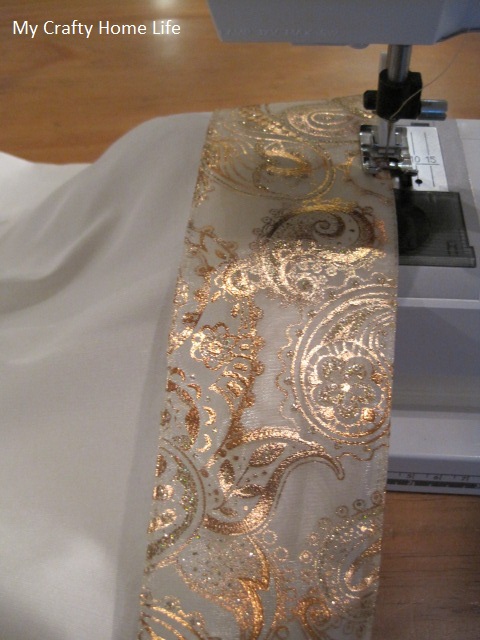
I gave the ready-made drapes a custom look by adding a wide band of sheer gold paisley ribbon.
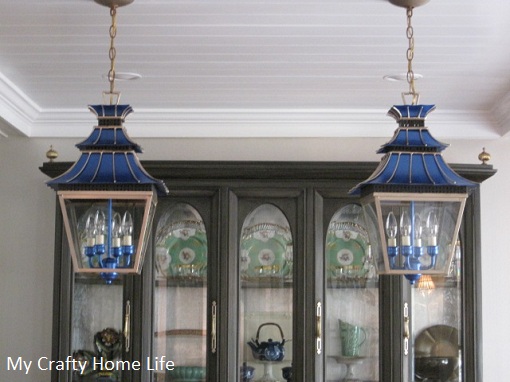
On another note, Michaels got a shipment of my metallic blue paint in so I was able to finish and hang the lanterns.
That's all I have to show you this week....I hope you come back next week for the finale. Now make sure to visit all the other bloggers and see how they are doing. For The Finale, go here.
Trapped in North Jersey Rue de Emily
The Pink Pagoda refreshed designs
Nana Moon Shop Taylor Morgan
insideways House Four
Living Savvy (A Lifestyle Thing)