
I'm an Ikea Hacker....again
I just had the nicest surprise this morning.

Ikea Hackers is featuring my tutorial today.

If you ever transform any piece of Ikea....anything, you should submit it to Ikea Hackers. They are the gift that keeps on giving.....if you get my drift.
Make sure to check out more of the amazing hacks that people sent in. I have spent hours on that site.


How To Pinch Pleat Ikea Curtains
I should really call this the 'post you thought I forgot about'....
I feel so guilty for not getting this tutorial to all of you sooner. In fact, If you make it to the bottom of this post, you will see that I made it extra special for you in hopes of alleviating my guilt.
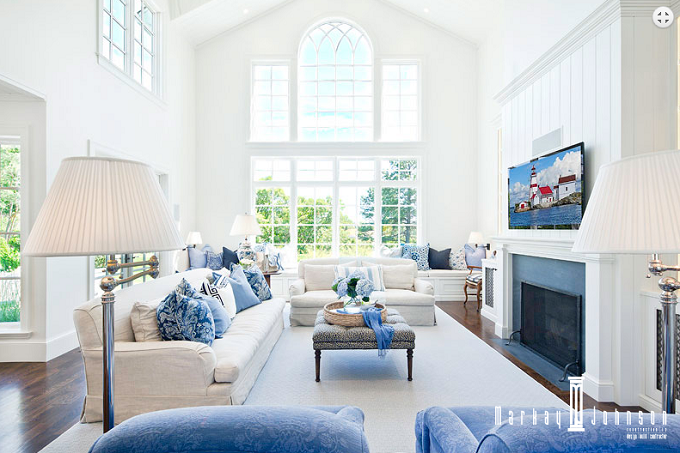
You may recall my One Room Challenge Ikea curtains that I hacked up. Here is the promised tutorial.

I started with the Lenda Curtains from Ikea. The weave and color on the curtain was a perfect match to the weave of my fabric. Here are all the supplies I used.

1.Buckram (4" wide) the width of each panel.
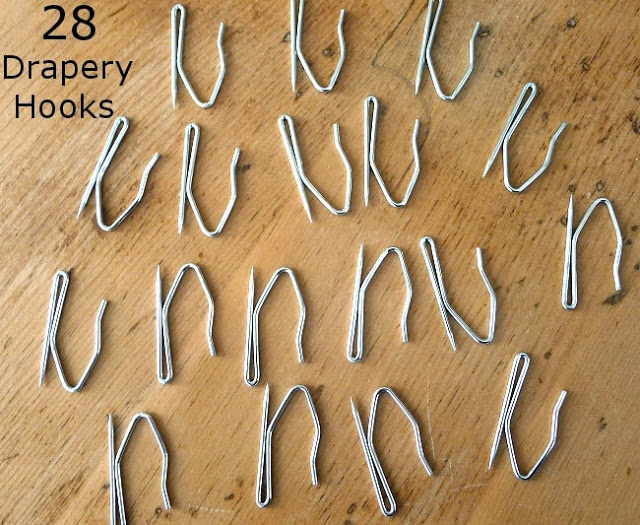
2.Drapery Hooks (I used 1.5") 7 hooks per panel.
3.Drapery Weights (cloth) 2 - 4 per panel.
4.Stitch Witchery (double roll pack) enough for 2 panels.
As you may recall, I found a striped fabric to use on the leading edge of each panel. I prepared the fabric by cutting it into strips.
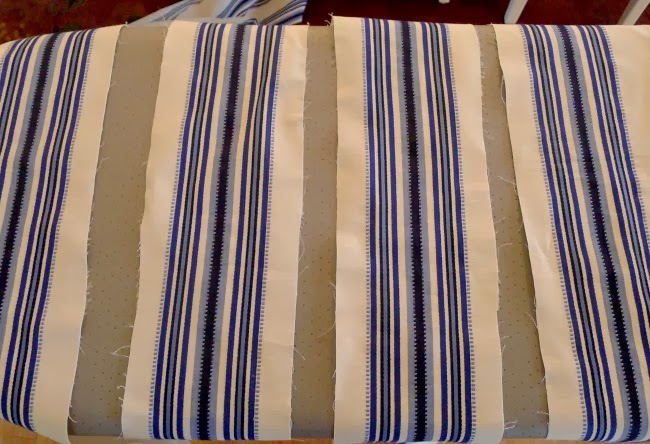
Turn under and press the raw edges into place.

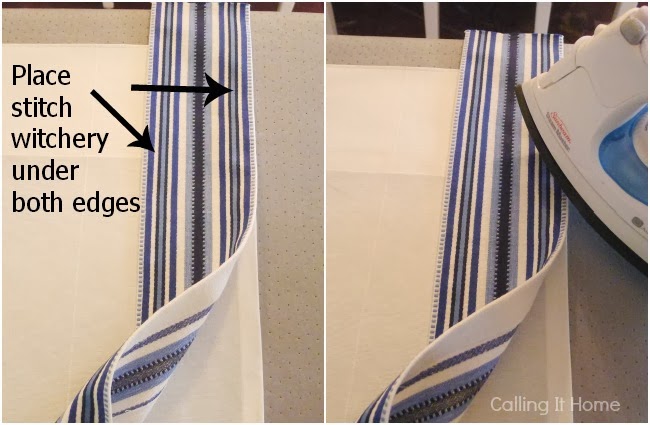
On the wrong side of the prepared strips, place stitch witchery into the seam and press.

Now to prepare the drapery panels, start at the bottom end of the Ikea panel, that way you don't need to worry about the tab top.

Give the bottom a quick pressing with an iron. I should tell you that I love my iron and have had it for over five years. You will definitely want an iron with a great steam system and a Teflon face.
Place the buckram under the lip of the existing hem, pin and sew along the edge of the pin line.

Turn and press the buckram header over....pin and stitch into place.

Once the header is ready, apply the trim to the leading edge with stitch witchery.
Using pins at the top and bottom of the pleats, I spaced them 2" apart per pleat. The spacing between the sets of 3 pleats is the same width as my trim, 4" wide.

You will want to lay out all the spacing before sewing. Alter where necessary to fit your panel width.
Sew each pleat separately, the length of the header. At the bottom of the header, sew all three pleats together.

This is one set of pleats....keep going until you reach the end.

Place drapery hooks (one per set of pleats) in the back and hang. I turned the end of the panel toward the wall to finish the look.

Custom drapes have a lot of weight to them and that's what makes them hang so beautifully. This last step will give all of your window treatment a professional look in minutes.
Once you have decided how you want to hem your panels (of course I used the stitch witchery), add 2 drapery weights inside the pocket of the hem on each side.
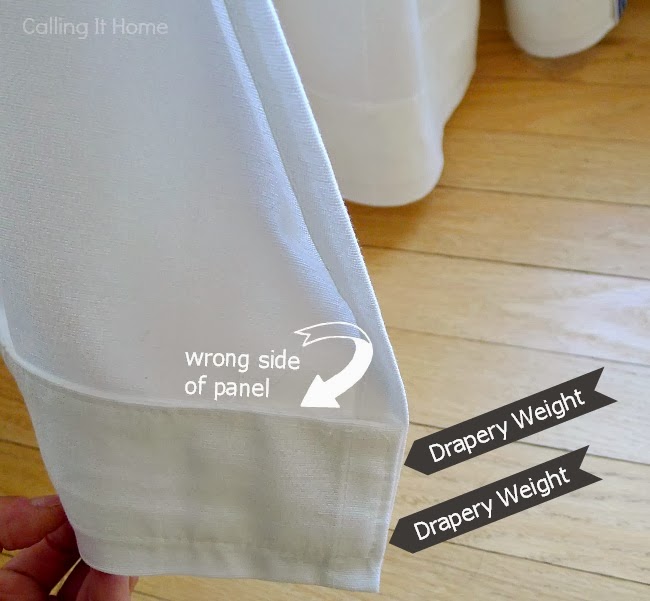
Here are the finished panels. The drapery weights help shape the bottom edge.


And now, because I have been feeling so guilty about not getting this up sooner.....
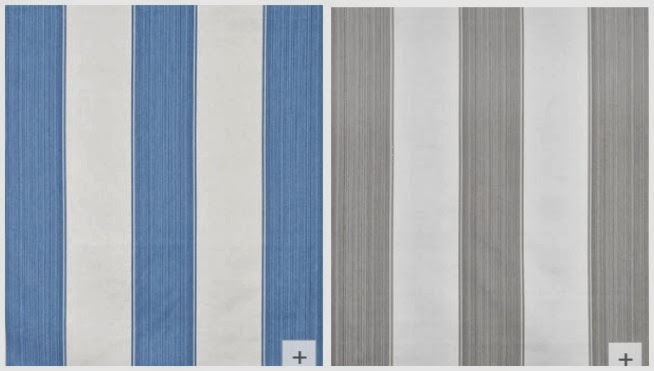
Here are some beautiful fabrics that would be perfect to use on an Ikea Curtain Hack.
You want to make sure the stripes go up the roll and not railroaded. All of these go up the roll.
A 3 yard piece will give you enough stripes for several windows.
Great in a girl's room:
 Pink & Black / Blue & Green / Pink & Green / Pink Multi
Here are some beautiful fabrics that would be perfect to use on an Ikea Curtain Hack.
You want to make sure the stripes go up the roll and not railroaded. All of these go up the roll.
A 3 yard piece will give you enough stripes for several windows.
Great in a girl's room:


Let the Bleaching Begin
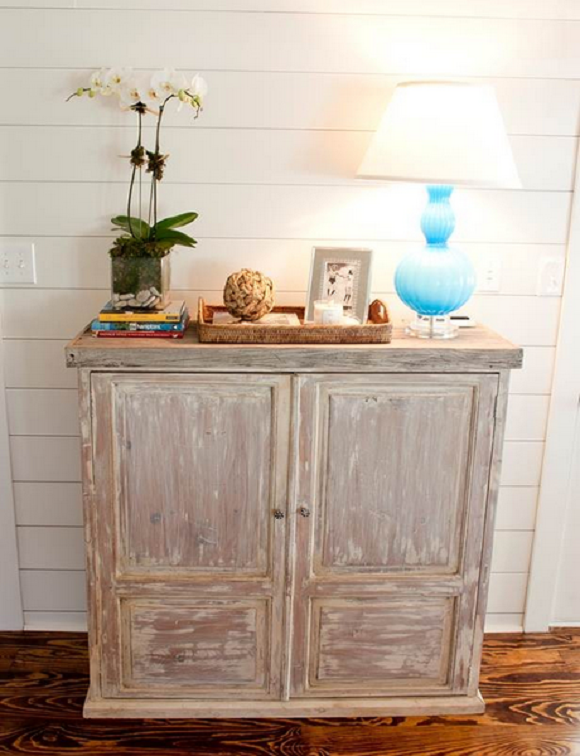
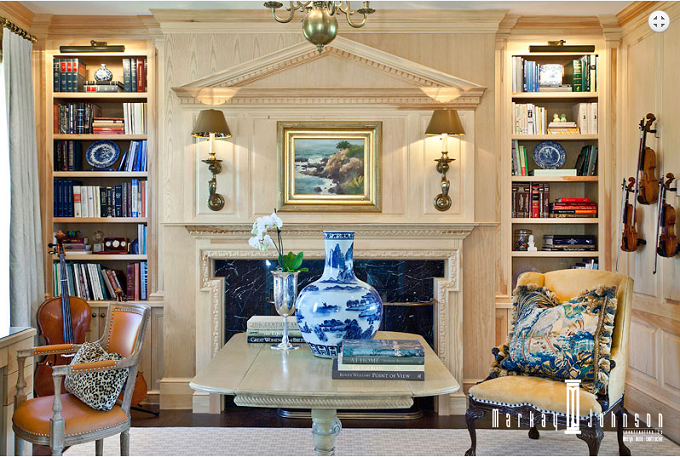
I thought I would put this out there to pressure myself into finishing this project. I am attempting to bleach some wood this weekend. Actually, I have already started but it's only in the stripping stage. I want it bleached....NOT limed. I love both looks, but it is the bleaching that I am after, like this
 |
| Charlie & Co Design |
See, it is removing all color not applying some.
 |
| Jordahl Custom Homes |

Stacey is Here
Stacey is here today....you probably already know her, but if you don't....another fabulous blog to follow, Friends. I met Stacey probably about a year ago? I have been really honest with her when she asks 'our' opinion on things. Thankfully, she still visits my blog.
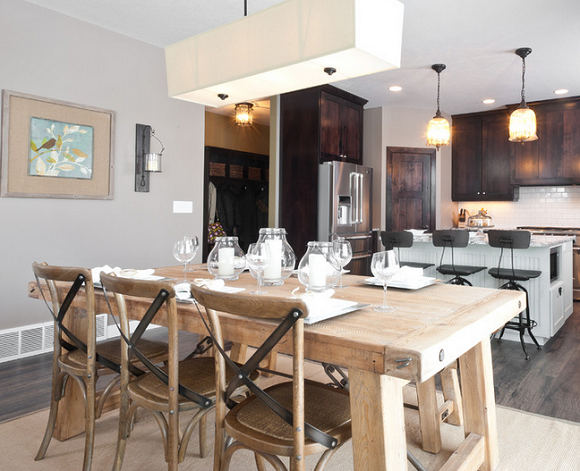
I remember when she was asking everyone how they felt about using a strong accent color in a space. I think I told her not to do it....or, it was way too 'in your face' color for me.
Well, look how fantastic her accent color combinations turned out. I was definitely apologizing over this one. You can see all of this kitchen transformation here.

If Stacey's brave color choices were not enough to get me to visit....then seeing adorable babies and toddlers are! I love to look at yummy little sweet faces. What can I say, my kids are older and my eggs are cooked.

Hi everyone! I’m Stacey from the blog, Design Addict Mom and that’s Baby Ian above(well he’s not that little anymore). I am thrilled to be participating in Linda’s Summer series. Linda is so creative and undoubtedly a DIY Master, but I love how she always chooses to showcase other bloggers and their talents. Way to go Linda!
O.k., Baby Ian’s nursery has been evolving over time. Most of the items in his room are either thrifted or hand me downs from his brother(now 4 years old).
O.k., Baby Ian’s nursery has been evolving over time. Most of the items in his room are either thrifted or hand me downs from his brother(now 4 years old).

His dresser is a hand me down from his brother that I purchased from Land of Nod. One morning while sipping coffee and rummaging through a drawer, I happened to see the roll of duct tape and somehow, right there and then, this very inexpensive idea was born!

I love the chevron pattern of the tape and that the colors coordinate with the existing pieces and art already in the nursery. For. e.g., the orange matches the thrifted orange chair and ottoman(pictured in the background of the first pic), and the green picks up the Pantone like green of Baby Ian’s diy bookcase that I completed a while back.
For this project, I removed all the knobs from the dresser and cut square and skinny rectangular strips. The square strips were for the front of the knobs and the skinny rectangular strips were for the edges to give the knobs a finished look. I also realized early on that using scissors to cut the tape was not a great idea. It kept sticking to the scissors so I used my fingers instead. If you are type A and must have very straight edges, I am thinking using an x acto knife to cut the tape would work beautifully.

a close up of the after.

not too shabby, right?

This is the easiest diy ever! You can complete it while watching your favorite show . Oh and the duct tape was purchased from AC Moore, but I’m sure you can get duct tape at other craft stores, hardware stores, etc.
Thank you so much for having me Linda! Blessings and a wonderful day to everyone! XX
So glad that all of you had a glimpse into Stacy's talent. Go over and say 'Hi', she's great!
Thank you so much for having me Linda! Blessings and a wonderful day to everyone! XX
So glad that all of you had a glimpse into Stacy's talent. Go over and say 'Hi', she's great!
I Need to Start Over & A Winner


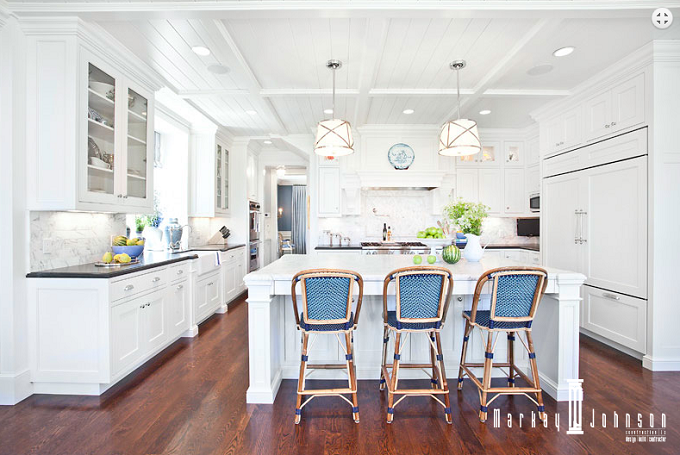


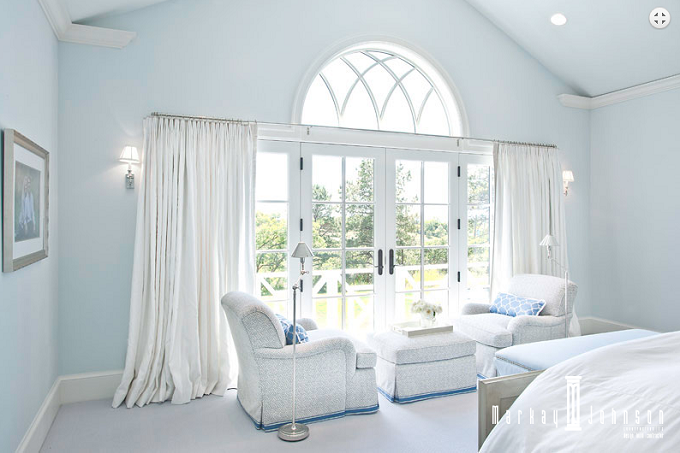


And just like that cute boy, the behind is as nice to look at as the front :).
 |
| All Images Courtesy of Markay Johnson Construction |

Meet Ingrid
I have a new friend for all of you to meet......unless you already know her....then you can just see your friend's new idea! This is Ingrid from the blog Now At Home Mom.

Ingrid is one crafty girl. Check out her craft room.

Can you believe how beautiful and organized this space is? How much creating could we do in this space....I definitely have craft room envy.
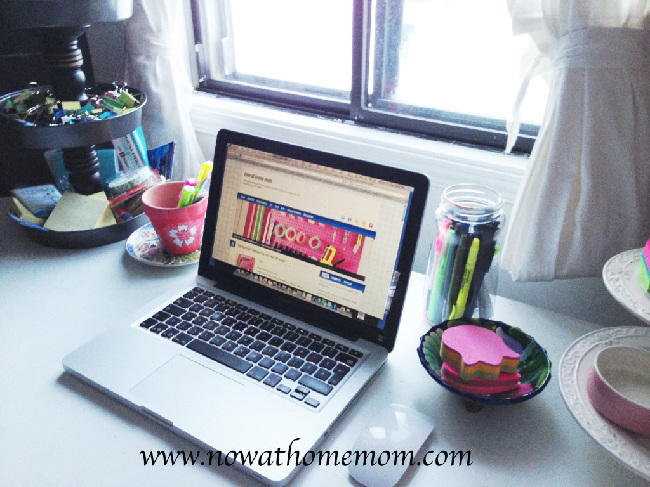
To see more of this room, go here. Welcome Ingrid!

Ingrid is one crafty girl. Check out her craft room.
Can you believe how beautiful and organized this space is? How much creating could we do in this space....I definitely have craft room envy.
To see more of this room, go here. Welcome Ingrid!
Hi everyone,
my name is Ingrid and I blog over at Now At Home Mom. I am very happy to be here with you; 'Calling It Home' readers sharing this small project. Linda has great taste when it comes to décor, I remember discovering her beautiful blog through the 'One Room Challenge' series and I was immediately impressed with how she was decorating her entrance. Thanks for having me over Linda.
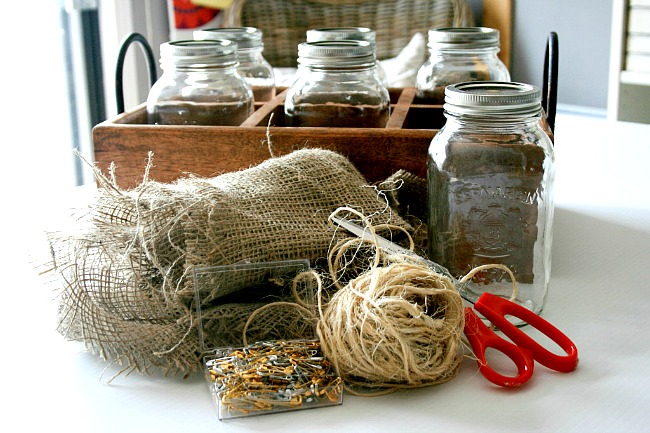
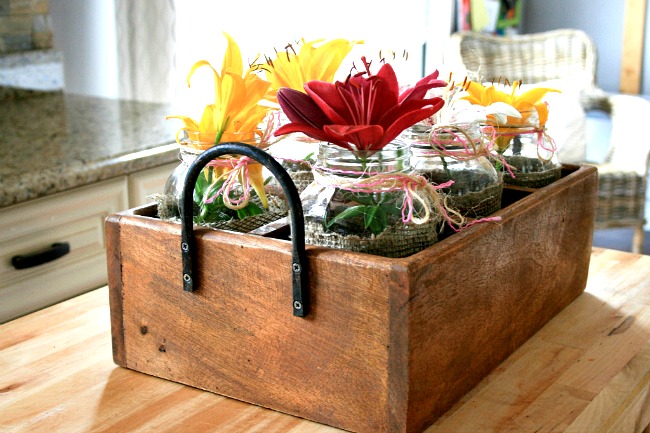
I love decorating my home with pretty things that make me happy. I also love making my home comfortable with simple DIY projects. Please let me share one of them with you: a centerpiece
These are the supplies I used :
- 6 mason jars
- a wood crate
- burlap
- twine
- fresh flowers (or fakes ones if you prefer)
- scissors
- glue gun
I am never in short supply of these items. Okay ... maybe just the flowers:
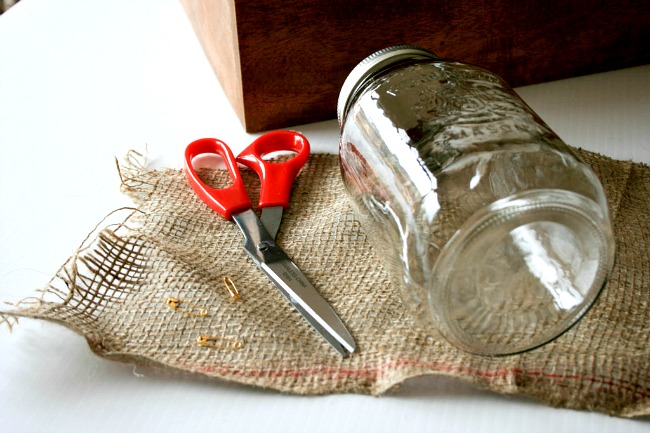
Over a week ago, I was having two of my best friends over for lunch and I needed a centerpiece. I thought of just adding flowers to some mason jars but what's the fun in that? So ... I remembered admiring some projects on different blogs and how nicely they decorated them. I always have burlap and twine around so I gave it a go and added my personal touch to them. I started by wrapping the burlap around the mason jar to cut it to size:
once cut, I wrapped it around:
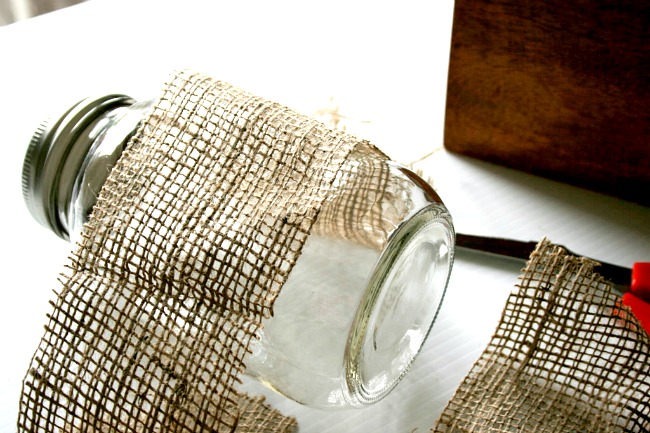
I then glued it. At first, I tried securing the burlap with safety pins but it didn't work, it just kept unwrapping. This is when I had to take my trusted friend out: my glue gun

I then removed the excess burlap with scissors:

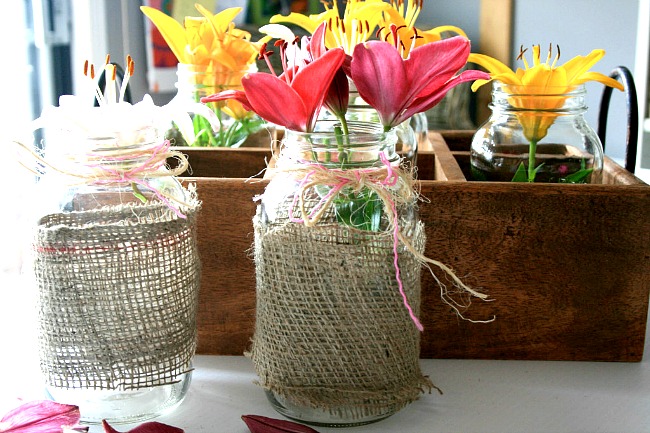
I used freshly cut flowers from my front yard, added twine around the top of the mason jar but something was missing

for inspiration, I went through my craft supplies and found pink twine. It was a good idea and loved how lovely the pink twine popped against the burlap:
I didn't build this crate, but what a great DIY project that would've been. I already had it and got it on sale from Home Sense weeks ago. I love this crate because I can use it in my kitchen or living room when needed:

See how pretty these mason jars turned out, just by adding twine around and a pretty flower to each one of them softens the burlap. I didn't work too hard at putting this centerpiece together but my friends loved it, they said the pink twine is so me. I was glad they liked them and that we had a great time:

I left the mason jars inside the crate untouched on top of my pantry, except for the flowers of course so I can use this centerpiece again very soon. After all, summer is relaxing and is all about keeping things simple, isn't it ?
I would love it if you stop by and say hi over at Now At Home Mom anytime! Thank you very much Linda for having me over at your lovely blog today
