
Upholstery 101 (week 11) The Finale!
Hello, and welcome back...in case you are new here...this is an on-going upholstery series. To start at the beginning, go here.
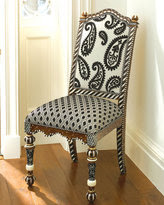
First, the chair
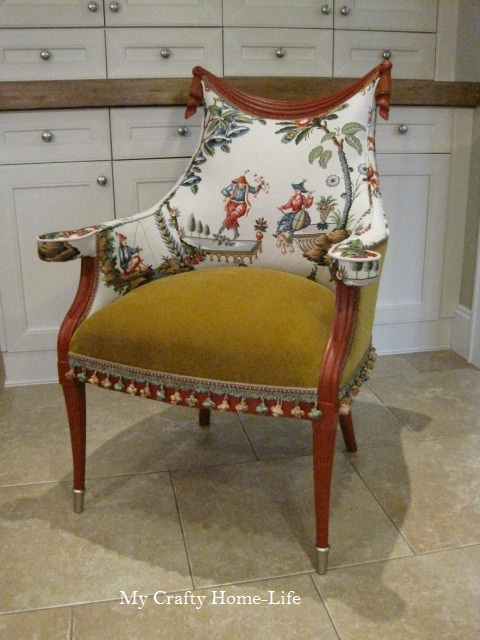
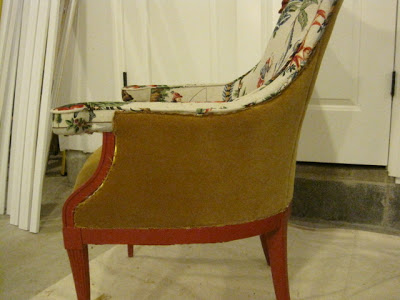
It's done! This is like skipping the meal, and going to dessert first...now here are my last steps
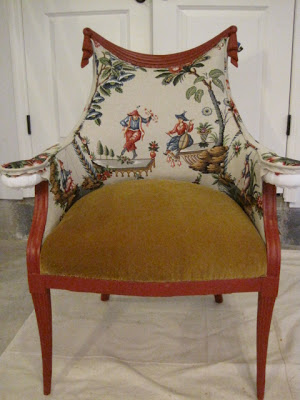
This is where I started
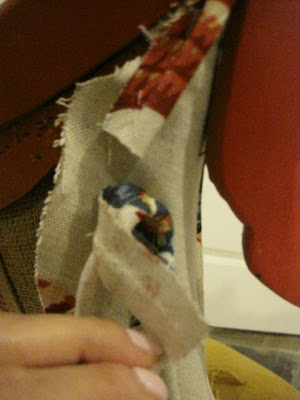
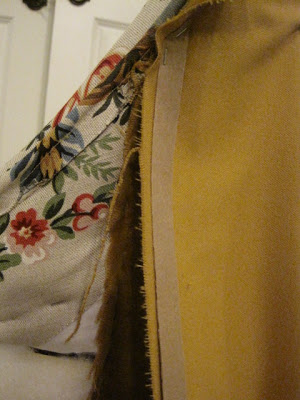
To finish the inside arms, I placed a strip of fabric, just like I did the top arm piece here

...using the cardboard strip again, make a fold on the left
...and bring down
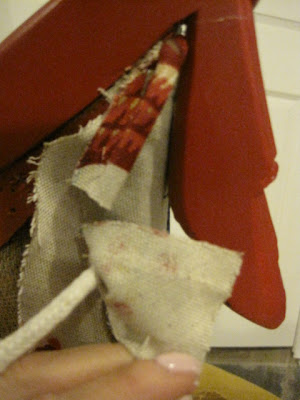
Just like the lining done here, fold and staple under the arm
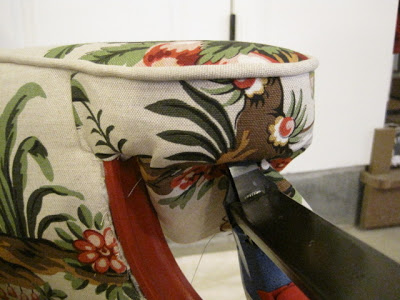
This is what it looks like. The other end will get covered with finished fabric
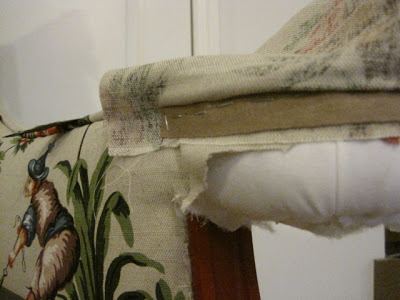
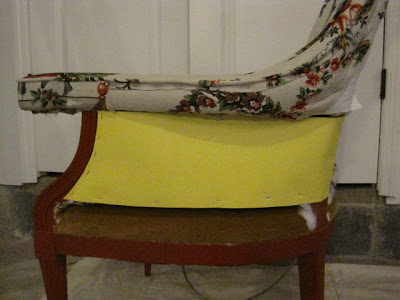
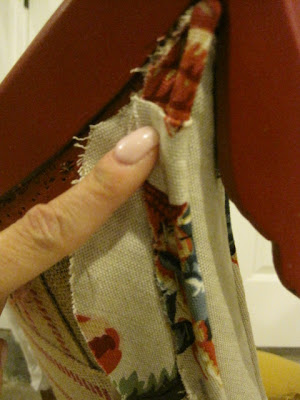
For the side, a light-weight piece of cardboard works great. I used yellow poster-board so that you could see it clearly....it doesn't matter...it won't show. Tack it in place. This keeps the batting in place.
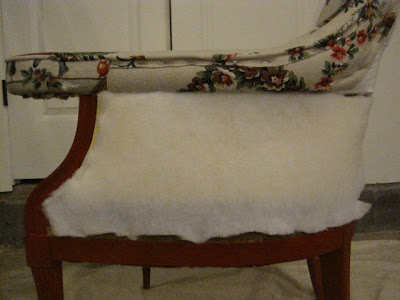
...I added a layer of batting, stapling under the arm...

...then flipping it into place, and tacking it all around
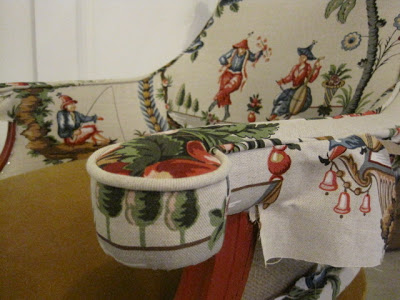
For the back of the chair...and to "finish piping"....this works great for pillows too...cut one end bluntly. Open the seam on the piping
exposing the cording....leaving plenty of material, cut the cording to meet exactly with the blunt edge
Fold under the extra material...

...and wrap it around the blunt edge piece. This is the most professional way to finish piping on a pillow, cushion....whatever! In this case, staple it into place
I used a light weight piece of foam for the back...tack, tack
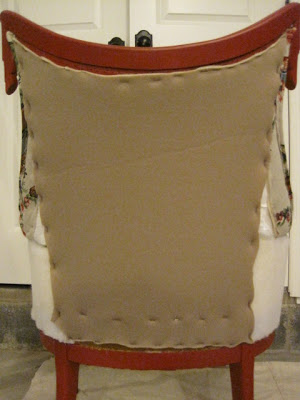
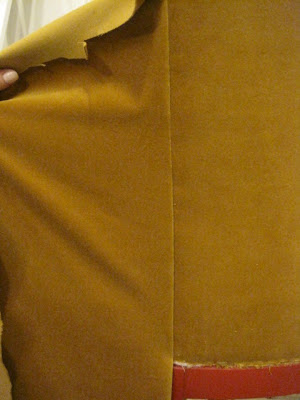
Keeping with my Mckenzie-Childs inspiration, I am using camel velvet for the back and sides. Like you have seen so many times, tack the top, bottom,
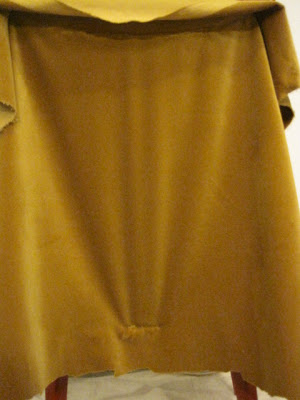
side to side...pulling at each point
 Trim
Trim
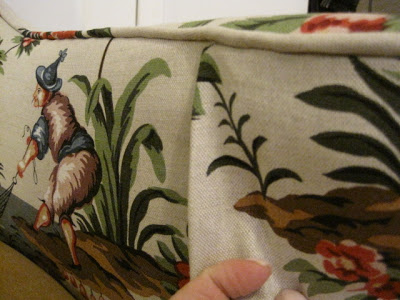
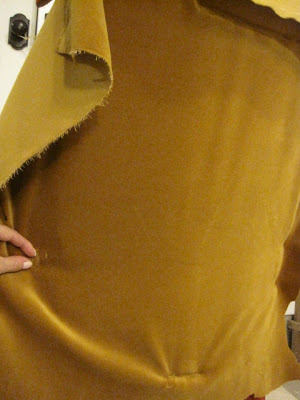
For the sides, with right sides together, I put a few pins in at the top to hold the fabric in place
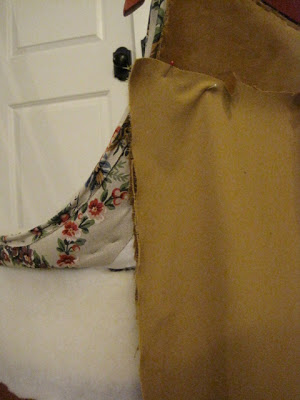
more cardboard stripping following the staple line (and covering all the top staples) that was made on the back piece
Staple all the way down, should look like stitches

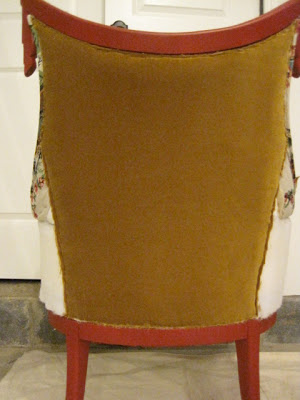
Fold over, to reveal the finished back seam
Working top and bottom, pull and staple

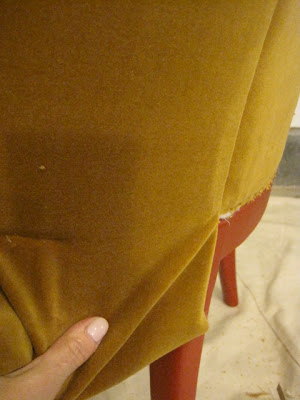
Keep pressure on the fabric to work out any wrinkles
Trim...add whatever type fringe, gimp, or welting you desire...like I did in this post
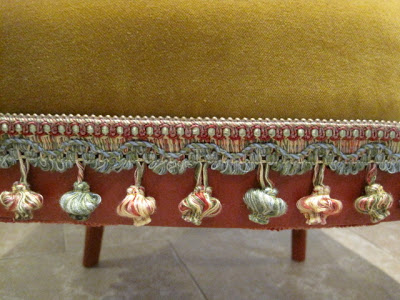
Make sure to hide all the staples, and embellish where it is needed
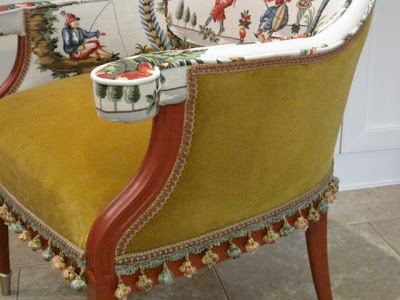
...and admire your results

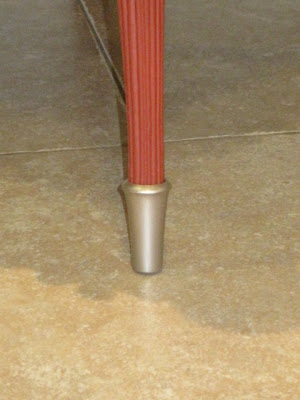
Especially those cute brass(?) feet Ididn't polish here

The end...Class is dismissed! Now I am onto my basement. What are you working on?
First, the chair
It's done! This is like skipping the meal, and going to dessert first...now here are my last steps
This is where I started
To finish the inside arms, I placed a strip of fabric, just like I did the top arm piece here
...using the cardboard strip again, make a fold on the left
...and bring down
Just like the lining done here, fold and staple under the arm
This is what it looks like. The other end will get covered with finished fabric
For the side, a light-weight piece of cardboard works great. I used yellow poster-board so that you could see it clearly....it doesn't matter...it won't show. Tack it in place. This keeps the batting in place.
...I added a layer of batting, stapling under the arm...
...then flipping it into place, and tacking it all around
For the back of the chair...and to "finish piping"....this works great for pillows too...cut one end bluntly. Open the seam on the piping
exposing the cording....leaving plenty of material, cut the cording to meet exactly with the blunt edge
Fold under the extra material...
...and wrap it around the blunt edge piece. This is the most professional way to finish piping on a pillow, cushion....whatever! In this case, staple it into place
I used a light weight piece of foam for the back...tack, tack
Keeping with my Mckenzie-Childs inspiration, I am using camel velvet for the back and sides. Like you have seen so many times, tack the top, bottom,
side to side...pulling at each point
For the sides, with right sides together, I put a few pins in at the top to hold the fabric in place
more cardboard stripping following the staple line (and covering all the top staples) that was made on the back piece
Staple all the way down, should look like stitches
Fold over, to reveal the finished back seam
Working top and bottom, pull and staple
Keep pressure on the fabric to work out any wrinkles
Trim...add whatever type fringe, gimp, or welting you desire...like I did in this post
Make sure to hide all the staples, and embellish where it is needed
...and admire your results
Especially those cute brass(?) feet I
The end...Class is dismissed! Now I am onto my basement. What are you working on?
MacKenzie-Childs Upholstery (Day 14 of 31)
...continuing on with the challenge, this is day 14 of 31....for all 31, go here
I think my love for whimsy came from Mackenzie-Childs. If you are not familiar with their story, you can read it here. They are definitely DIY-ers!! I am still inspired by them; probably because of their love for a little girl and her dreams.
Today, I am using my upholstery post to pay homage to Mackenzie-Childs. The duo who gave us all permission to just try anything
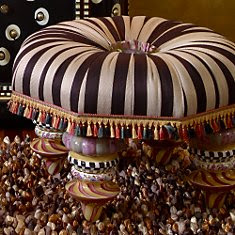
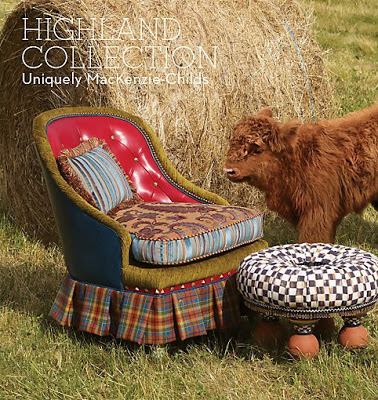 look at all the texture changes
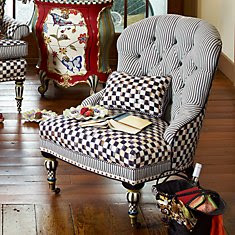 the shape is so classic
 This makes me think that I need to take more risks in decorating
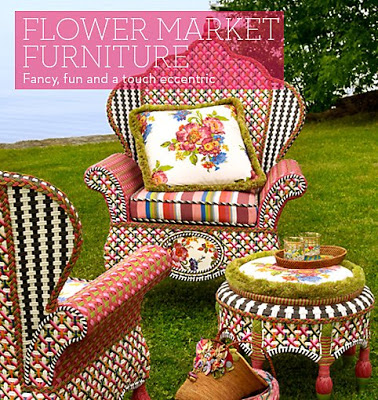
 Are you smiling over this?
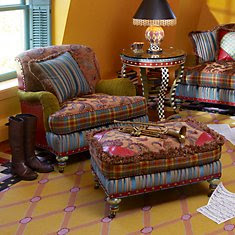
 I'm getting very inspired over this one
 The one staple piece of theirs that I still love
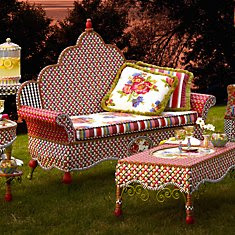
 Now this is one that could be copied, with a twist!
 Did you catch that the window has 3 colors (sill, shutters, frame) on it?
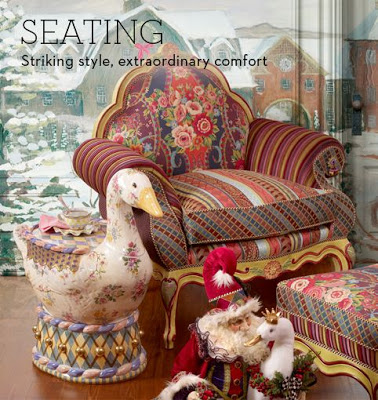
 Fit for a
 King Queen
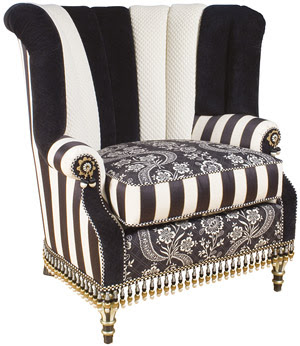
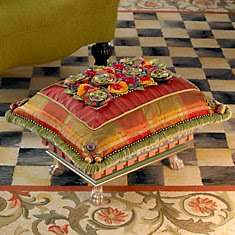
I am in love with that tassel fringe. Do you see it on the end of the arms, too?
 Do you see the beaded fringe glued to the wood frame?

I think my love for whimsy came from Mackenzie-Childs. If you are not familiar with their story, you can read it here. They are definitely DIY-ers!! I am still inspired by them; probably because of their love for a little girl and her dreams.
Today, I am using my upholstery post to pay homage to Mackenzie-Childs. The duo who gave us all permission to just try anything
I am in love with that tassel fringe. Do you see it on the end of the arms, too?
Now that is how to paint a frame that will coordinate with the upholstery!
Where do you find your inspiration for your next project?