How To Take High Quality Interior Photos
In my previous post, I shared the story of my One Room Challenge® living area renovation project. I didn't mention the photography, however, and that is a story in and of itself.
This renovation extended far beyond the room I transformed for the ORC and was years in the making. Including my own planning, working with an architect, the HOA approval, hiring a contractor, and two hurricanes, a lot of time and effort went into the project. The ORC project is an area of the house I'd mostly neglected, so it was basically like creating a room from scratch. You can read all the deets here. Now, I'll just say that I love my new room, I'm proud of my work, and I wanted high quality images for the One Room Challenge® that would reflect the room I worked to create. Having no photography experience or equipment, I had hired a photographer far in advance. After several weather related rescheduling issues, the photographer was no longer available.

UGH. After phone venting to friends, I was able to calmly reflect and strategize. No way was I going to allow the unreliable weather to prevent me from having the photos I imagined. Thankfully, I've got a couple of friends who have a little experience with interior photography. They assured me that with a little basic, beginner friendly equipment, I could do this myself. They recommended the products below which I promptly purchased. They also volunteered to do the photo editing. Whew!
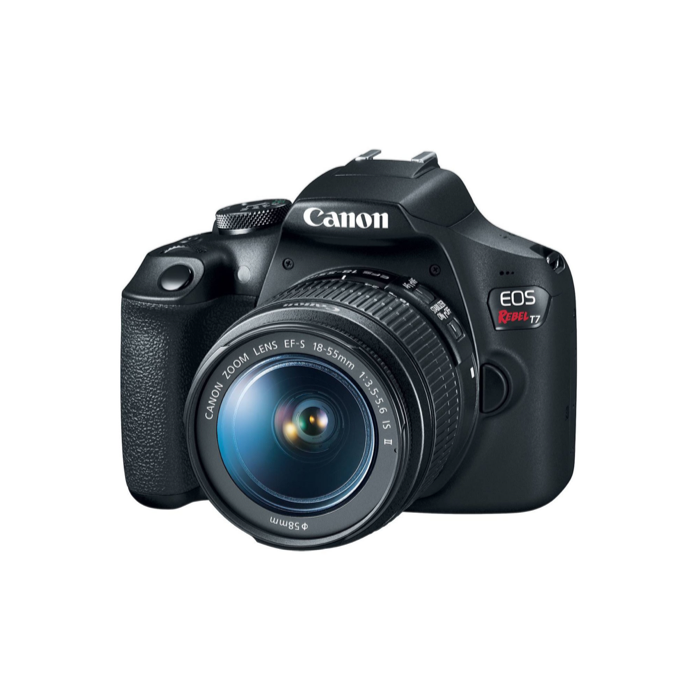

The Canon EOS Rebel was recommended because it has the best balance between quality, beginner-friendliness, and cost. This camera was so easy to learn to operate and will be getting lots of use in the future.
This tether cable is so. cool. It creates a live connection between your camera and your computer, which allows you to see your photos as you take them. Without this thing, I would have been stuck taking the memory card out of the camera and putting it in my computer every few minutes to double check my angle/exposure/etc.. Seeing them nice and big on a screen as you go is truly a game changer.
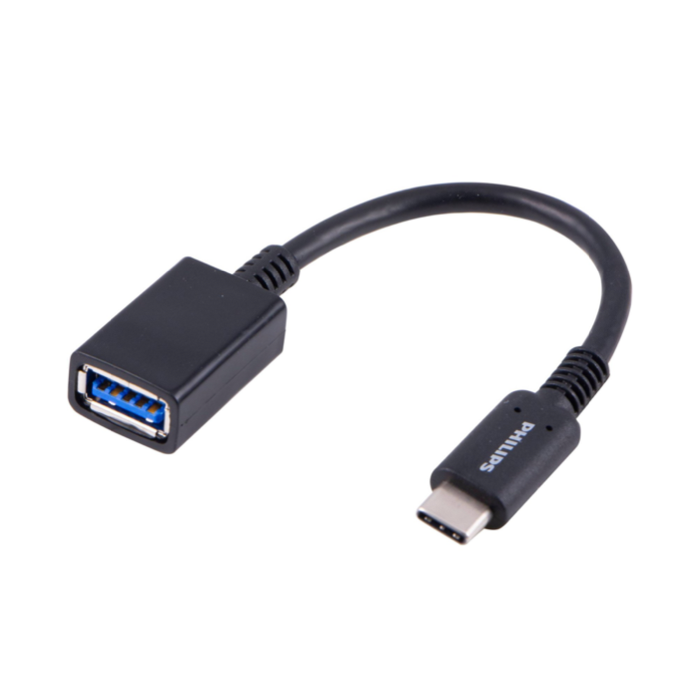
You may need this USB-C to USB 3.1 adapter if you want to plug your camera into both your laptop and your desktop computers, or if you have a newer Macbook and your tether cable has a regular USB-C port.
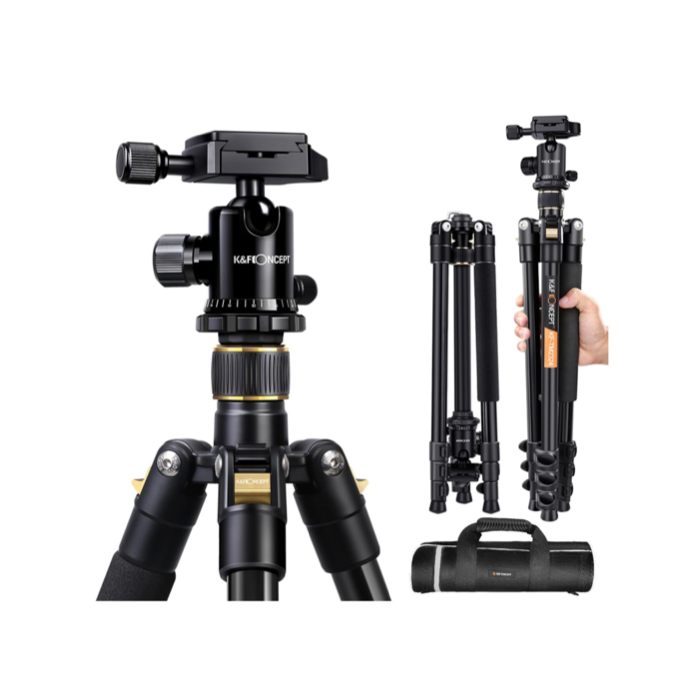
To get sharp images a tripod is imperative. Because of the way exposure affects shutter speed, you will never get a nice image of a room shooting without one.
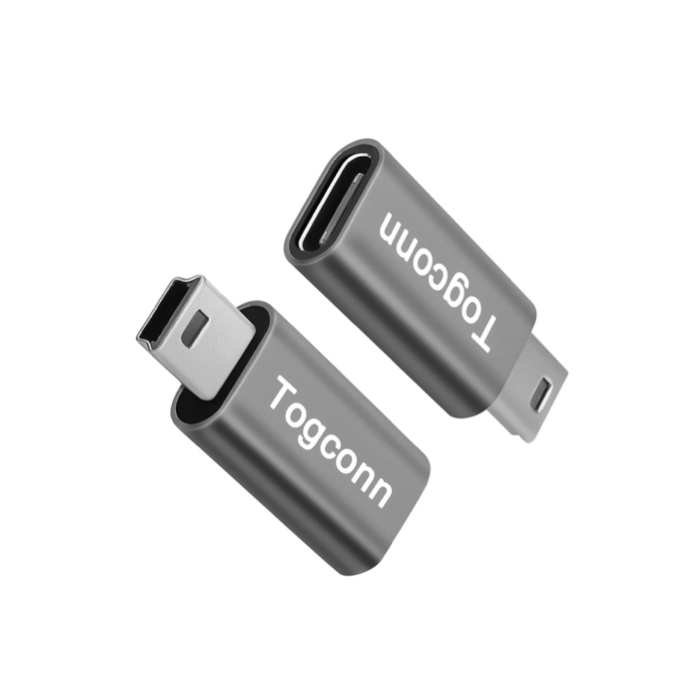
The tether cables are available with all different combinations of connectors, but this USB C to Mini USB Adapter came in handy when my camera turned out to have a different kind of port than I was expecting.
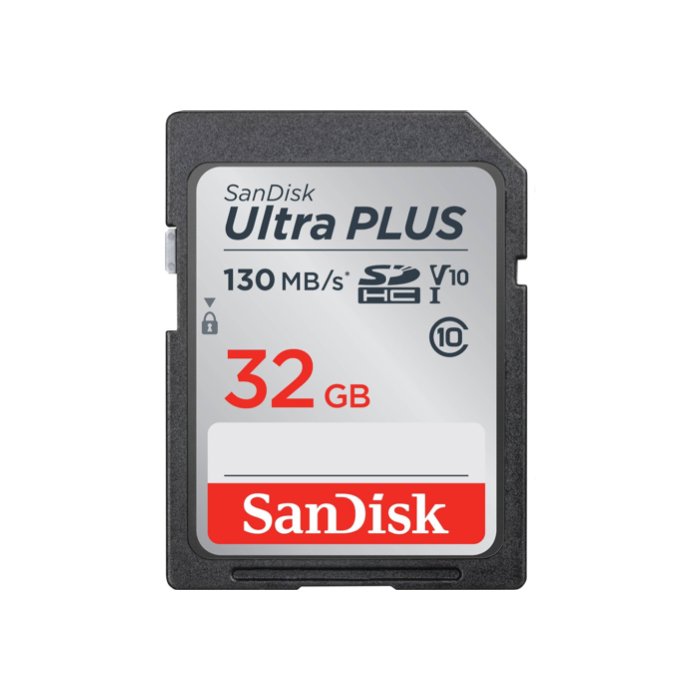
Don’t forget to get a memory card for your camera. You shouldn’t need one bigger than 32GB unless you’re planning to shoot a wedding (or something similar).
Use a website that easily explains everything you need to know as a beginner photographer. I like Photography Life. They’re also on YouTube with short, easy to follow tutorials.
If you have a friend who’s good at photo editing, hit them up. If not, all the freelance sites have skilled folks who will do a fantastic job for a reasonable price and a quick turnaround time.
If you go the tethered route (which I highly recommend) you’ll need software that will upload and instantly display the photo you’re taking on your laptop screen. I used Canon EOS Utility.
Now I have a camera, battery charger, memory cards, tether, cords, adapters, etc., I’m keeping them all corralled in this backpack so that I don’t have to hunt for equipment when I need it.
If you’re interested in interior design, you likely have friends that are too. Email your images to them for feedback. It’s so easy to miss little details like an electrical cord that could be easily hidden for a cleaner photo. They might suggest a crop that creates a better composition, or a perspective you haven’t thought of. IMO, the more eyes the better.
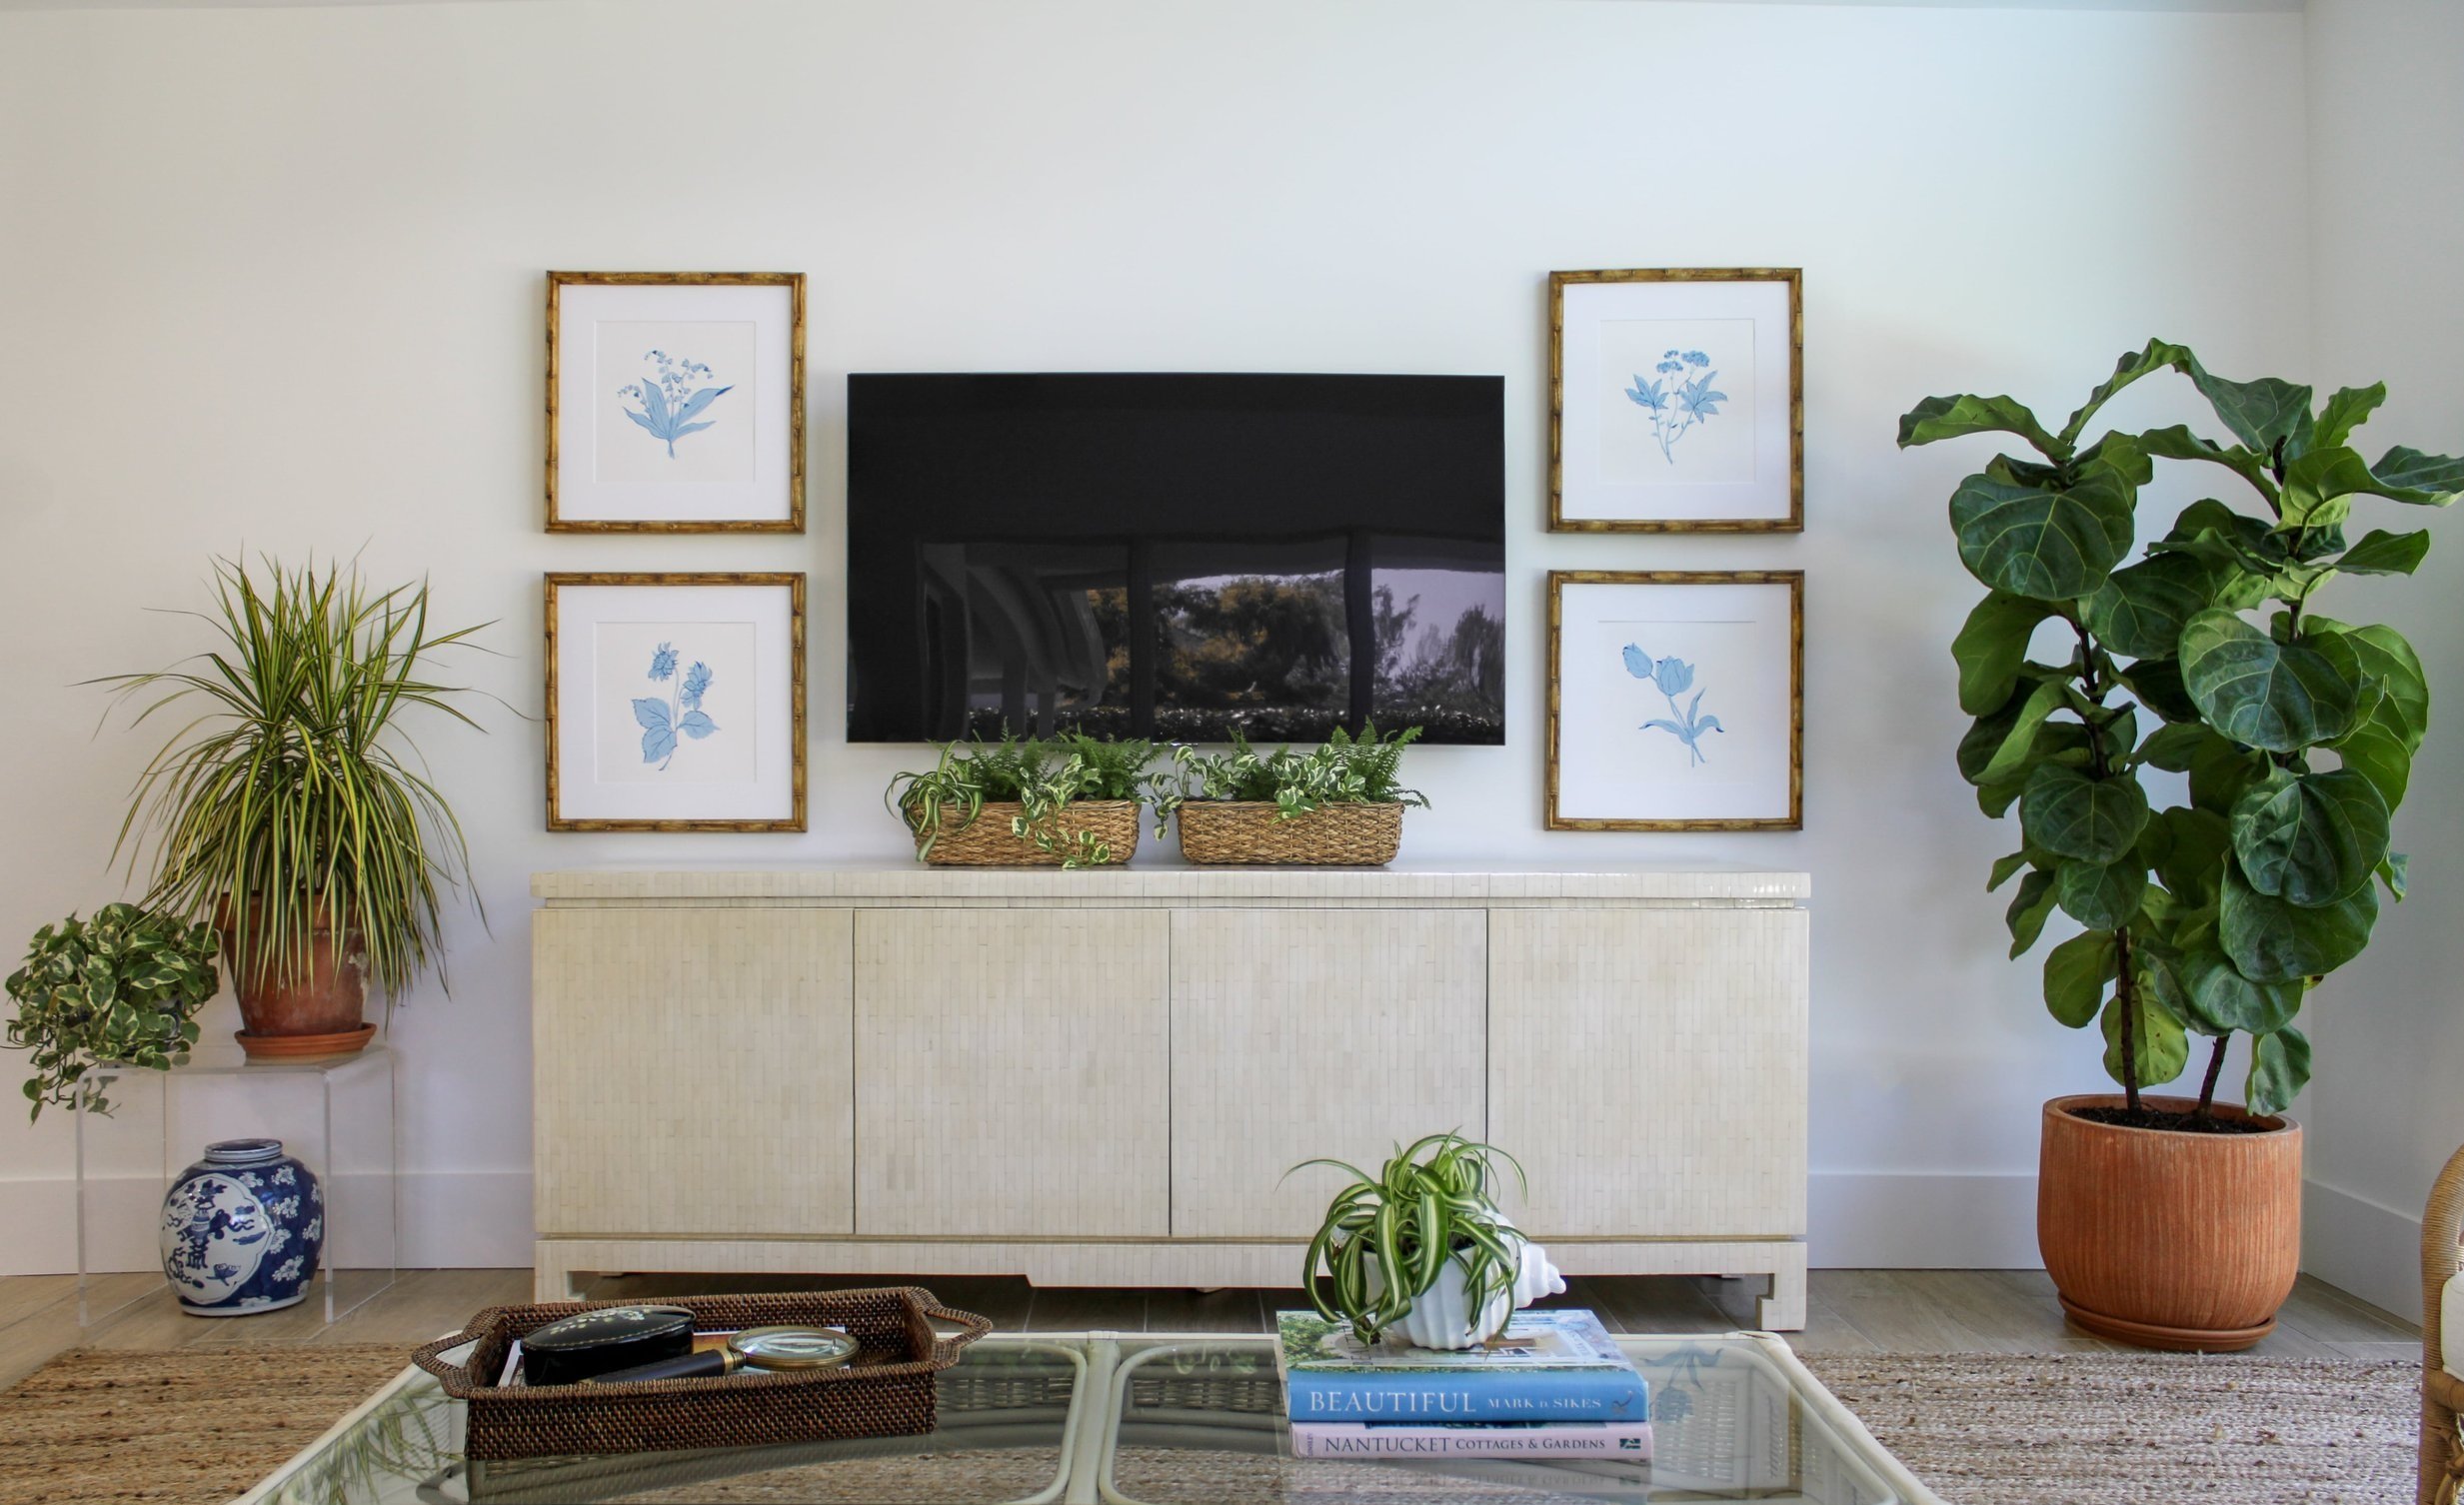
I’m actually thankful now for the never-ending rain that put me in the position to learn that I’m able to take my own photos. I love knowing I have all the equipment I need right here at home ready to go. I’ll definitely be participating in the One Room Challenge® again, and will have plenty of opportunities to put my new skills to use. And, if I can do it, so can you! Check out a few of my photos below and go to the original post to see them all.