
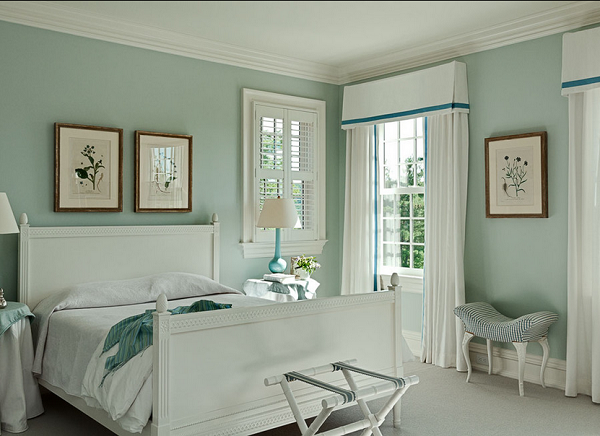
White Drapes
I need to add some drapes to my windows. Obviously, since we will be moving I don't want to make a major investment in them. I figured some
, and a bit of trim on the leading edge would work.
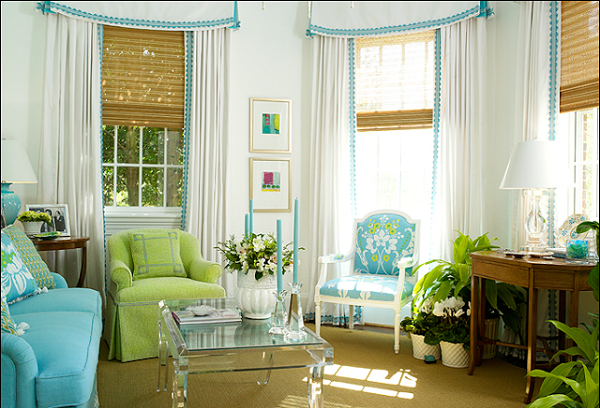
The trim gives the panels a custom look without commanding too much attention.

Bay Street

Darci Goodman Design

Caitlin Wilson
Crisp Architects

Traditional Home
Kelley Proxmire
I know
is adding trim to her drapes for an amazing treatment. I can't wait until she post's it.
Have you ever done this? Did you use fabric or ribbon?

Jem Fabric Warehouse

Jem is not walking distance from Mood, so I did need to drive there.


Rolls of fabric are mixed among the trims

Braids, cords, gimp and tassels are intermingled.
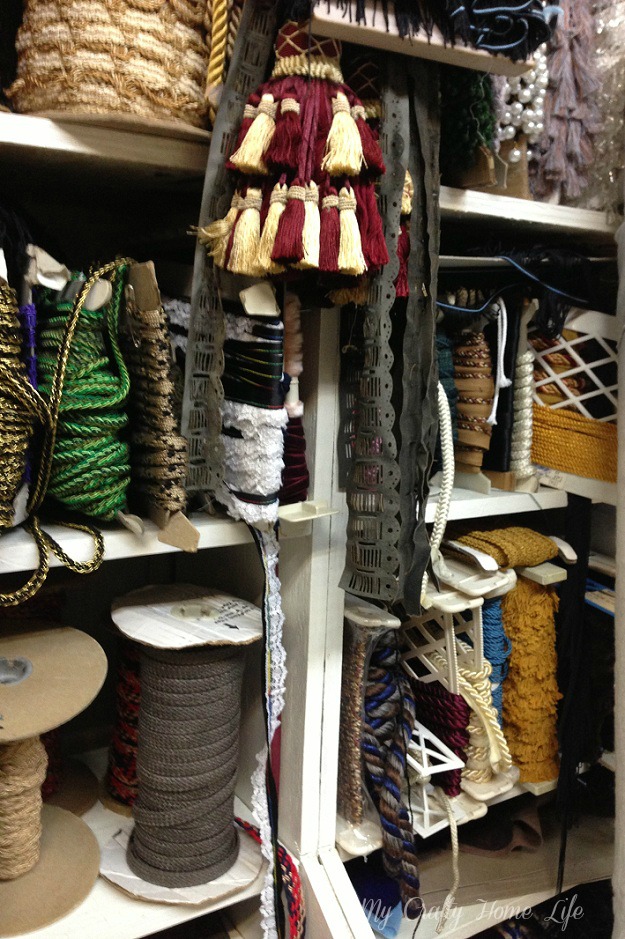
Vintage cases hold stacks of possibility
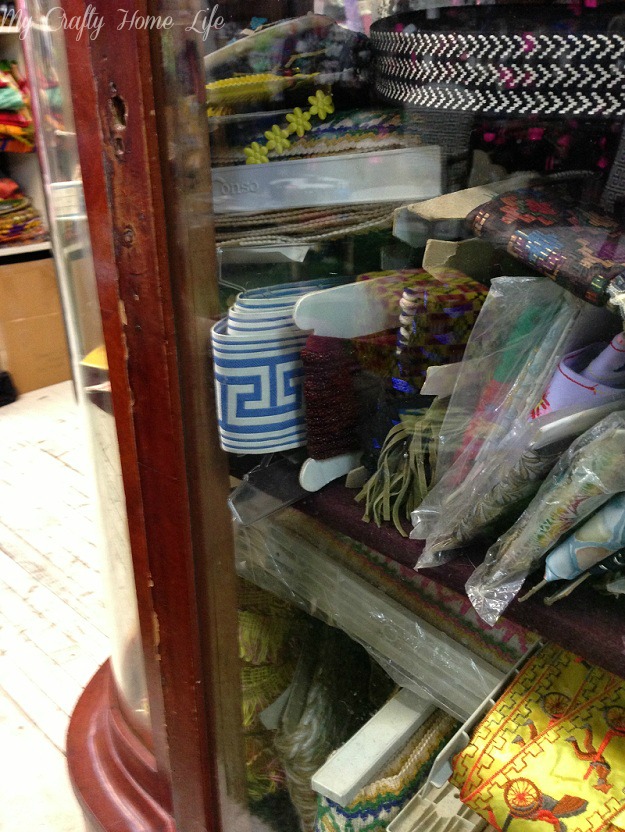
There is a small section of African Cloth....love it!

A display of all the various patterns.

I was just about to check out, when I asked if they had home fabrics. Good thing I asked, they are downstairs. The selection of fabrics is not as large as Mood, but the prices are much less, and they have a decent selection.

I didn't buy any fabric, but I did buy some trim.
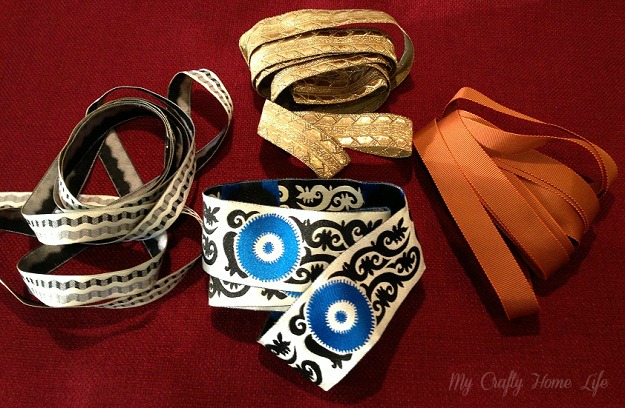
They coordinate with the fabrics that I purchased.
After all this, there is one other fabric store I would like to explore on another day


Magnetic Periwinkle Chalkboard Wall
Like many things, it all starts with a request from the kids...."Can we paint the house rainbow?"..."Can we get a 3D TV?"...."Can we get a puppy?"....NO, NO, and NO! So, when the request came for a magnetic chalkboard wall....I said YES!
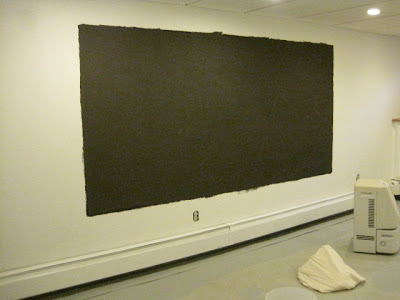
Starting with the magnetic primer (it is called primer because it goes under whatever you want), but this IS the magnet part

Paint about 3 coats...I think I did 4? I just used all of it! Here's a tip, if you are going to trim it with moldings...you don't need to tape it off...the trim will cover it!
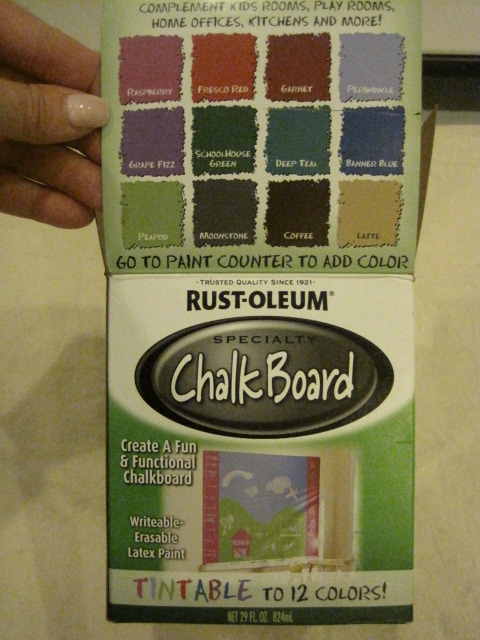
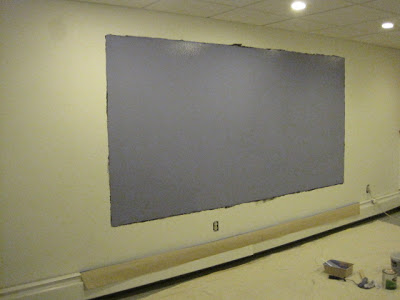
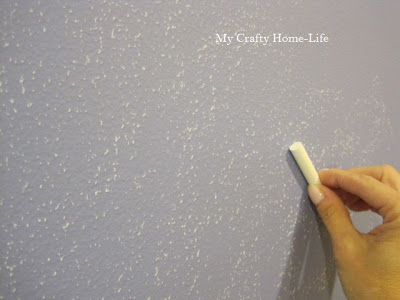
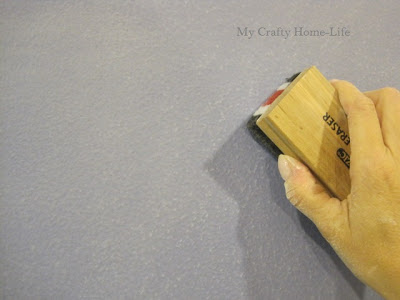
...and I chose periwinkle. Now, the metallic primer is a bit bumpy (all the metal fragments) so, it is a good idea to knock down the high spots before painting your chalkboard paint. I also did about 4 coats...I had it, might as well use it! While this was drying, I painted the rest of the room
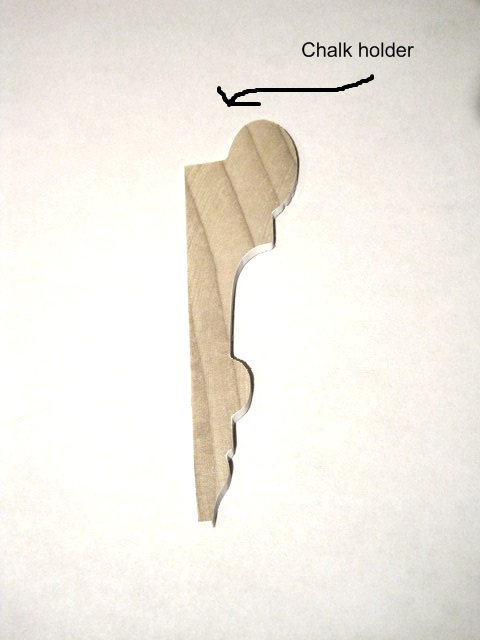
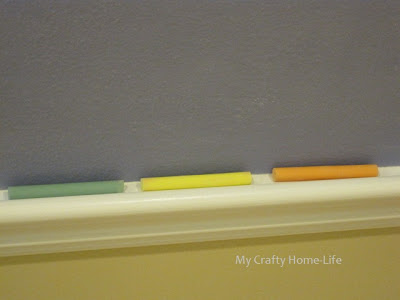
Onto framing it with molding...I wanted a thick molding that would not only frame the chalkboard, but also hold chalk! I chose this profile...as you can see, when it is flat against the wall, the chalk should fit nicely
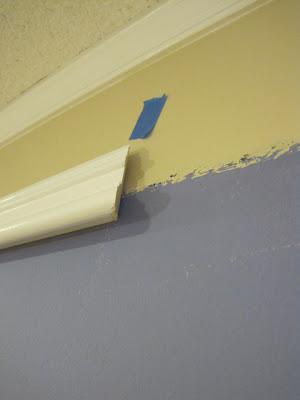
I always paint my moldings before I put them up. That way, you only need to do touch-ups for the nail holes. It is much easier than standing on a ladder and trying to paint. Like I showed you when I did the faux crown molding, I marked all the studs with blue tape.

With my usual tools, I applied the molding the same way as the crown molding
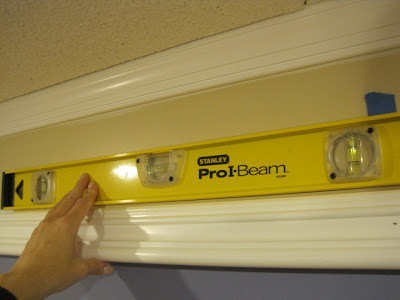
Always check for level...also be aware if there are other straight (or not) parallel lines. Here you can see that the crown molding is close. Since nothing in a house is perfectly straight, you may want to split the difference...use your eye and step back from time to time!
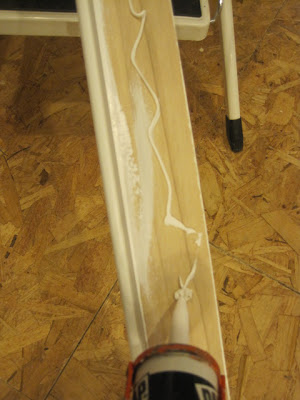
Now this is the part that works great, but will bother many contractors. Caulk is the best glue you could ever use! Once it is dry, it is stronger than ALMOST anything. Since the sides of my chalkboard are not on studs, I put a bead of caulk on the back of the molding to make sure that it would hold tight to the wall
I must warn you, If you ever choose to remove this molding it won't come off WITHOUT SHEETROCK coming off too! That is why contractors hate this!....but it works GREAT!

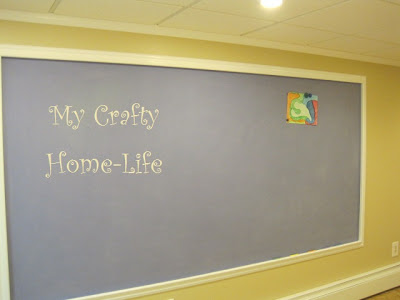
That is the periwinkle chalkboard wall....however, you still need to "condition it". Say what?? I needed to google this. After waiting 3 days for the paint to cure,take a piece of chalk on its' side and rub it all over the new surface.
Use an eraser, and wipe it all down...NOW it is ready!
You can use magnets to hang EXTRAORDINARILY talented artwork...if I do say so myself...and you can color on the wall.
All the chalk fits nicely in the groove
I have just enough chalkboard paint left over for a few small crafty projects...any ideas?