
Upholstery 101 (week 1)
Hello, and welcome. If you are new here, this is the first of a series of posts following my upholstery project. I hope you will join along, find a project, and dig in.....and if you only want to watch, that's OK too! For Week 2 go here; Week 3 go here; Week 4 go here; Week 5 go here; Week 6 go here; Week 7 go here; Week 8 go here; Week 9 go here; Week 10 go here; The Finale go here!

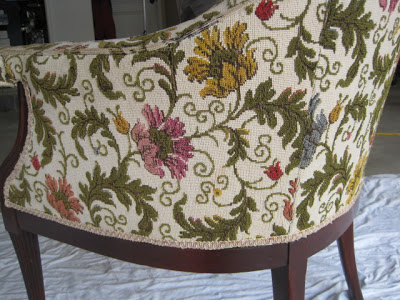
Every Wednesday, until it is finished, I will share a step-by-step tutorial of re-upholstering this chair
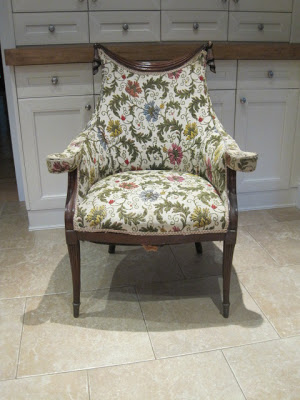
so let's begin.....
This week, I used these tools
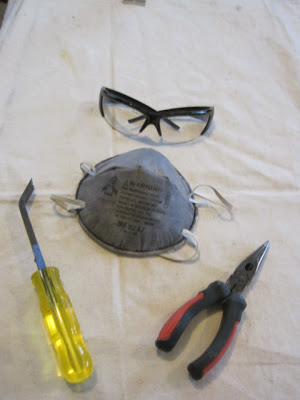
a nail puller, safety glasses, a dust mask, razor blades (not shown) and a pair of needle-nose pliers
Before you start...take lots of pictures to reference back to later.
Stripping the chair. Using a combination of puller and pliers, remove trim, fabric, nails and/or staples
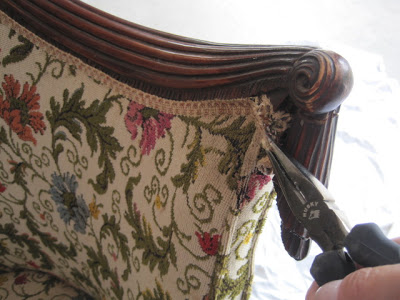

go slow, try not to rip the fabric too much you will need some of the pieces for a pattern when cutting your new fabric. Take pictures along the way and also take notes of the order pieces come off. You will most likely re-upholster in the reverse order.
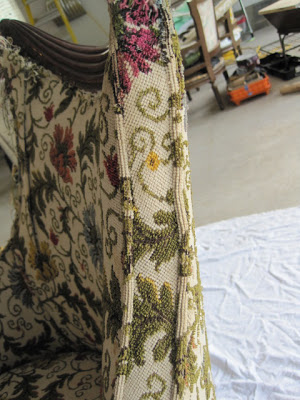
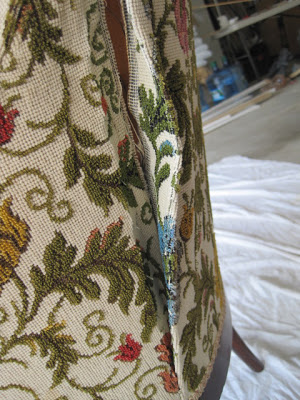
Note: arm has piping and is under stuffed
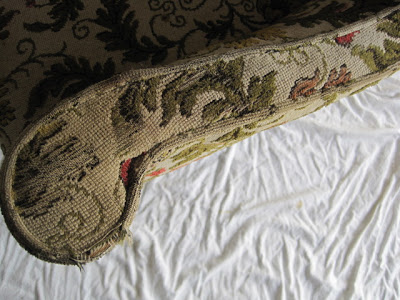
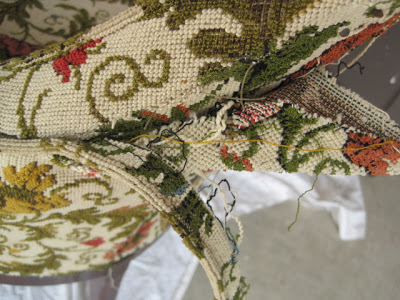
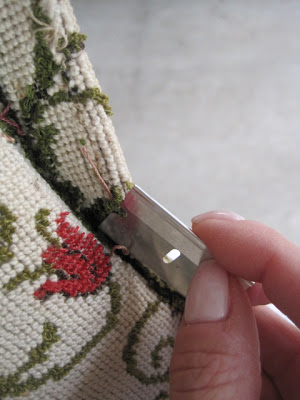 I used a razor blade (oops, not in my tools photo) to cut the hand sewing.
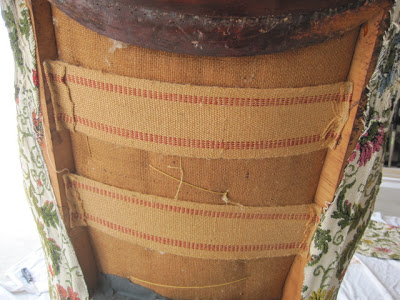 the reason why the back has no support. Not enough strapping, and set on the inside
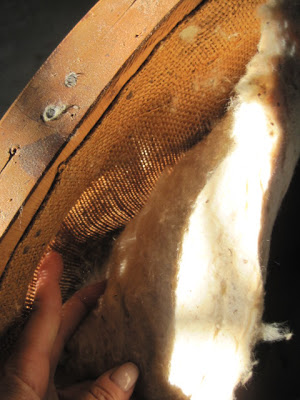
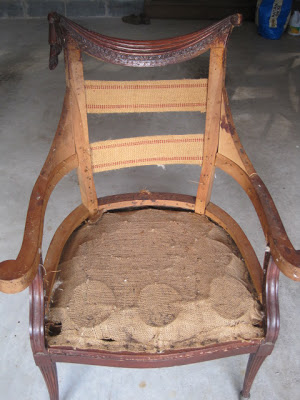
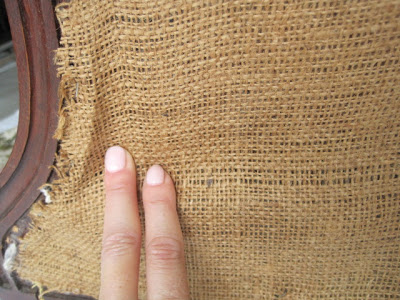 when you get to the "insides" of the chair, decide if the webbing/burlap has enough integrity and is doing the job. In this case, the burlap has too much give and should be replaced.
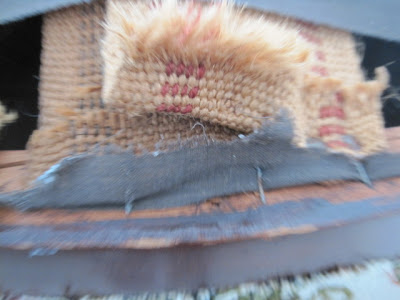
 flip the chair over to get into hard to reach areas. Yes, remove the black fabric to examine the springs
 In this case, I can see that the webbing on the bottom of the chair needs to be re-attached...but I knew there was a problem with the support, because the seat sagged when I sat in it
 under the arm
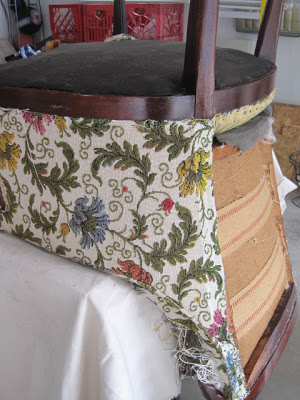
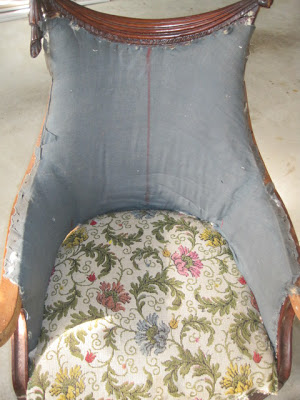 Note, the finished inside fabric was in 3 pieces....maybe because of pattern, maybe because there was not enough, maybe they liked the look. However, since the lining is one solid piece, I will consider making my finished chair with one piece, no seems. Yes, this gray fabric is coming off, I need to get to the stuffing
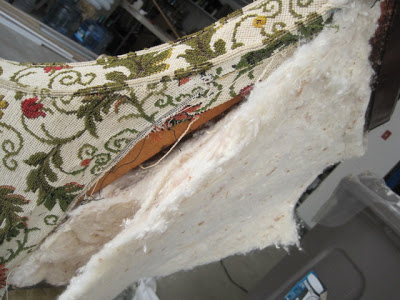
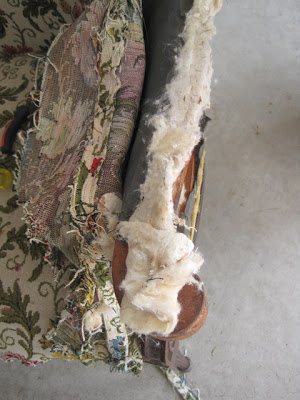 Note, the reason why the arms were not soft, batting has worn down over time
 the inside back of my chair, no support, need to fix that, I will be adding foam as well as batting for the finished chair
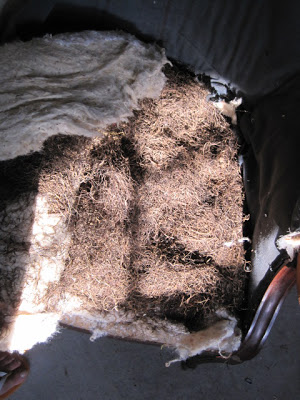 horsehair for the seat covered with batting. I have used horsehair and it is messy. It does have a more authentic look, I will be using foam & batting
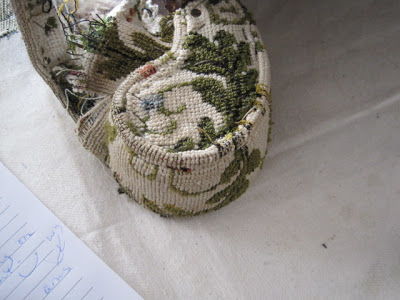
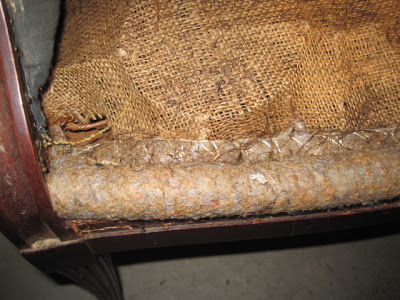 this edge roll is perfectly fine, I will remove it and save it for the new chair. However, as you can see, the burlap needs to be replaced
and here you are...a completely stripped chair. You may notice that one of the tassels along the top came off in the process. It was very loose and needs to be glued.
Every Wednesday, until it is finished, I will share a step-by-step tutorial of re-upholstering this chair
so let's begin.....
This week, I used these tools
a nail puller, safety glasses, a dust mask, razor blades (not shown) and a pair of needle-nose pliers
Before you start...take lots of pictures to reference back to later.
Stripping the chair. Using a combination of puller and pliers, remove trim, fabric, nails and/or staples
go slow, try not to rip the fabric too much you will need some of the pieces for a pattern when cutting your new fabric. Take pictures along the way and also take notes of the order pieces come off. You will most likely re-upholster in the reverse order.
Note: arm has piping and is under stuffed
Note: side has piping on both sides
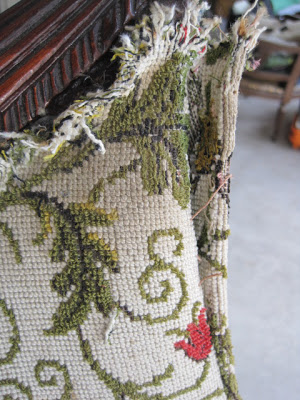
Note: back has 3 pieces
Note: sides are hand sewn together...I probably will not put it back together this way. It is not necessary with today's products available....but I will be flexible, and make that decision at the time.
open side seam all the way down the back
I SAVED all the fabric scraps/pieces, I THREW OUT all of the batting, horsehair, nails, trim and burlap.
Next time, I will examine the overall sturdiness of the chair....until then